Homemade Bread with Step-by-Step Instructions
Learn how to make homemade bread with step-by-step instructions with one of my favorite recipes. The ingredients make up this wholesome, delicious loaf! I make this with freshly milled flour, but you could easily substitute any store-bought flour.
A no flop homemade whole wheat bread
For about 4 years I have been making bread and it wasn’t until a year ago that I finally found 2 recipes that I love. When I first started making bread, I tried numerous recipes that I found online but nothing turned out like that great “homemade bread” that everyone raves about. Looking back, I probably just didn’t have enough knowledge or experience with making bread and I was having “store-bought” expectations. Honestly though, I’m still not an expert, but it always tastes good!
After getting some experience under my belt and watching all the bread making YouTube videos I could find, I finally have not one, but two bread recipes that I love.

Tips for how to make bread from scratch
- Use a sharp serrated knife to cut the bread or use an electric knife.
- I like to use freshly milled hard white grains using my Nutrimill but you could also use store bought flour.
- Don’t expect this to produce bread like you buy off the shelves. This bread is just a different product.
- My favorite way to store homemade bread is in a cotton bag.
- A stand mixer makes this way easier but you can make this without a mixer. It will just require more hands on time.
Bread Ingredients
- Warm water – I use water that has been filtered through my Berkey water filter
- Yeast – I buy the big bulk bag from Costco
- Honey – this adds a natural sweetness but you could substitute any sweetener here
- All Purpose Flour – try to use unbleached here
- Butter – I normally use butter but from time to time will use lard. Any fat works in this spot.
- Salt – without this, your bread will lack flavor, I use Redmond Real Salt
- Freshly Ground Hard White Wheat or all purpose flour – I use a nutrimill to grind my grains, which I purchase from Azure Standard but you could use all purpose flour here too
Yields: 2 loaves
Homemade Bread with Step-by-Step Instructions
Mix warm water, honey, and yeast. Allow to sit for 10-30 minutes. Grind your grains while you wait if using.

After waiting, you should start to get bubbles. That’s how you know your yeast is activated.
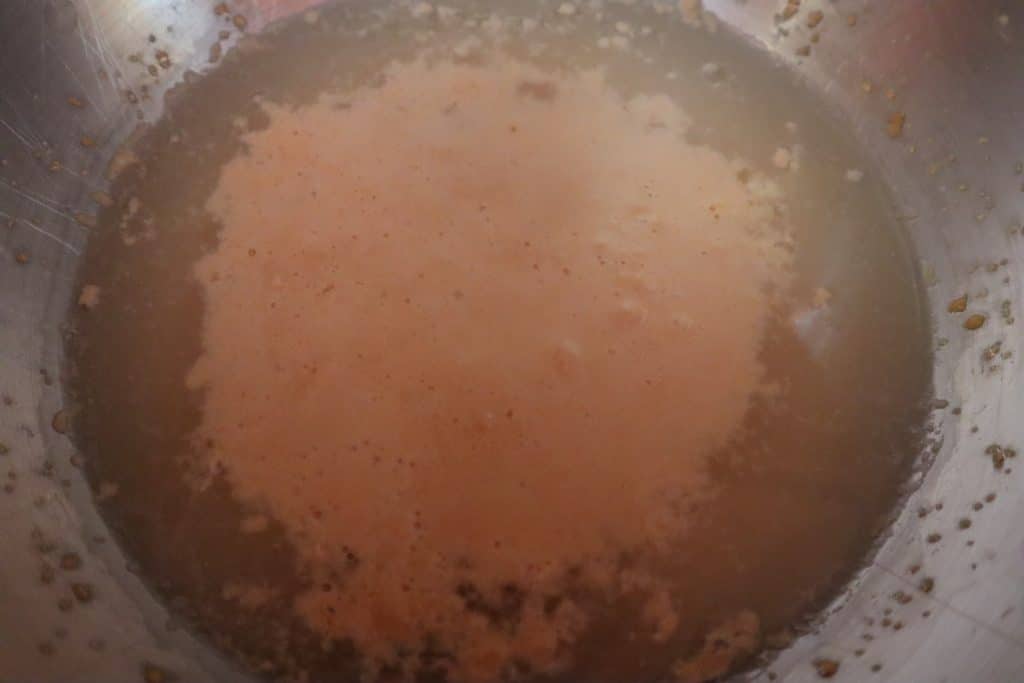

Mix in all purpose flour.
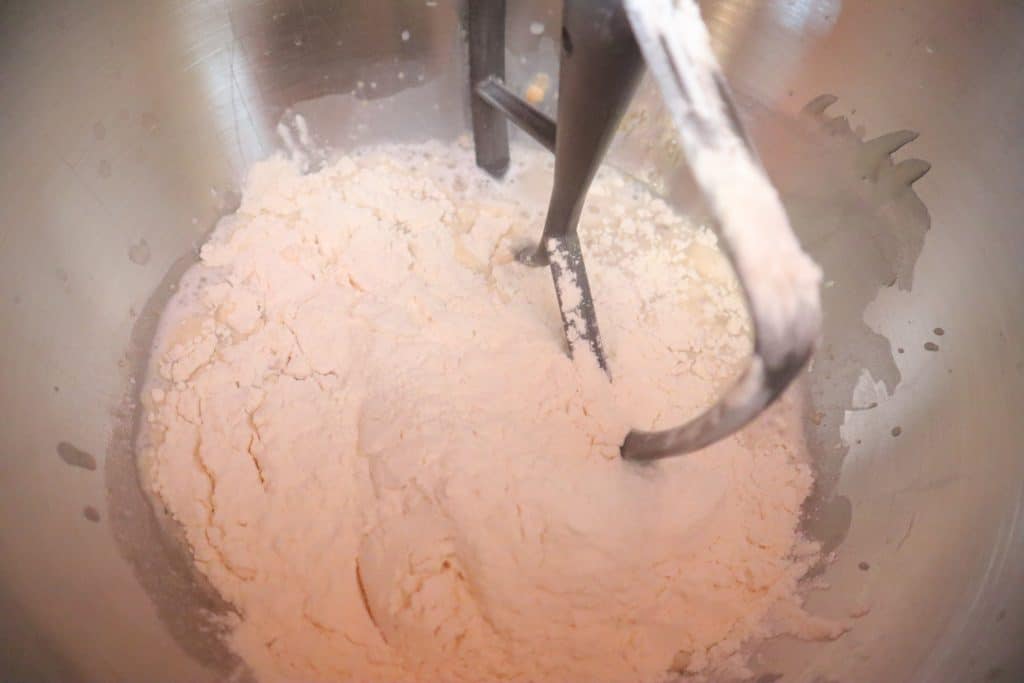
Add butter or your choice of fat. Sometimes I use lard.

Add salt.
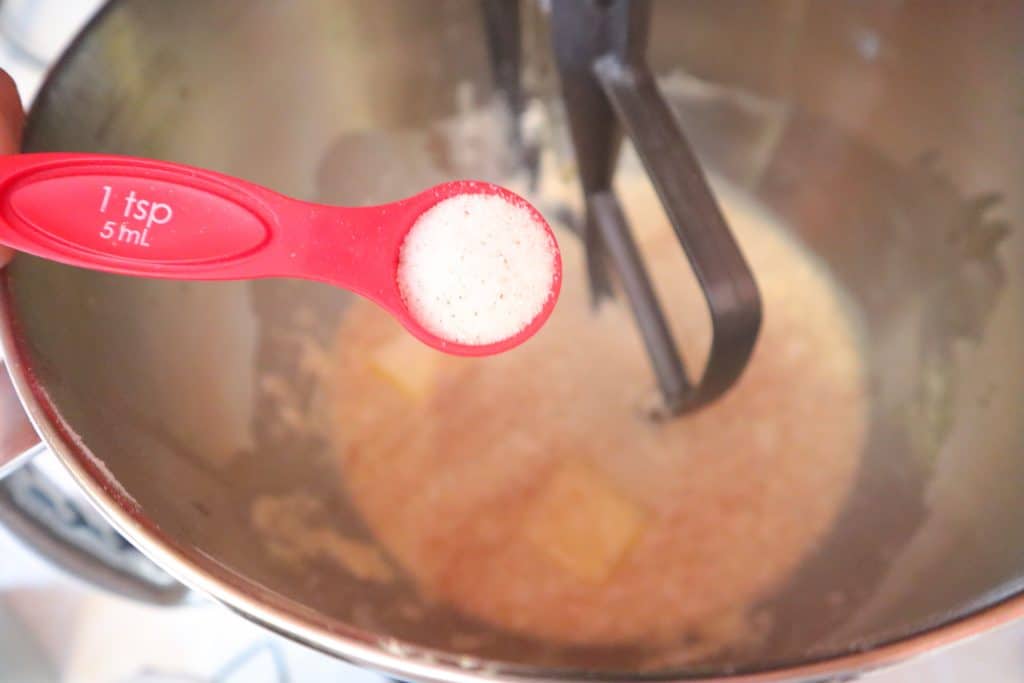
Now it’s time to add your flour. This is where it takes practice to know how much to add.

Add in your flour one cup at a time at first.
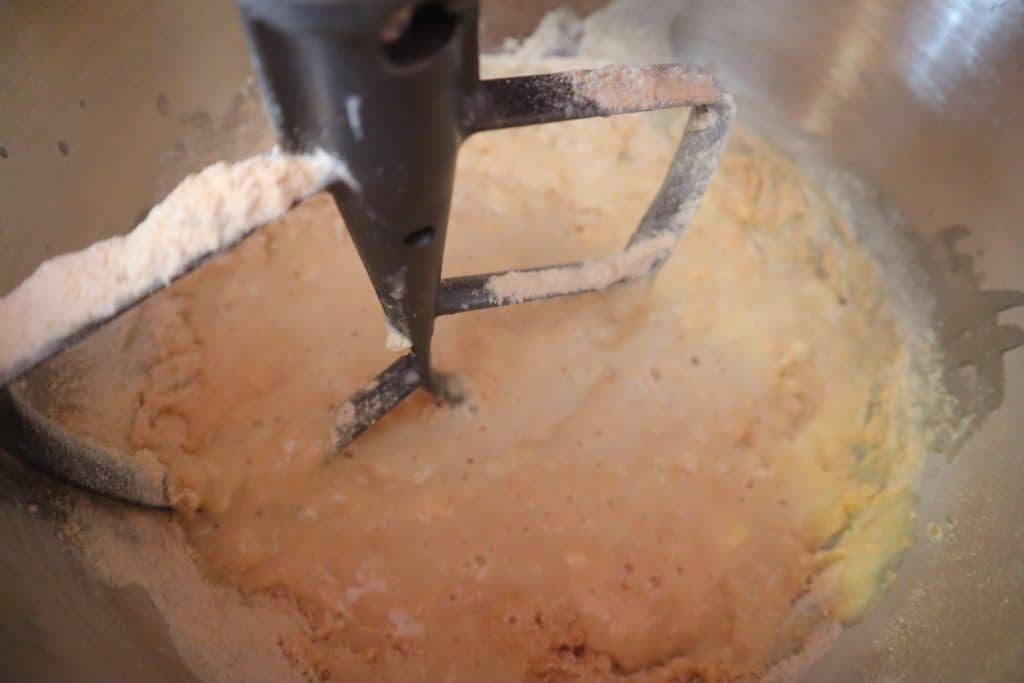
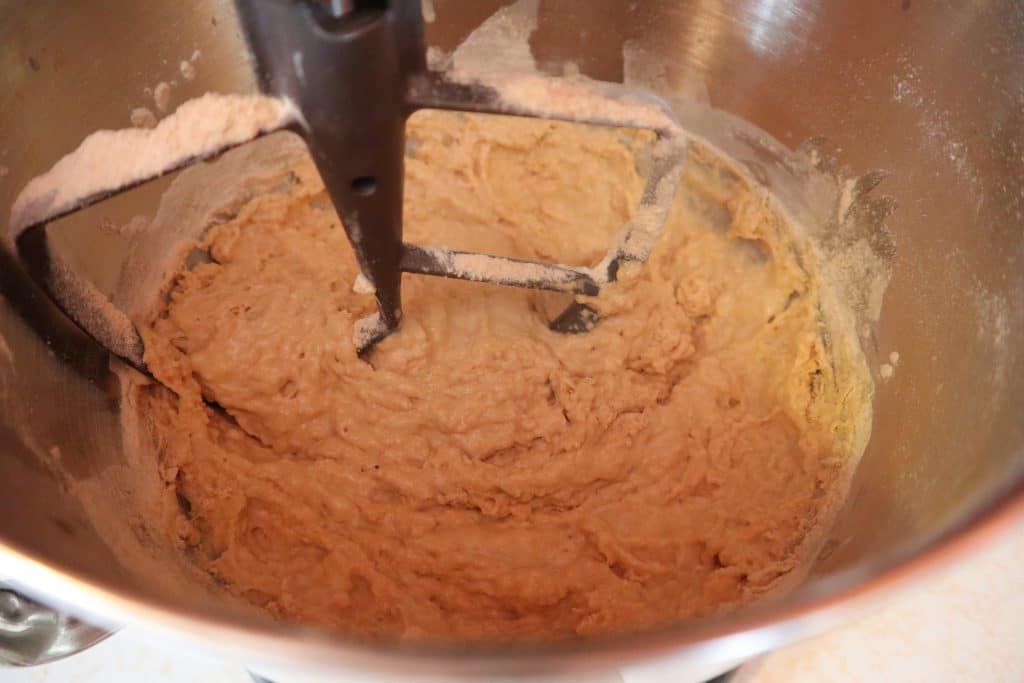

You are waiting until the dough is cleaning the bowl on the edges.
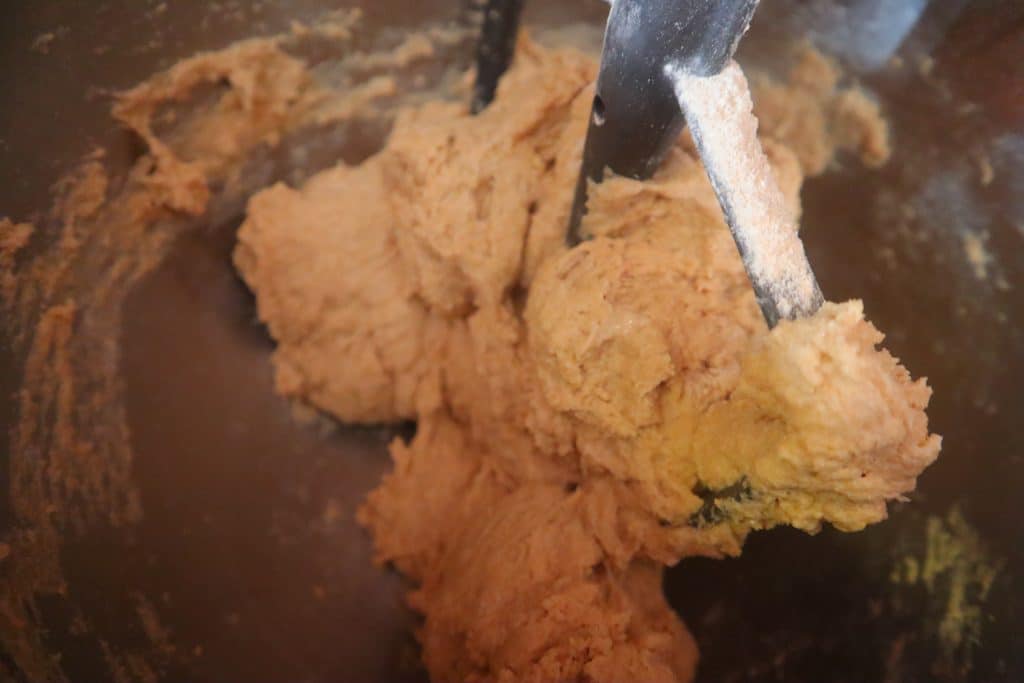
Switch the attachment to kneading tool.
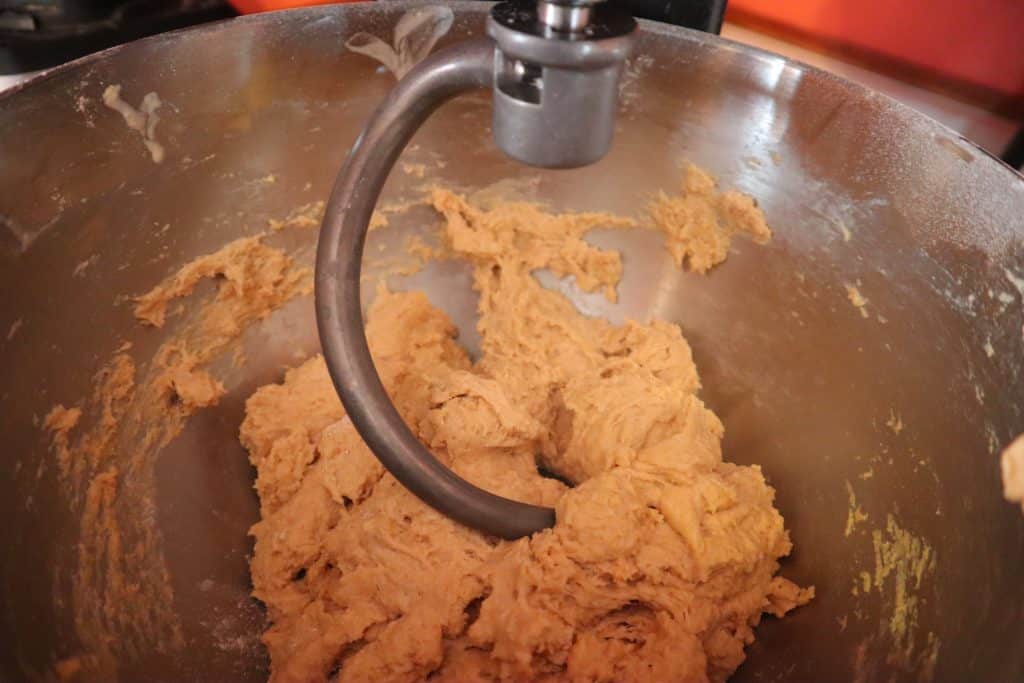
Knead for approximately 10 minutes.

Now its time to test our dough to see if it’s kneaded. Roll about a golf ball size of dough.

Slowly pull it apart. If you can see the light through it like this without it ripping, you know that your dough has been kneaded long enough.

Let rise. I just put it right back in my mixing bowl. I used to add oil to it but now find that it is an unnecessary step.
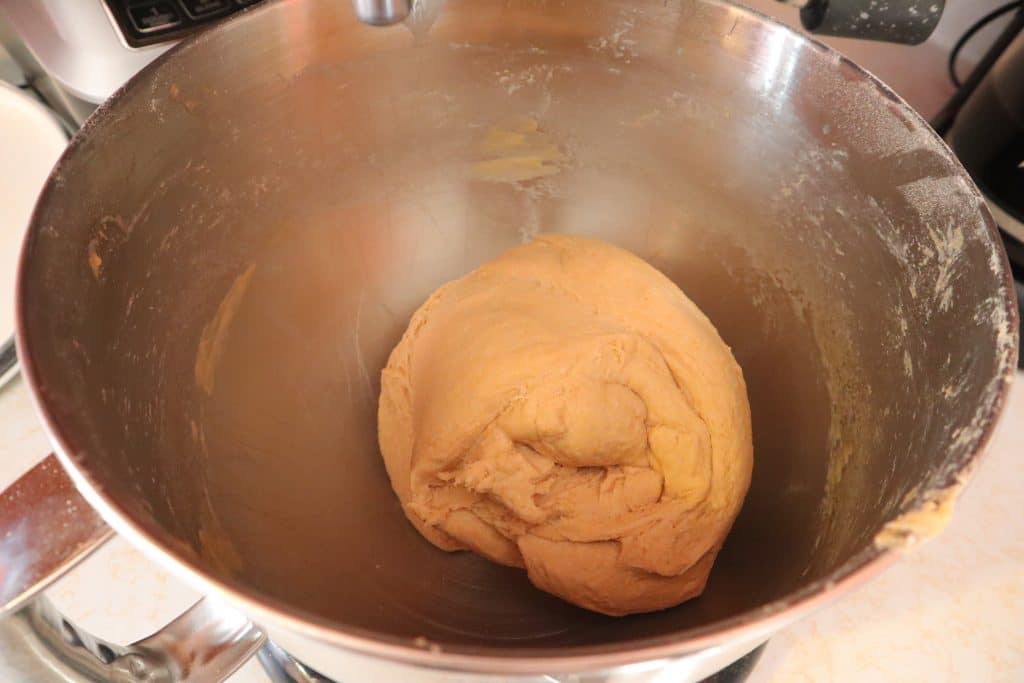
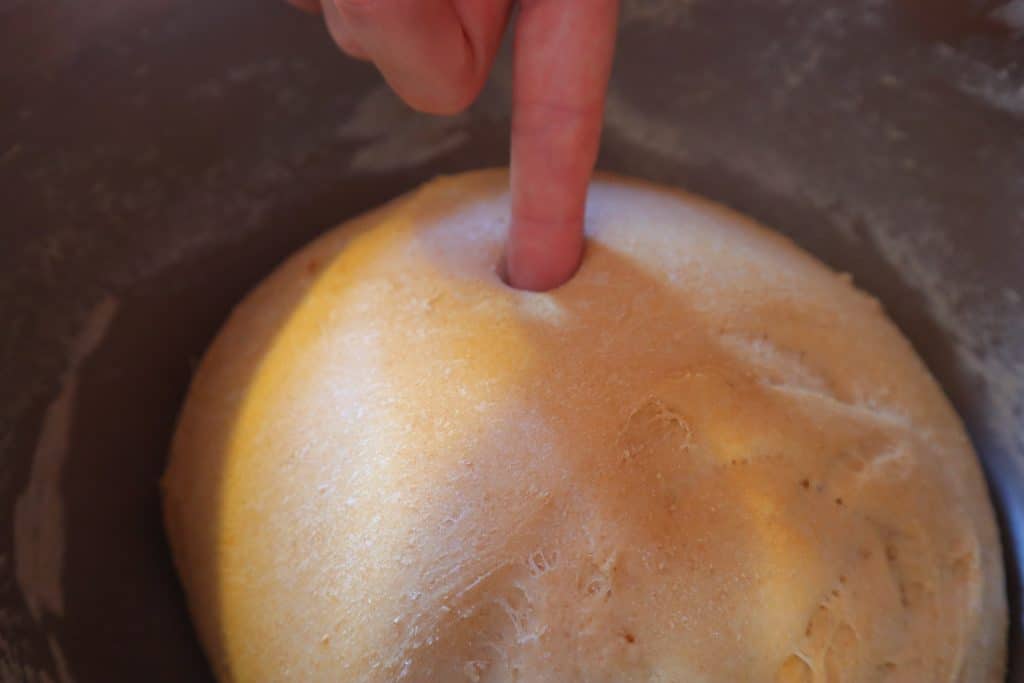
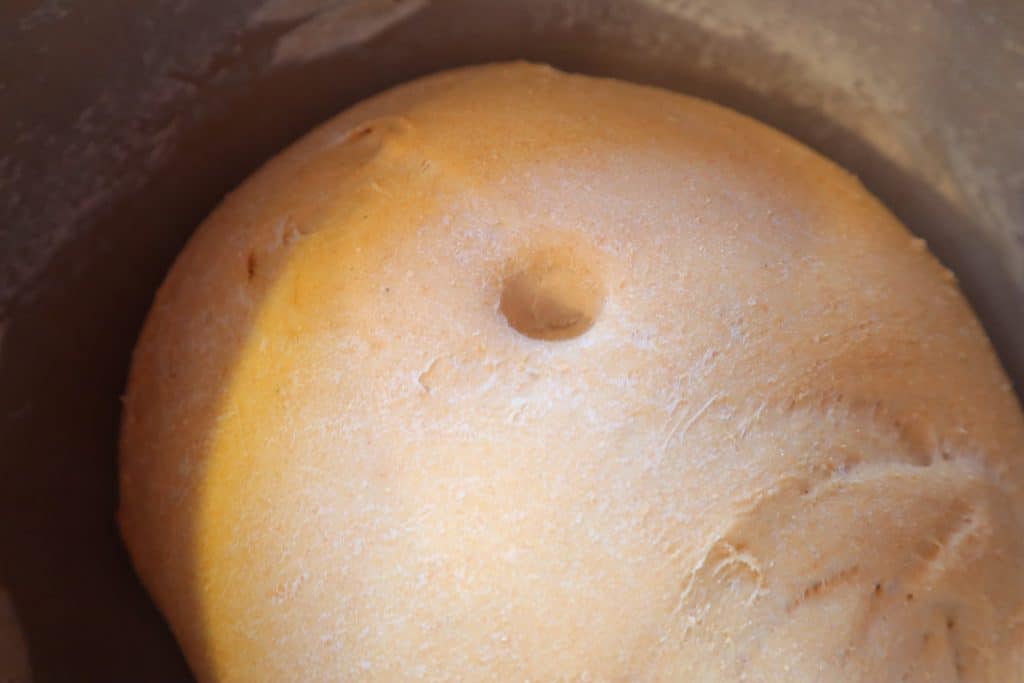
About an hour later, it should have doubled in size and look like this:

To test it, you can stick your finger in it. If the hole stays, it is ready.
This is the fun part. Punch it down.

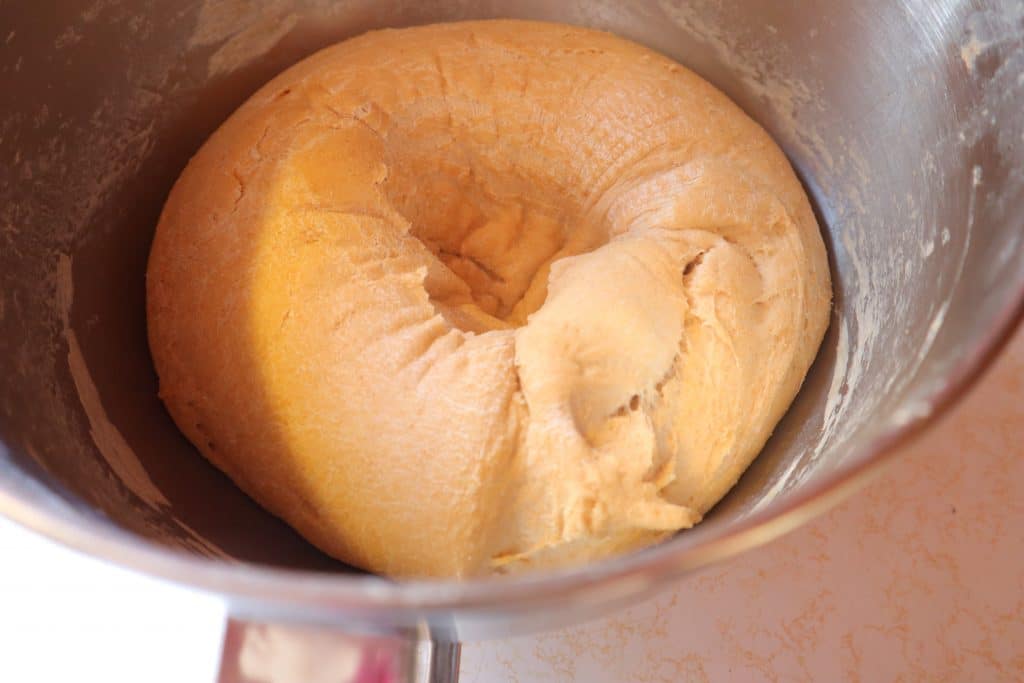
I then like to roll it together and let the dough sit for about 5-10 minutes. This is when I get the younger kids something distracting to do usually.

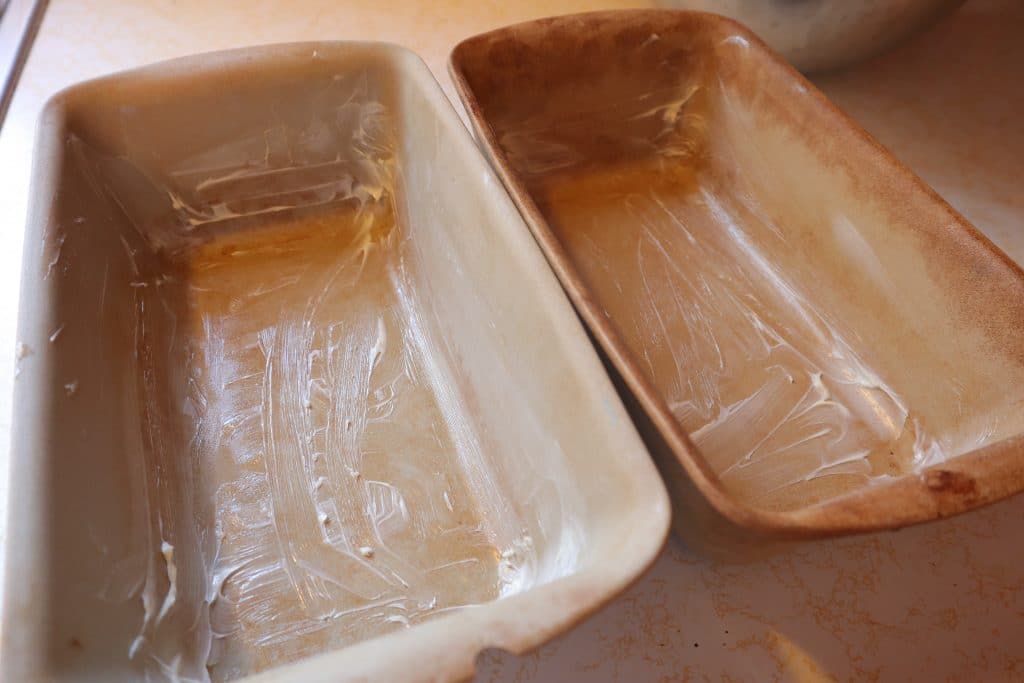
Now is also the time to butter up your bread loaf pans.
I don’t have a dough scraper, so I just use my hand to separate the dough into two. You could measure out the dough on a scale to make sure it’s even, but I never do that. I just always have one loaf bigger than the other.
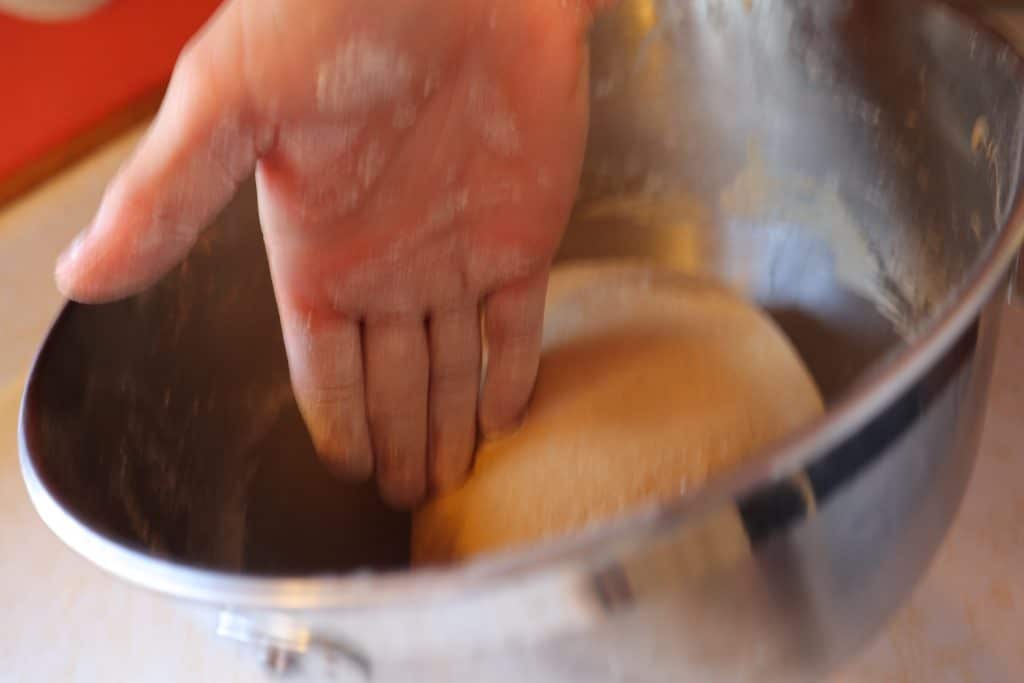
Roll out one of your bread doughs so it is just a little wider than your pan.

Roll up the bread dough.
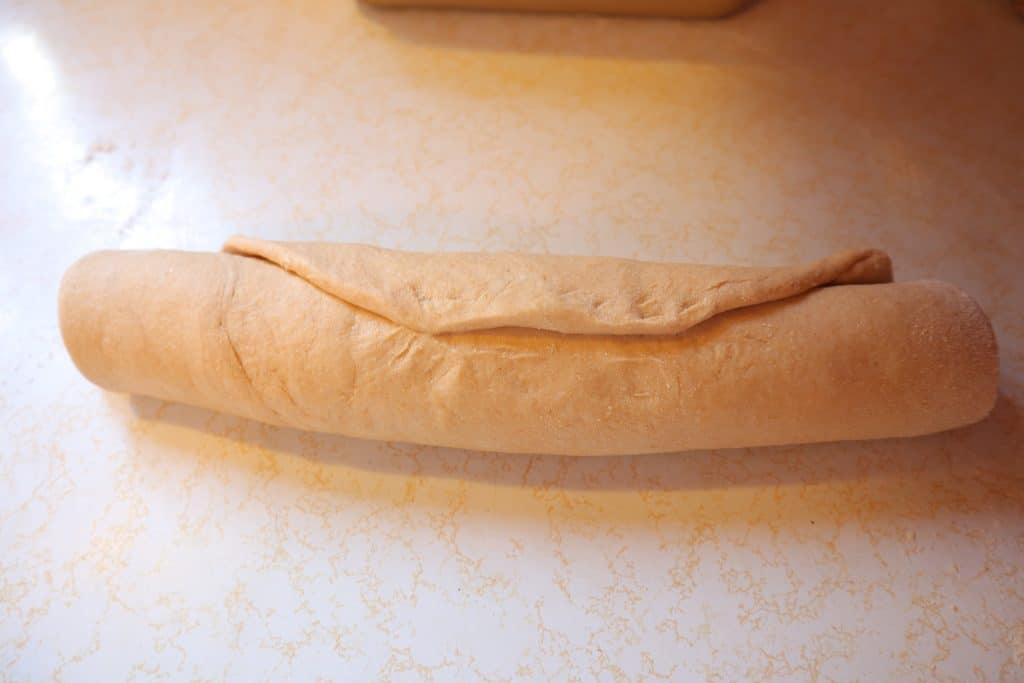
Pinch the seam together.
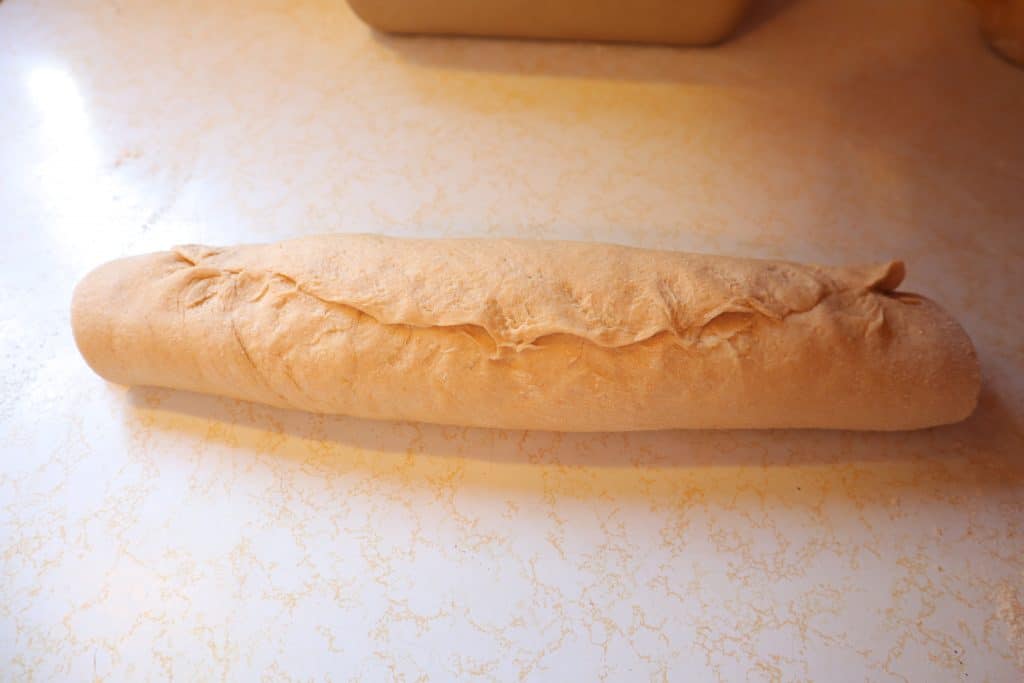
Flip over dough.
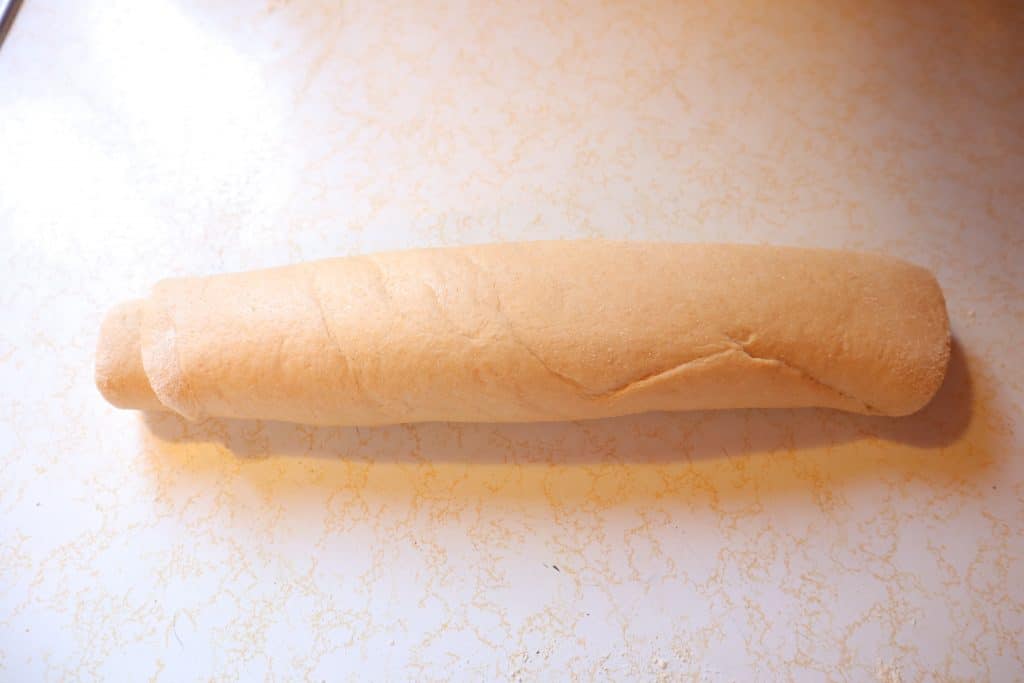
Fold edges so that it is the same size as your pan.

Place into pan.
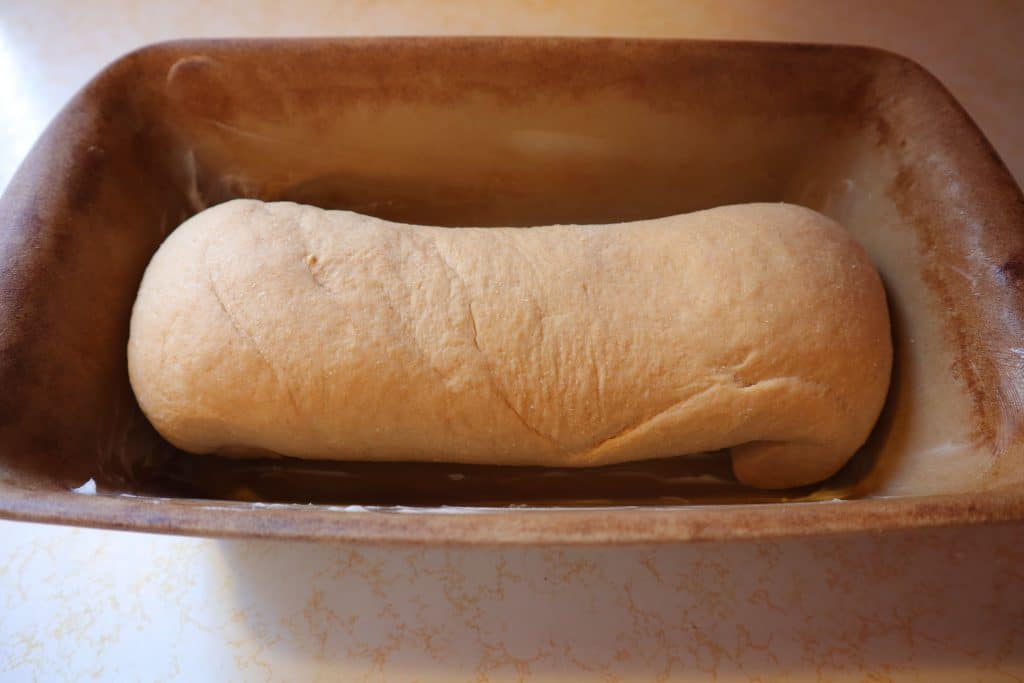
Repeat with second loaf. I personally usually have one older child doing one loaf while I do the other. That way we can talk about the skills and the feeling of the dough together as we work through it.
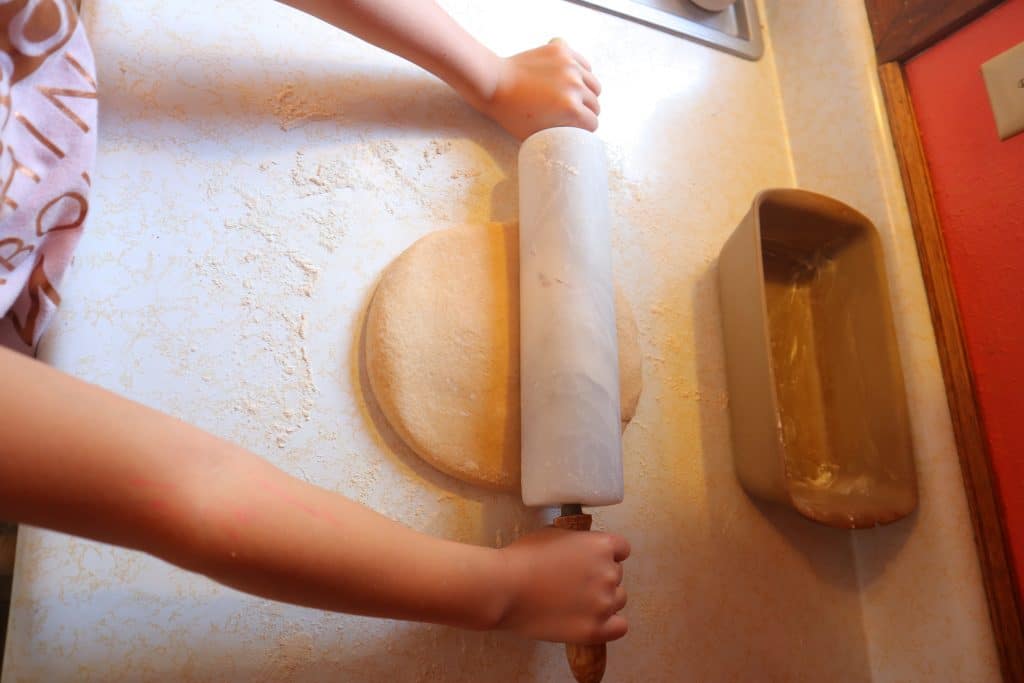
Let the bread dough rise for 30-50 minutes. Until it has doubled in size. You could do a fingertip poke test here too if you need to.
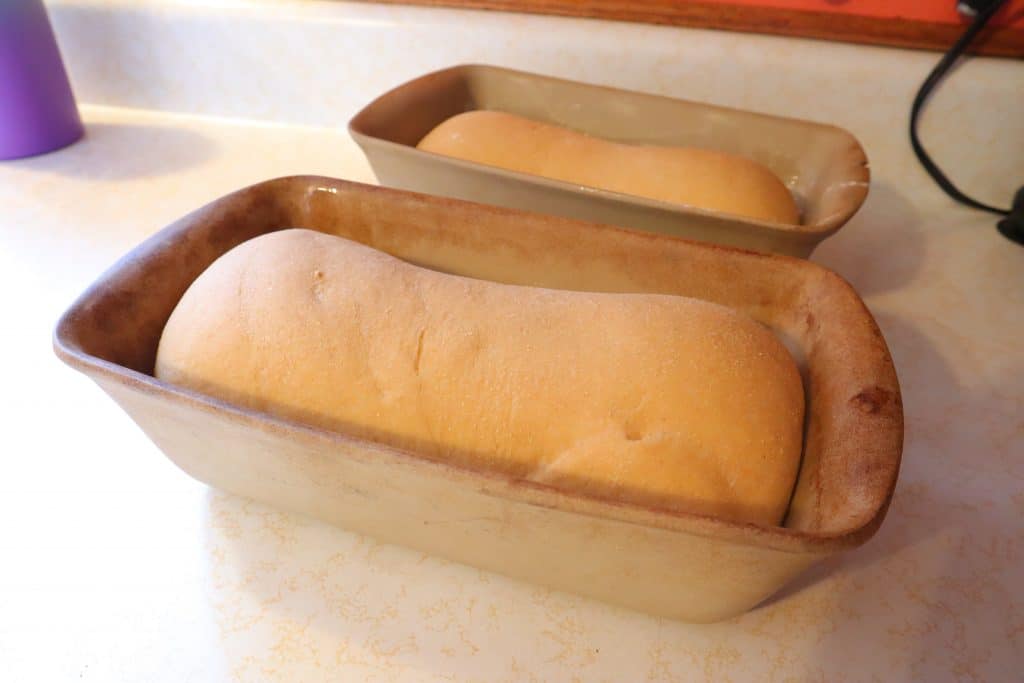
Bake at 400 for 10 minutes. Flip the pans so the sides cook evenly. I like to take some butter at this point and rub it on top. Bake another 5-10 minutes until golden brown and hollow sounding. Smell.
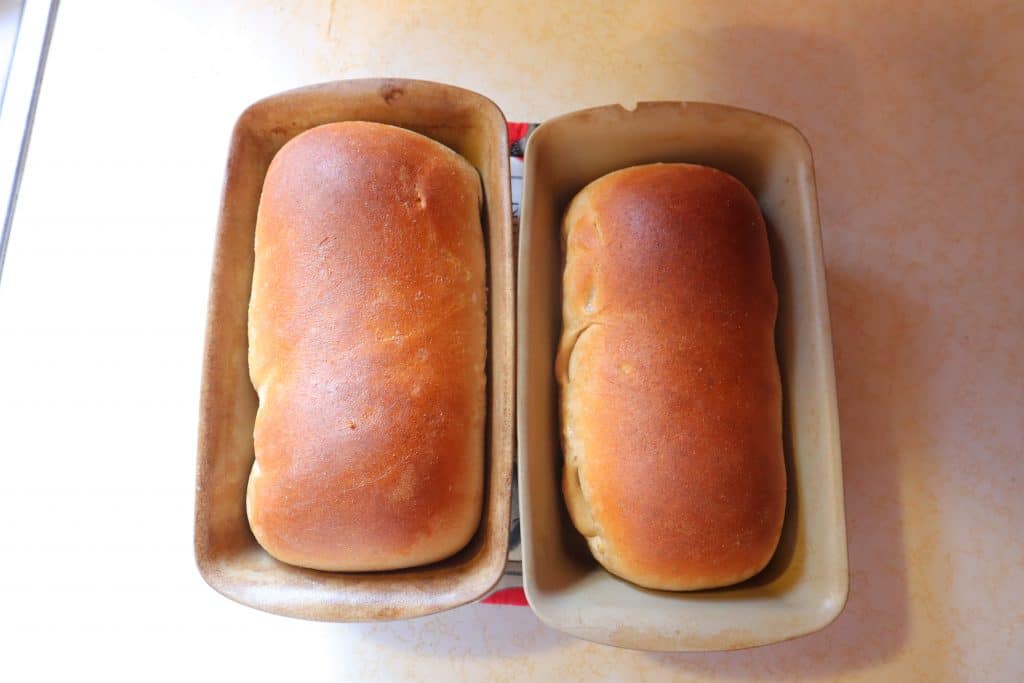
At this point, you can take them right out of the pan and place on cooling rack. Normally, I’m busy with kids so will take out of the oven and then come back to in 5-10 minutes when I get a chance and then place them on a cooling rack.
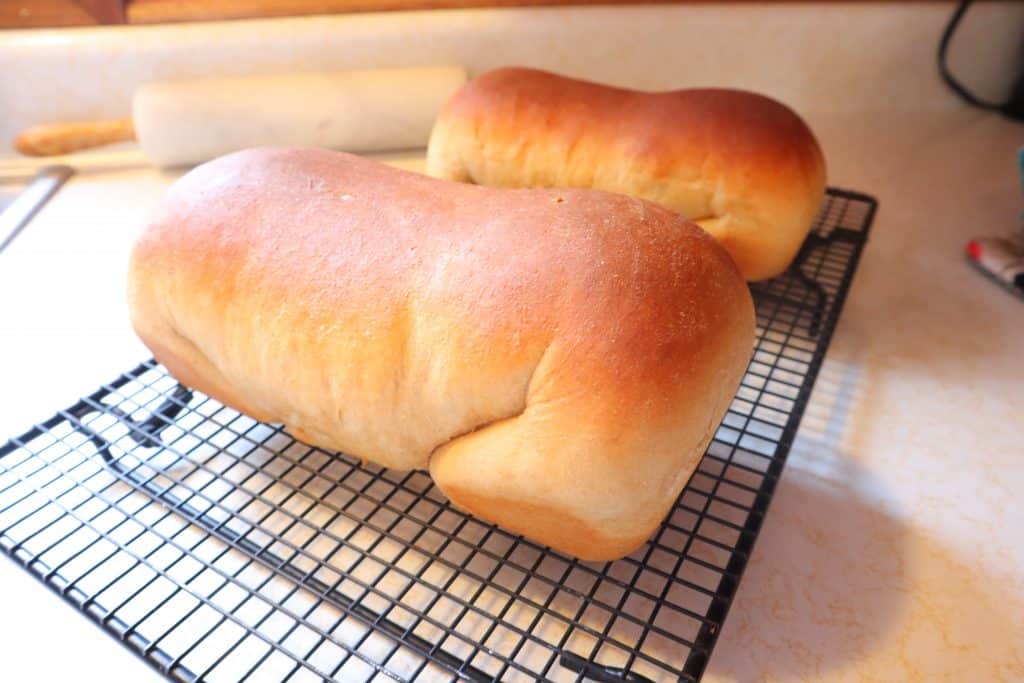
Now the most difficult part of the entire bread making process. Try not to eat the bread until it cools. 99% of the time, I am slicing off pieces within 20 minutes though.
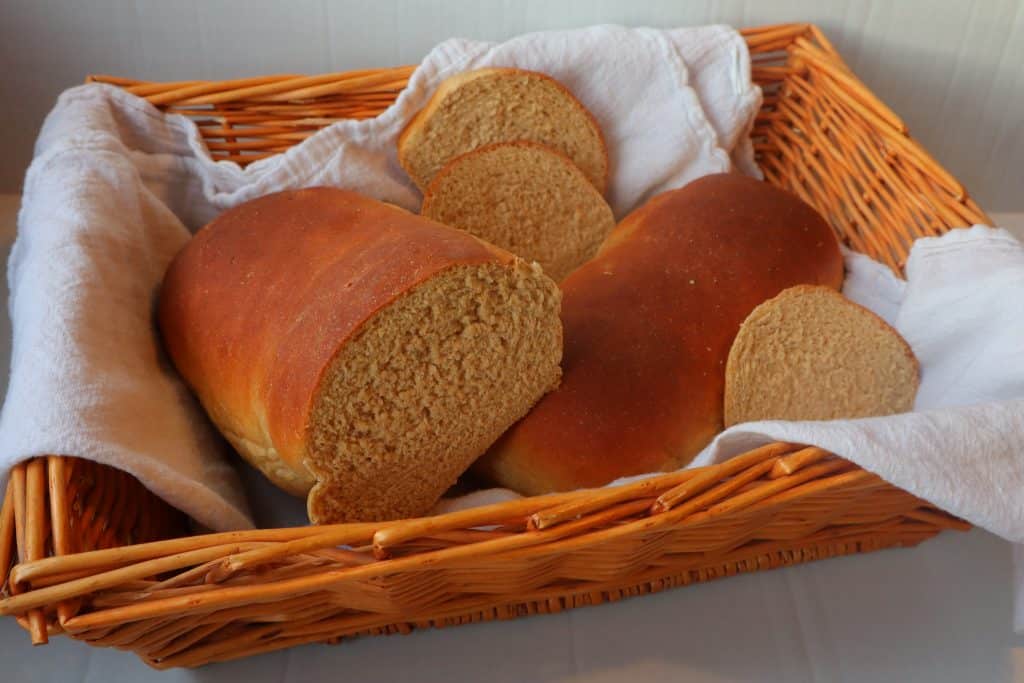
How long will homemade bread keep?
This bread never lasts more than 2 days in my house because we eat it. However, I would expect it to be fine for a week. Cotton bags are my favorite way to store the bread.
When I make bread, I will usually throw one loaf into the freezer after the loaf has cooled. I just store it in a ziplock freezer bag. You could slice the bread before putting in the ziplock bag too, then just pull out the slices as you need them. My family is large enough though, that we go through an entire loaf for one meal.
Tools You May Need
Bread pans
Mixer
Rolling Pin
Wheat berries
Cotton bags
Homemade Bread with Step-by-Step Instructions
Click on this image for the recipe card.
Homemade Whole Wheat Bread

Ingredients
- 2 cups warm water
- 4 tsp yeast
- 2 Tbs honey
- 1 cup flour
- 2 Tbs fat
- 4 tsp salt
- Up to 8 cups flour
Instructions
- Pour warm water into a large mixing bowl. Gently stir in yeast and honey until thoroughly mixed. Let sit for anywhere from 10 – 30 minutes.
- Mix butter, 1 cup of flour, and salt into your proofed yeast mixture.
- Add in flour slowly until the dough is in a ball and cleaning the sides of the bowl.
- Knead until smooth.
- Let sit in a warm spot, undisturbed, until it doubles in size.
- Punch down your dough.
- Form your dough into a ball and let rest for 5-10 minutes.
- Form your loaves and place in bread pans.
- Set bread pans in a warm place, covered, to rise until doubled.
- Bake bread at 400°F, turning once at about 10 minutes, until it is golden brown.
- Remove bread from pan and allow to cool on cooling rack.
What can I do with this bread?
- Slather it with butter and eat away!
- Eggs in a basket
- French Toast
- Stuffing
- Sandwiches
- Toast





Hi! I have two questions… what size pan is this and did you use dry active yeast?
Yes, i use dry active yeast. I just buy the bulk ones from Costco. As far as the pan, I just use a normal loaf size stoneware bread pan. I love stoneware but some people hate it. Here’s one similar to mine.
Thank you so much!!! I’m going to give this recipe a try today! I am milling own flour so other bread recipes aren’t rising like they should and they’re a little dry. I’m excited to try this one!
The bread is looking good.
I used Hard red wheat berries. The only tweaks I made was autolyze with the wet ingredients and wait 15 minutes. Then add salt, mix, add yeast and use dought hook wit KA for about 20 minutes.p And added the last bits of flour as I felt it needed it.
Hi! Wondering if I could do this completely with freshly milled grain, instead of also incorporating the all purpose flour? Thanks!
Yes, absolutely! That’s actually how I make it all the time now.