Canning Chicken: How To Step by Step Guide
Canning chicken provides quick, easy, and delicious meals within a few minutes. Home-canned chicken can be made into quick meals like chicken salad, chicken pot pie, or just thrown in with some pasta dishes.
What to do Before Canning Chicken
The first thing you need to do is get your chicken. If you are butchering your own chickens, it is recommended to let them chill for about 12 hours before canning. This allows rigor mortis to set it and the meat will be less tough. Otherwise, if using store-bought chicken, whether it is from the freezer section or a rotisserie chicken, then you don’t need to worry about any extra steps. Just let the frozen chicken thaw out.
If using bone-in chicken, you will need to get pieces of chicken that fit into the jars. This does not need to be done any specific way, whatever floats your fancy. Chicken bones will take up a lot of room in the jars. Just separate the meat at the joints and that’s a pretty simple way to do it. It is a personal preference on if you want to take the skin off or keep it on.
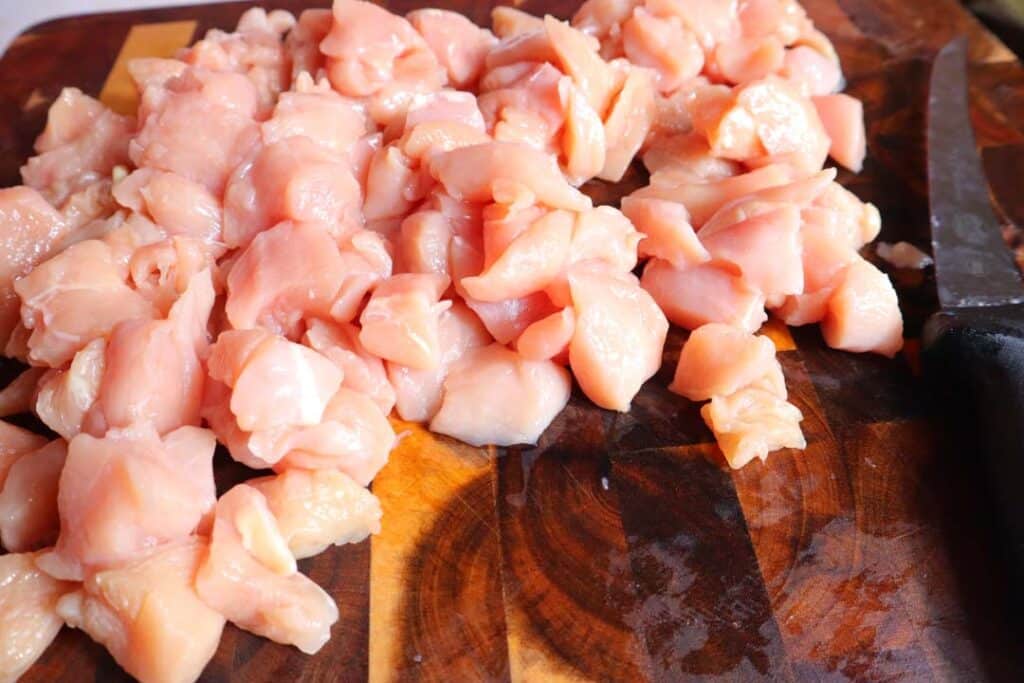
If using boneless chicken, cut the raw chicken into pieces. Chicken breasts or thighs are a great “beginner” meat to can.
Wash canning jars, lids, and rings in hot soapy water.
Pro tip: Always start with a clean kitchen before starting any canning project. It is a great way to relieve any extra stress that can come with home food preservation projects.
Raw Pack or Hot Pack?
You have two different options when canning chicken. You need to choose if you want to use the raw pack method or the hot pack method.
As far as ease, the raw pack method of canning is more simple. When you raw pack chicken, it’s basically just placing your food into jars and then placing those jars into a pressure canner.
The hot pack method of canning is par-cooking the chicken meat before pressure canning chicken. This is said to produce better meat. After that, then grab the canning jars and proceed with canning.
This post contains affiliate links, which means I make a small commission at no extra cost to you. See my full disclosure here.
Supplies Needed
- Pressure Canner – the All American canner is what I use
- Canning Jars – pints or quarts
- Lids & Rings
- Canning Funnel
- Jar Lifter
- Bubble Remover
How To Can Chicken
Prepare the pressure canner by placing on the stove, adding in a canning rack, and adding about 2 inches of water. If you are going to hot pack chicken, turn on the stove now to start warming up the water and warm up your jars now by either placing in the pressure canner or placing in a warm oven.
If raw packing, keep the heat off and keep the jars cool.
When using the hot pack method, cook up your chicken pieces now. Do not cook all the way through, about halfway cooked. Roasting chicken pieces in the oven so they just get browned adds a great flavor.
Fill the Jars
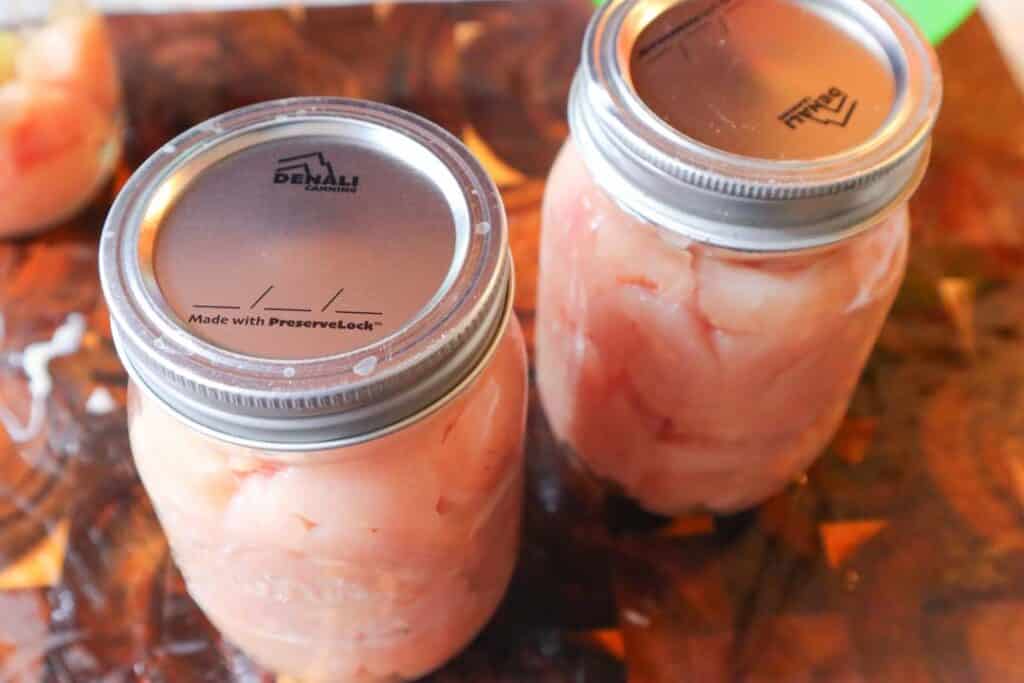
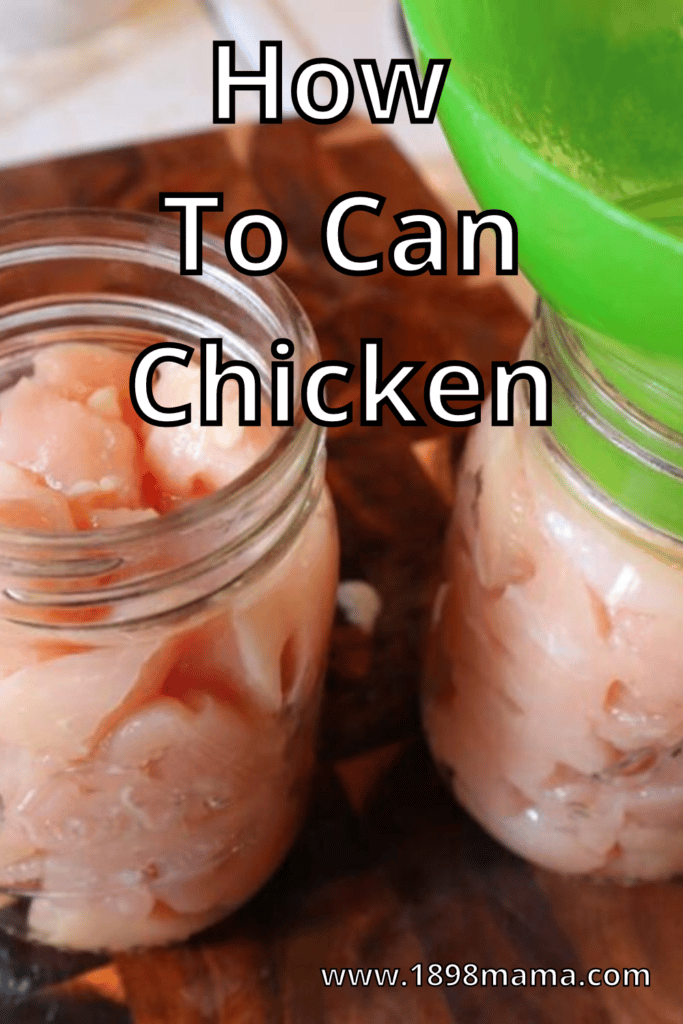
Add chicken pieces into clean jars to one inch headspace. After adding raw meat pieces, you can add a teaspoon salt or any other dried herbs if you choose. This is an optional step.
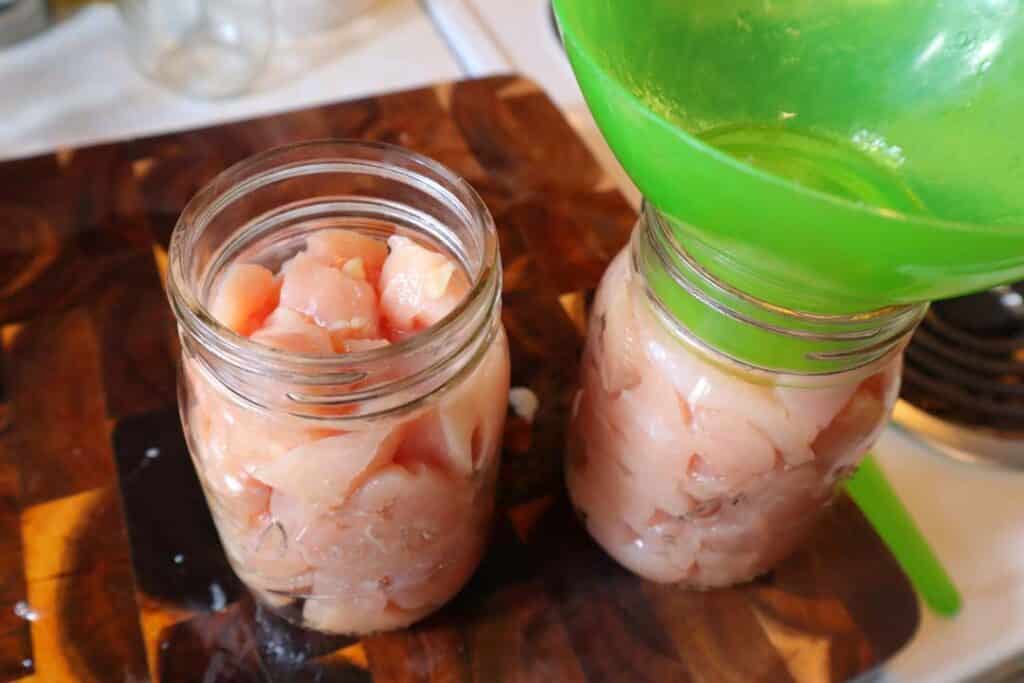
If using hot pack method, you can also add hot water or broth.
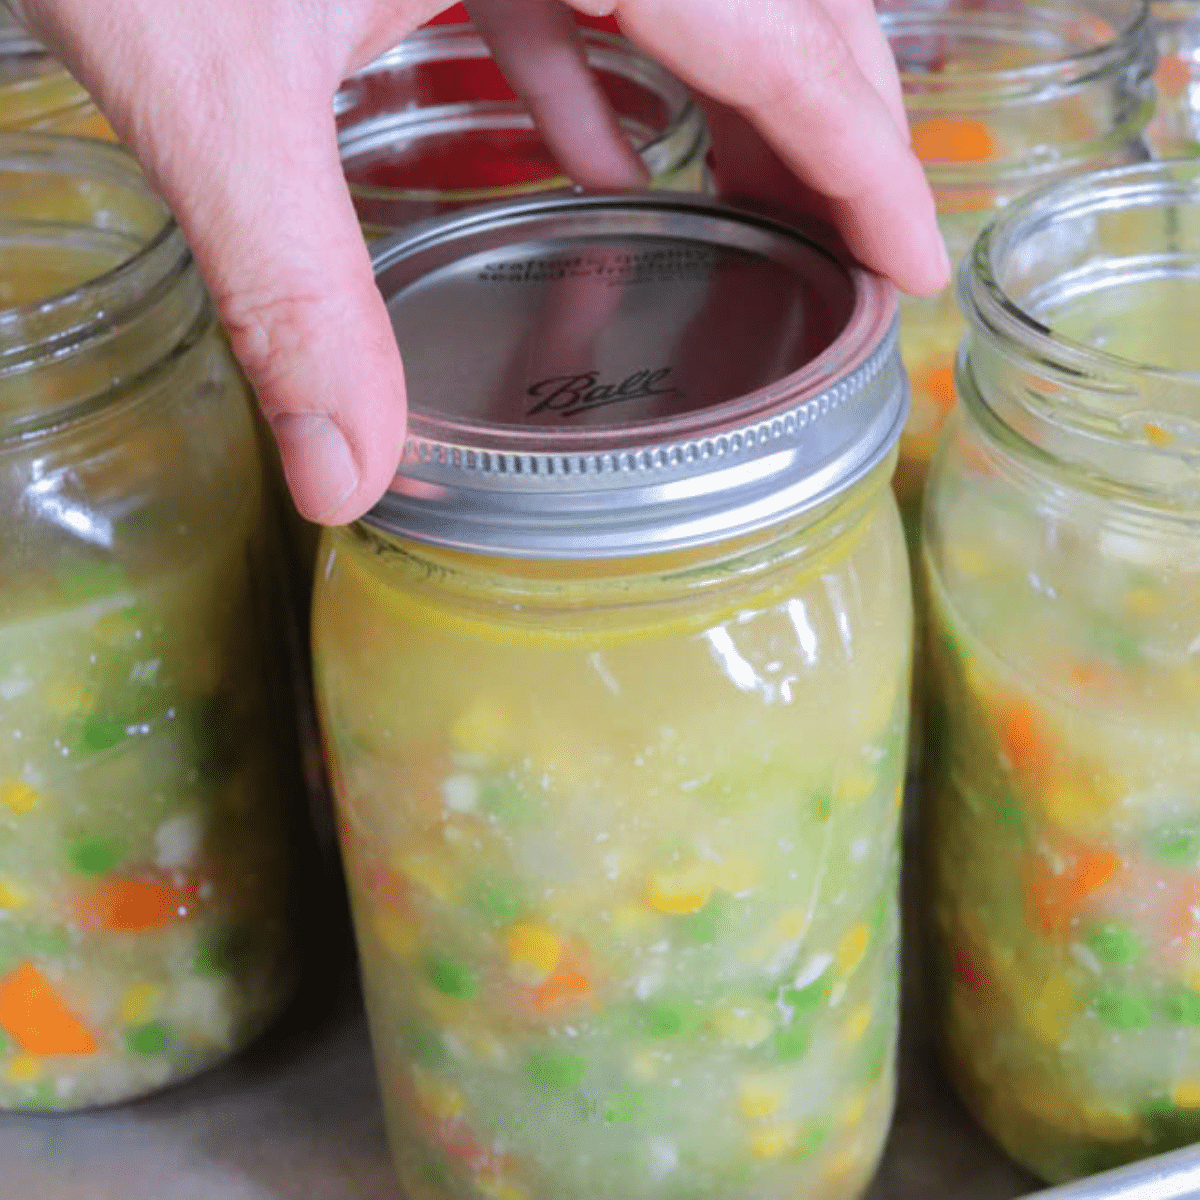
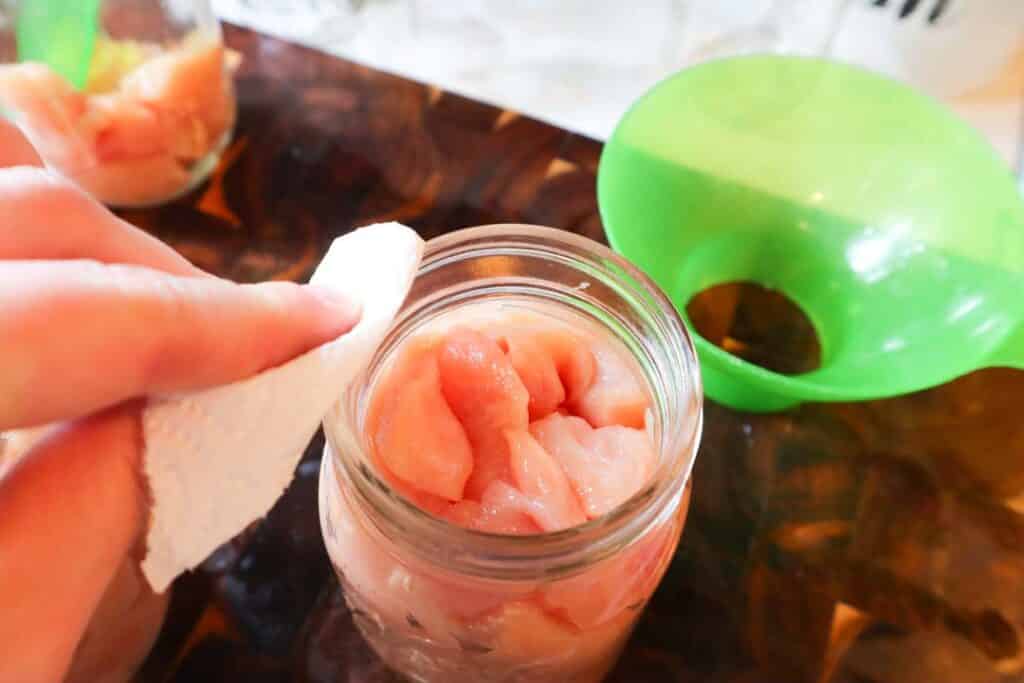
Remove air bubbles from jars and wipe rims with a clean damp cloth. Place lids on top and screw rings on finger tight.
Place filled jars into prepared pressure canner.
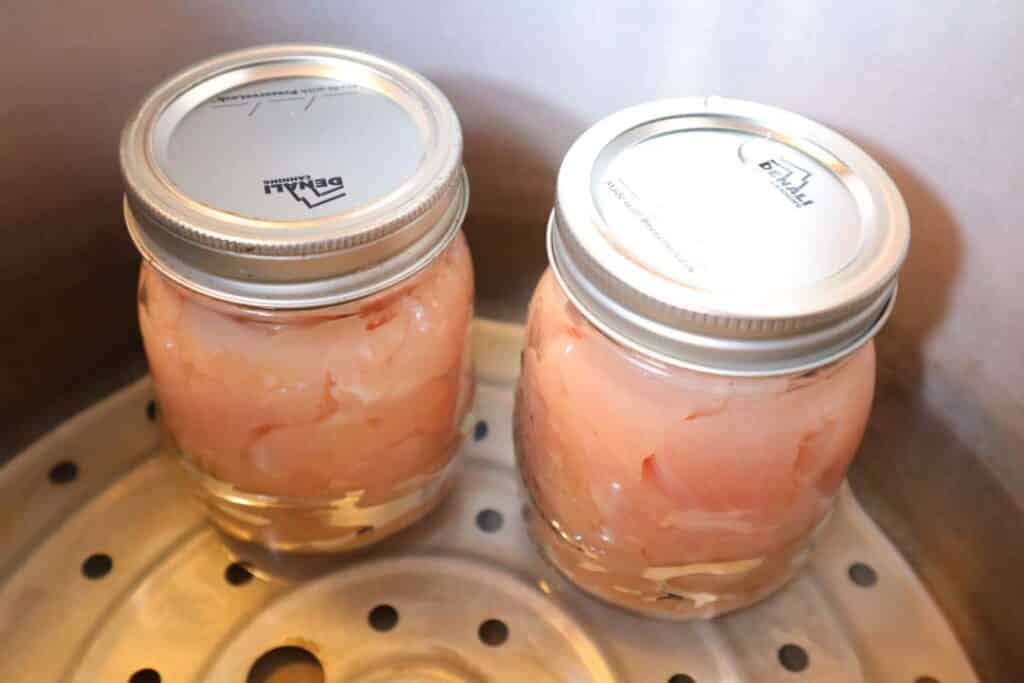
Canning Chicken
Add the lid to the pressure canner. Follow your specific instruction manual if you are unsure exactly how to run your pressure canner.
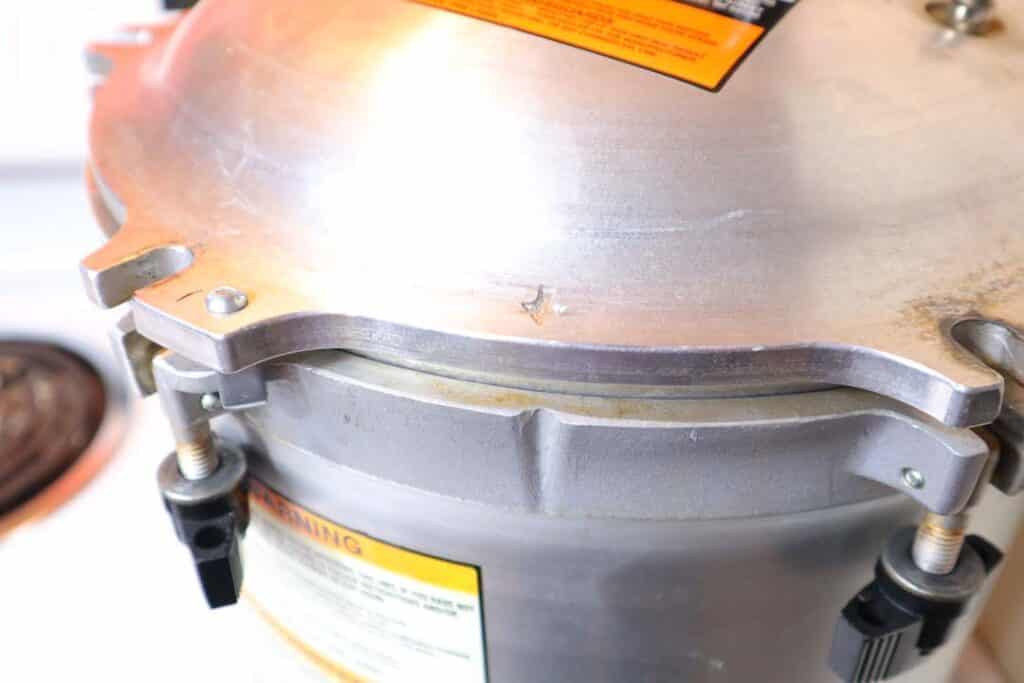
Turn the heat on to about medium and let it start heating up. Eventually a steady stream of steam will start coming out of the vent pipe. When that happens, set a timer for 10 minutes.
After the 10 minutes, place your weight on top of vent pipe.
How many pounds of pressure when canning chicken?
For Weighted Gauge Pressure Canners (All American, etc):
- For 0 to 1,000 feet in elevation, use 10 pounds of pressure
- Above 1,000 feet in elevation, use 15 pounds of pressure
For Dial Gauge Pressure Canners (Presto, etc):
- For 0 to 2,000 feet in elevation, use 11 pounds of pressure
- For 2,001 to 4,000 feet in elevation, use 12 pounds of pressure
- For 4,001 to 6,000 feet in elevation, use 13 pounds of pressure
- For 6,001 to 8,000 feet in elevation, use 14 pounds of pressure
- Above 8,000 feet in elevation, use 15 pounds of pressure
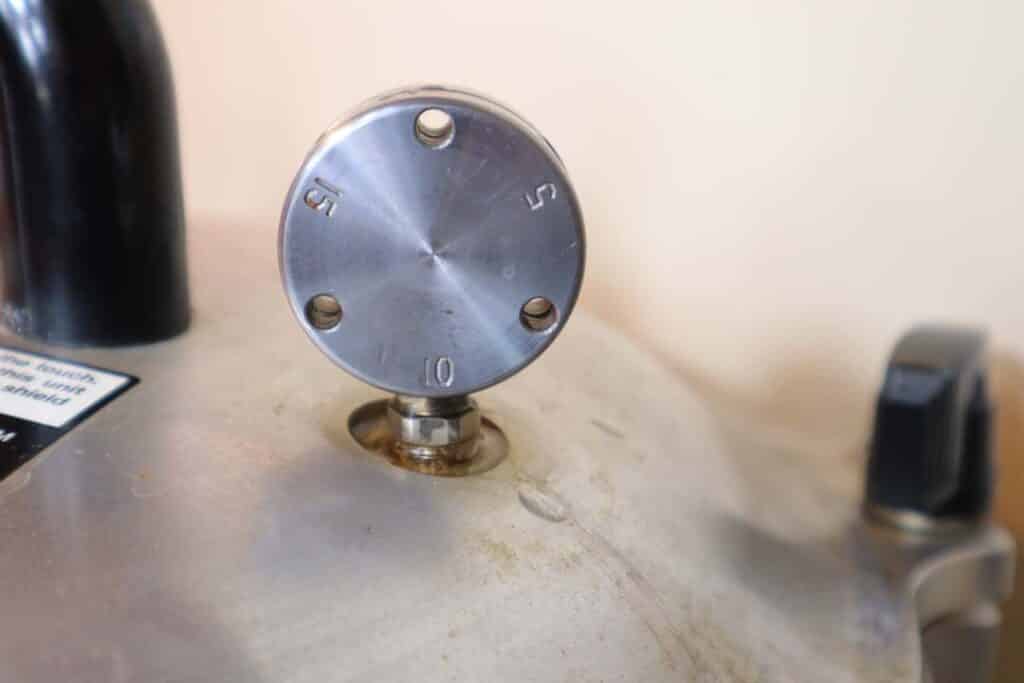
After placing the weight on, the pressure will start building up inside the pressure canner. The weight will start jiggling when it is pressurized. You are looking for about 4 jiggles per minute. When the pressure is right, you can start the processing time.
How Long to Can Chicken?
Pint jars – 1 hour 15 minutes
Quart jars – 1 hour 30 minutes
After processing time is done, turn the heat off and leave the pressure canner alone. Let the pressure come down naturally. After a few hours, you will be able to remove the weight. After removing the weight, wait a few more minutes to let any extra pressure release.
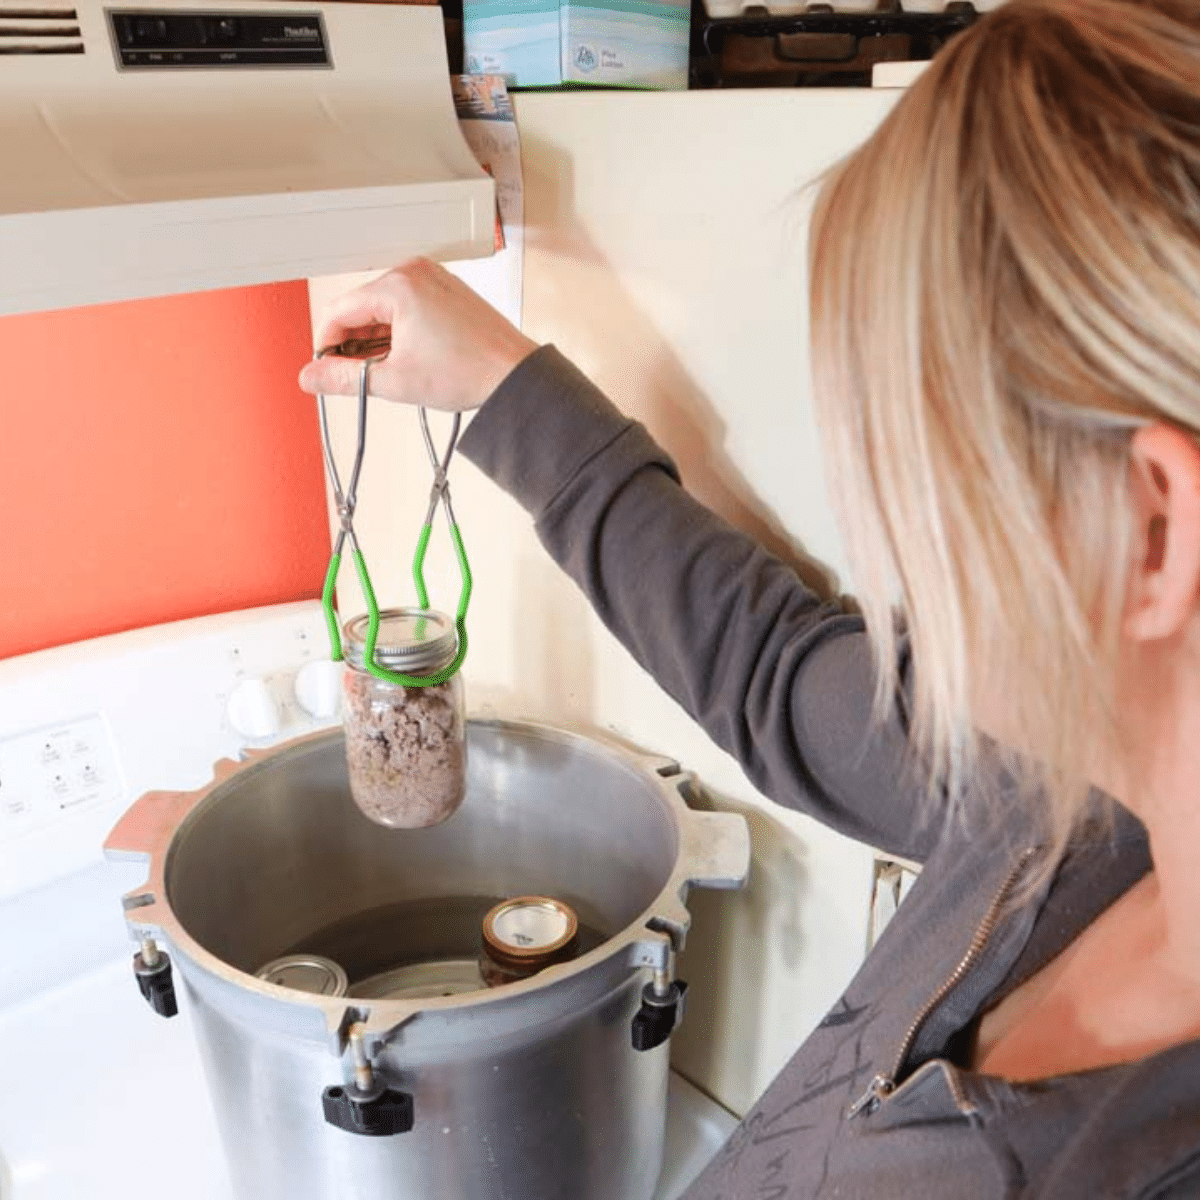
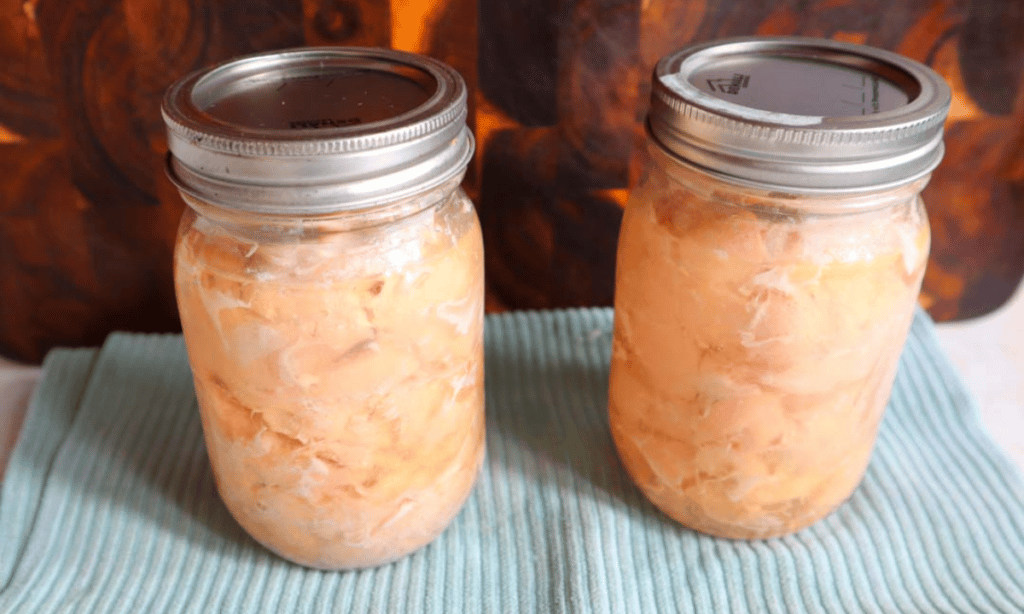
Remove lid by opening away from face. Using a jar lifter, remove jars from pressure canner and place on a towel on the counter. Do not place jars directly on counter as that can cause temperature shock and break the jars. Leave jars undisturbed for 12 hours.
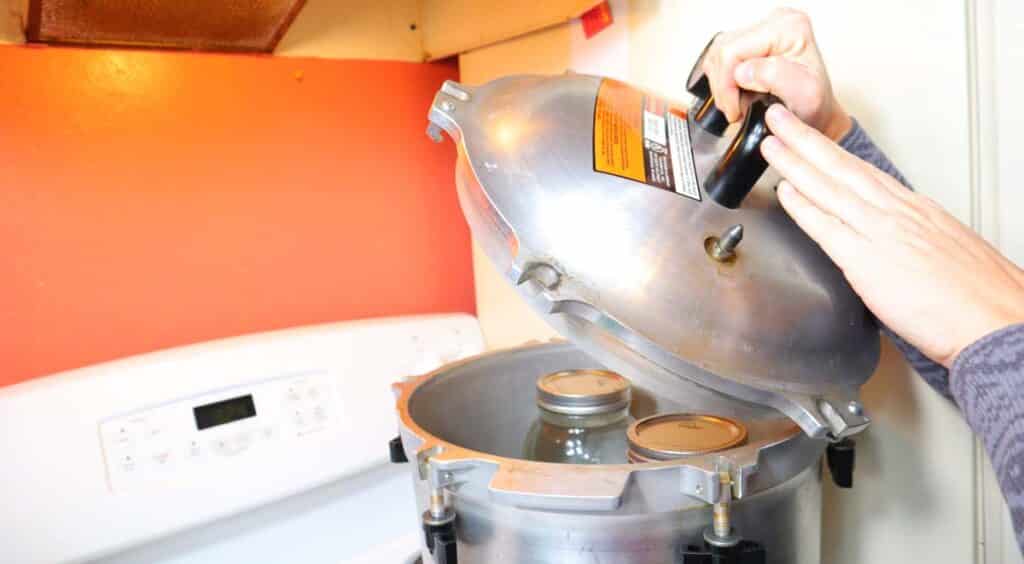
After 12 hours, remove rings and check seals on all jars. If there are any jars that didn’t seal, place in the refrigerator and use within a few days. Wash all the jars and label each individual jar with contents and date. Place on pantry shelf to use for later!
FAQs
How long does canned chicken last?
The official answer is that home canned food lasts one year. However, that is based off of the nutritional value. After a year, it will still be useable. Just keep jars in a dark, cool place and canned chicken will last for a long time!
Can you can chicken in a pressure cooker?
No. Never can chicken in a pressure cooker. A pressure cooker is a different thing than a pressure canner. If you are looking for a great pressure canner, the All American canner is one that has lasted me many years and has no end in sight.
Do you have to remove the skin when canning chicken?
No, the skin can stay on chicken when canning. Removing the skin is an optional step.
How do you use home canned chicken?
Once chicken is canned, you can just open it up and start eating it straight from the jar. However, it goes great in meals like chicken salad, chicken tacos, or chicken sandwiches. Throw it in soups or casseroles. The ways to use up home canned chicken are endless!
Save This Post For Later
This post may contain affiliate links which I would receive a small commission at no additional cost to you. Please read disclaimer and privacy policy for full disclosure.
