Pressure Canning Rice for Rulebreakers
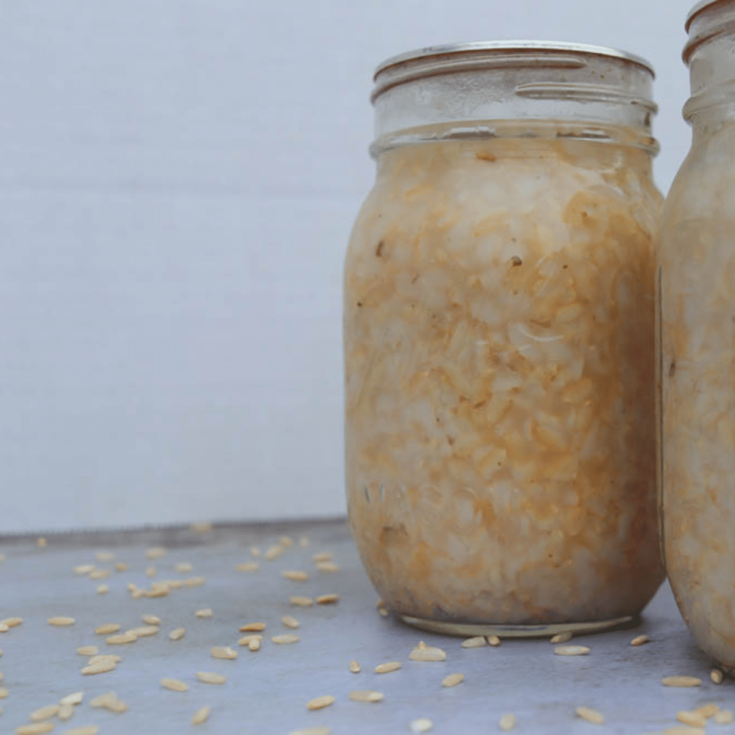
Pressure canning rice is one home food preservation way that is known as “rebel canning.” Canning rice has not been tested. Therefore, it is not recommended to can rice, However, that doesn’t mean that it hasn’t been done before. If you choose the rebel way of life, like me, well then join me in canning rice for a delicious way to have ready to eat rice at any moment.

Dry canning is a pretty popular method of food preservation that involves mason jars and usually oxygen absorbers. However, with dry canning, you still have to cook the food. Pressure cooking food during the canning process allows you to open up the jar of food and just start eating straight off the pantry shelf. Home canning is great for convenience and long-term storage. You can store this ready to eat food at room temperature, never having to worry about freezer space. We all remember the grocery store during 2020.
Pressure Canning Rice
The first step in pressure canning rice is to get the supplies ready. Clean your jars, lids, and bands. Get the pressure canner on the stove, but don’t turn it on yet.
Rinse rice.
Fill pint jars with 1/2 cup rice using a canning funnel is a great way to keep the mess down.

Season to taste. This could be salt, garlic salt, or pepper. Personally, I like to do a 1/2 tsp of salt and 1/2 tsp garlic salt per pint jar of brown rice.

Fill jars with chicken broth to one inch headspace. The chicken broth can be replaced with water, however broth adds flavor.


Wipe rims with clean cloth and place lids on top of mason jar and screw bands on finger tight.

Place jars into pressure canner. Check water level and ensure that there is around 2-3 inches of water in the bottom of the pressure canner. Place lid on canner and turn on heat.

Once steam is coming out of vent, allow steam to escape for 10 minutes and then pressure can at 10 lbs of pressure for 20 minutes, unless you live in a high altitude area.

After the canning process is done, turn stove off and allow pressure to lower to zero. Remove dial gauge and allow pressure to release some more. Open lid away from face, remove the home-canned rice and place on a towel, leaving undisturbed for a day.
The next day, check for proper seal on all jars and wash outside of jars if needed.

Optionals
You can change up your rice flavor if desired! Here are some options:
- bay leaves
- garlic
- tomato juice
- cinnamon (probably best with white rice)
- any other of your favorite dry spices
- cook with any wild game or other meat
Need to Know
While canning rice is doable, the only way to ensure that a recipe is guaranteed safe is to use a recipe that is tested, tried, and true. A great reliable source of research-tested recipes is the Ball Blue Book Guide to Preserving. Use this rice recipe at your own discretion. You can also check out the National Center for Home Food Preservation. If you are uncomfortable with “rebel” canning, using a vacuum sealer with a jar attachment for dry canning. Be sure to use oxygen absorbers to control the moisture content. Dry goods can also be stored in mylar bags.
The best way to store your food items that are canned at home is in a dark place, in room temperature or cooler. Long term storage does best when not exposed to light.
I find rice best canned in smaller quantities of pint jars instead of quart jars, even with feeding a large family.
This recipe works for brown or white rice. If canning wild rice, process for an extra ten minutes.
Print Recipe Here
Pressure Canning Rice

Ingredients
- Rice
- Chicken broth or water
- Seasonings (salt, garlic salt, etc.)
Instructions
- Fill pint jars with 1/2 cup rice using a canning funnel is a great way to keep the mess down.
- Season to taste. This could be salt, garlic salt, or pepper. Personally, I like to do a 1/2 tsp of salt per pint jar of brown rice.
- Fill jars with chicken broth to one inch headspace. The chicken broth can be replaced with water, however broth adds flavor.
- Remove air bubbles.
- Wipe rims with clean cloth and place lids on top of mason jar and screw bands on finger tight.
- Place jars into pressure canner. Check water level and ensure that there is around 2-3 inches of water in the bottom of the pressure canner. Place lid on canner and turn on heat.
- Once steam is coming out of vent, allow steam to escape for 10 minutes and then pressure can at 10 lbs of pressure for 20 minutes, unless you live in a high altitude area.
- After the canning process is done, turn stove off and allow pressure to lower to zero. Remove dial gauge and allow pressure to release some more. Open lid away from face, remove the home-canned rice and place on a towel, leaving undisturbed for a day.
- The next day, check for proper seal on all jars and wash outside of jars if needed.
Save For Later

This post may contain affiliate links which I would receive a small commission at no additional cost to you. Please read disclaimer and privacy policy for full disclosure.


