Canning the Perfect Pear Jam Recipe
Water bath canning this pear jam recipe takes just a few simple ingredients but is a great way to preserve that wonderful pear taste.

In this step by step guide, we start with actually making the pear jam. Then we will go through the art of water bath canning, ensuring that your homemade pear jam remains fresh and flavorful for months to come. This is an easy pear jam recipe that is perfect for beginner canners.
Whether you have a pear tree in your backyard providing you with an abundance of pears, you are buying pears in bulk during pear season, or just buying pears from the grocery store, these jars of preserves are sure to bring you joy for months!
This post may contain affiliate links which I would receive a small commission at no additional cost to you. Please read disclaimer and privacy policy for full disclosure.
Gather Your Ingredients
- Pears: 4 pounds (approx. 11 pears) Choose firm, ripe pears, as they will hold up better during the canning process. Aim for varieties like Bartlett pears or Bosc pears.
- Sugar: 2 to 3 cups
- Lemon juice: 1/3 cup
Gather Your Equipment
- Peeler
- Knife
- Cutting board
- Large bowl
- Heavy bottomed pot
- Potato masher, Immersion blender, Blender, or Food processor
- Water bath canner or Large pot
- Half-pint or pint jars – I like to do a couple half pint jars for gifting to other people.
- Canning supplies
Prepare the Pears
Wash the fresh pears thoroughly, peel them, and remove the cores. Chop pears into small pieces, especially if you are going to want a “chunky” jam.

Cover the pears in fresh lemon juice to prevent them from browning.
Combine pears with 2 to 3 cups of sugar and mix well. If you like your jam really sweet, use the 3 cups. If you prefer a more natural jam, use less sugar.

Place in the refrigerator overnight. (This is a good time to wash jars and lids in hot soapy water, getting everything prepared for tomorrow.)

Cooking the Pear Jam
The next day, in a heavy bottomed pot, place your pear mixture in and bring to a full rolling boil, stirring often to prevent any sticking.

Once boiling, turn heat down to a medium-low.
Using either a potato masher or immersion blender, crush up the pear chucks to your desired “chunkiness.” Another option, if you don’t want chunks, is to just dump the mixture into a blender or food processor and blend that way. It is much less work to do it that way.

Cook pear jam recipe until it reaches gel stage, approximately 20-30 minutes. You can use a thermometer or do the spoon test. Where I live in eastern South Dakota, my jam gels up at 208 degrees F. At sea level, jam will gel at 220 degrees F. (If you are canning the jam, now is the time to get the water bath canner and jars warming up.)
When the jam is set, remove from heat and either place in jars for freezer storage or follow the directions below to water bath can the homemade jam.
Canning Pear Jam
Place the canning funnel over jar to minimize spills. Ladle the hot pear jam into the hot jars.

Fill jars to ¼ inch headspace.

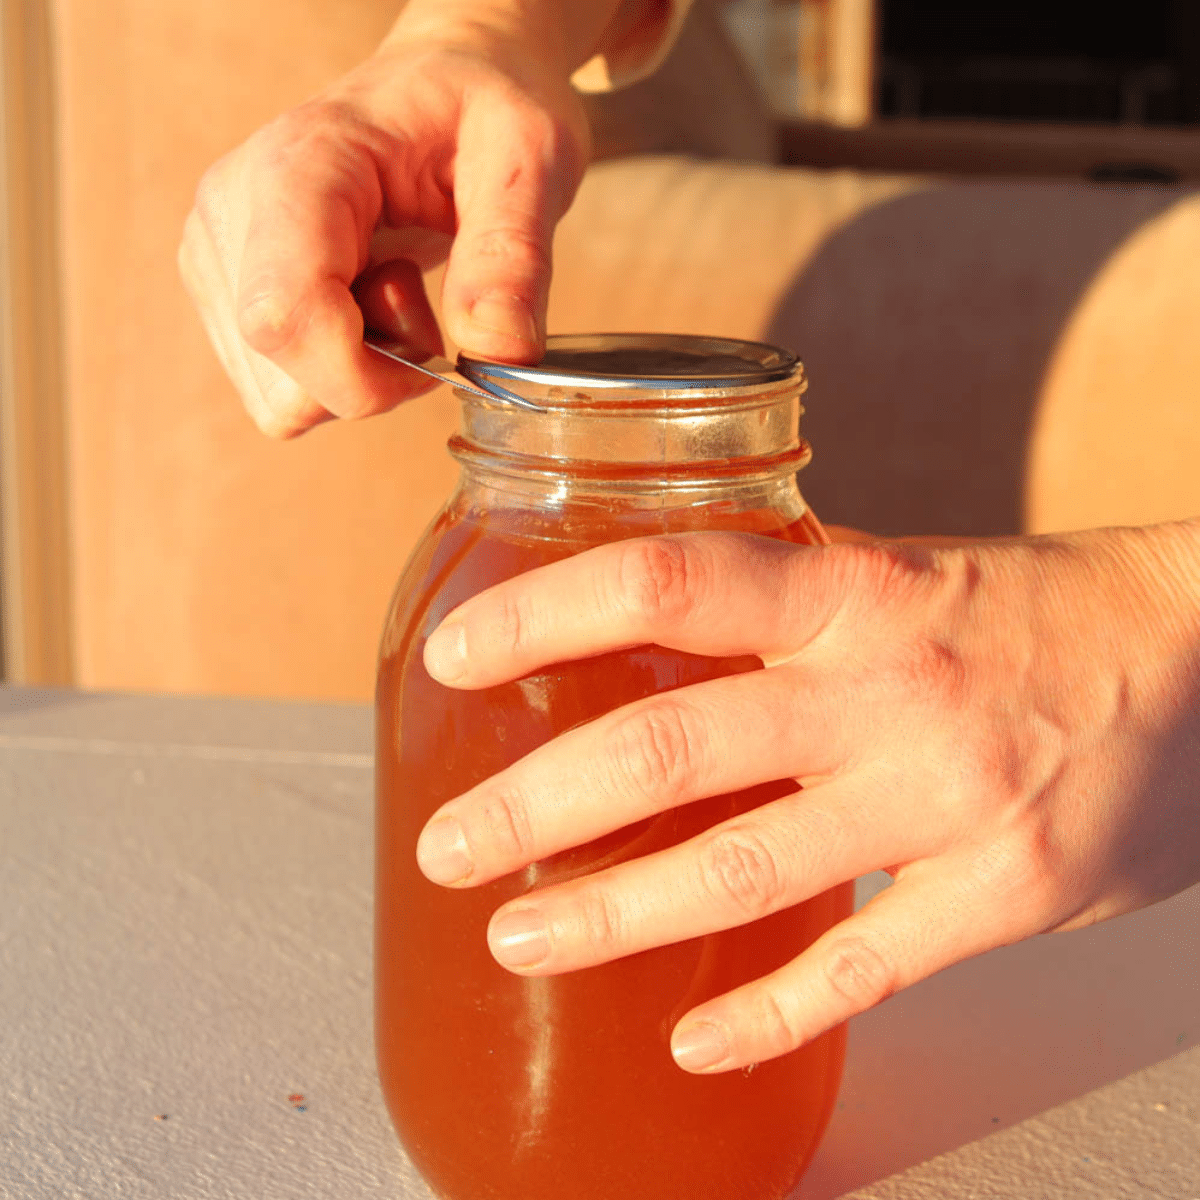
Run a bubble remover tool or thin spatula along the inside of the jars to eliminate any air bubbles.
Wipe jar rims with moist paper towel to ensure there is no jam on top, blocking a seal.

Place sterilized lids on top and screw the bands until they’re fingertip-tight.

Using a jar lifter, lower jars into the hot water in the water bath canner. Jars should be completely submerged in water.

Process jars for 10 minutes, adjusting for altitude if necessary. For every 1,000 feet above sea level, increase processing time by 1 minute.
Turn off the heat and let jars sit for at least 5 minutes, then carefully remove the hot jars from the canner.
Place jars on a towel on the counter to allow them to cool for 12-24 hours. After cooling, check the lids to ensure they have sealed properly.
Label jars with date and contents and store in a cool, dark area.
If you make this recipe and love it, I would love if you gave it 5 stars! Tag me on Instagram @1898_mama with your delicious creation.
Pear Jam Recipe – Print Here
Pear Jam Recipe

Water bath canning this pear jam recipe takes just a few simple ingredients but is a great way to preserve that wonderful pear taste.
Ingredients
- 4 lbs. pears
- 2 cups sugar
- 1/3 cup lemon juice
Instructions
- Wash the fresh pears thoroughly, peel them, and remove the cores. Chop pears into small pieces, especially if you are going to want a "chunky" jam.
- Cover the pears in fresh lemon juice to prevent them from browning.
- Combine pears with 2 to 3 cups of sugar and mix well. If you like your jam really sweet, use the 3 cups. If you prefer a more natural jam, use less sugar. Place in the refrigerator overnight.
- The next day, in a heavy bottomed pot, place your pear mixture in and bring to a full rolling boil, stirring often to prevent any sticking.
- Once boiling, turn heat down to a medium-low.
- Using either a potato masher or immersion blender, crush up the pear chucks to your desired "chunkiness." Another option, if you don't want chunks, is to just dump the mixture into a blender or food processor and blend that way. It is much less work to do it that way.
- Cook pear jam recipe until it reaches gel stage, approximately 20-30 minutes. You can use a thermometer or do the spoon test. (If you are canning the jam, now is the time to get the water bath canner and jars warming up.)
- When the jam is set, remove from heat and either place in jars for freezer storage or water bath can the homemade jam.
- Place the canning funnel over jar to minimize spills. Ladle the hot pear jam into the hot jars, leaving ¼ inch headspace.
- Run a bubble remover tool or thin spatula along the inside of the jars to eliminate any air bubbles.
- Wipe jar rims with moist paper towel to ensure there is no jam on top, blocking a seal.
- Place sterilized lids on top and screw the bands until they're fingertip-tight.
- Using a jar lifter, lower jars into the hot water in the water bath canner. Jars should be completely submerged in water.
- Process jars for 10 minutes, adjusting for altitude if necessary. For every 1,000 feet above sea level, increase processing time by 1 minute.
- Turn off the heat and let jars sit for at least 5 minutes, then carefully remove the hot jars from the canner.
- Place jars on a towel on the counter to allow them to cool for 12-24 hours. After cooling, check the lids to ensure they have sealed properly.
- Label jars with date and contents and store in a cool, dark area.
Notes
- Add 1 cup brown sugar to your homemade pear jam recipe for a nice caramel flavor.
- Throw some cinnamon sticks for a cinnamon pear jam.
- Using a vanilla bean or two in each jar will provide your with pear vanilla jam.
Alternative Options
- Add 1 cup brown sugar to your homemade pear jam recipe for a nice caramel flavor.
- Throw some cinnamon sticks for a cinnamon pear jam.
- Using a vanilla bean or two in each jar will provide your with pear vanilla jam.
FAQ’s
Why don’t I need to add pectin?
Pears are full of natural pectin, so there is no need to add any. This makes the perfect recipe for a first time canner because it is so simple for new canners.
What is the difference between pear jam and pear preserves?
Pear preserves are more chunky, sometimes with whole fruit in them. Pear jam has chopped or pureed pears.
How long does canned pear jam last?
As long as you are not keeping it in direct sunlight, canned pear jam should last at least 18 months. Once opened, store in the fridge for a few weeks.
Make the Pear Jam Recipe With Me
Water bath canning pear jam is a fantastic way to capture the essence of fresh pears and savor their flavors long after the harvest season has passed. With the right ingredients, equipment, and careful attention to detail, you’ll be able to enjoy your homemade pear jam on toast, in desserts, or as a thoughtful homemade gift for friends and family. Happy canning!
Save This Pear Jam Recipe for Later

This post may contain affiliate links which I would receive a small commission at no additional cost to you. Please read disclaimer and privacy policy for full disclosure.
