How to Use a Pressure Canner for Beginners
In these step by step instructions, learn how to use a pressure canner for beginners so that your food preservation can really level up.
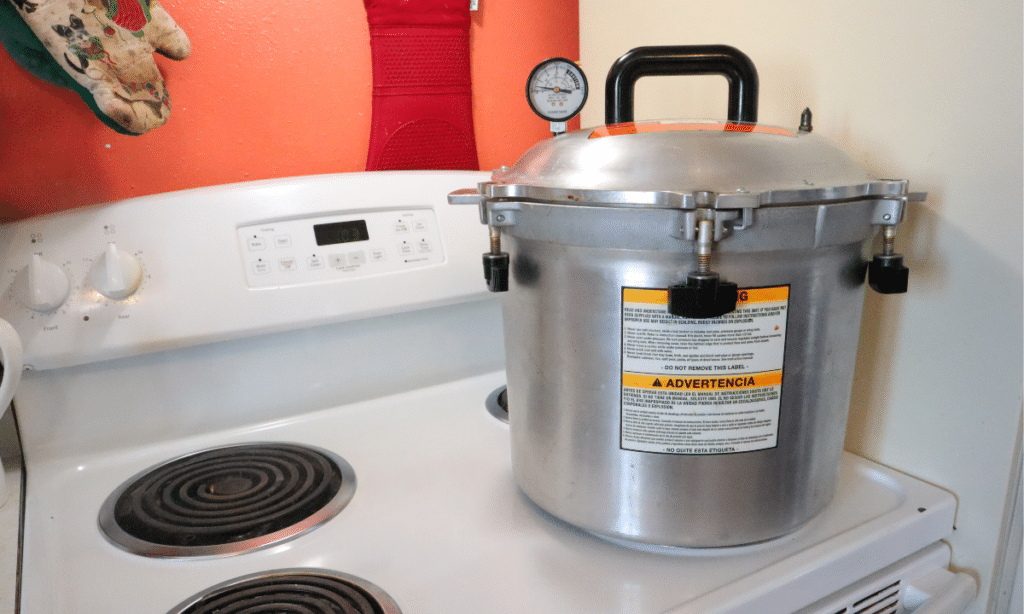
Many people are nervous to use a pressure canner. There are stories of how someone knew someone back in the day and the pressure canner blew up the kitchen. Let’s put that to bed right now. These days, there are so many safety features in place and educational materials that blowing up one’s kitchen, isn’t a thing anymore.
This post contains affiliate links, which means I make a small commission at no extra cost to you. See my full disclosure here.
What is a pressure canner?
A pressure canner is essentially just a really large, heavy pot. What is special about it though is the lid. The lid gets locked onto the pot and the steam pressure builds up inside the pot by how hot the burner underneath the pot gets. The internal temperature of the pot has higher temperatures than a water bath canner, which only gets as hot as the boiling water gets. The pressurized steam of a pressure canner gets jars heated to 240 degrees F. These high temperatures are recommended for low-acid foods (meats, beans, etc) to kill any spores that cause botulism.
On top of the pot, there will be a weighted gauge or dial. This is a pressure regulator and allows you to regulate the pressure building up inside. Depending on what you are pressure canning, there will be a correct pressure and correct amount of time using that pressure that ensures your food gets a good seal. There are two different kinds of pressure regulators.
- Dial-gauge: A weight that gets placed onto the vent pipe. This will not determine the amount of pressure. The user must watch the dial gauge to determine when the correct amount of pressure is achieved.
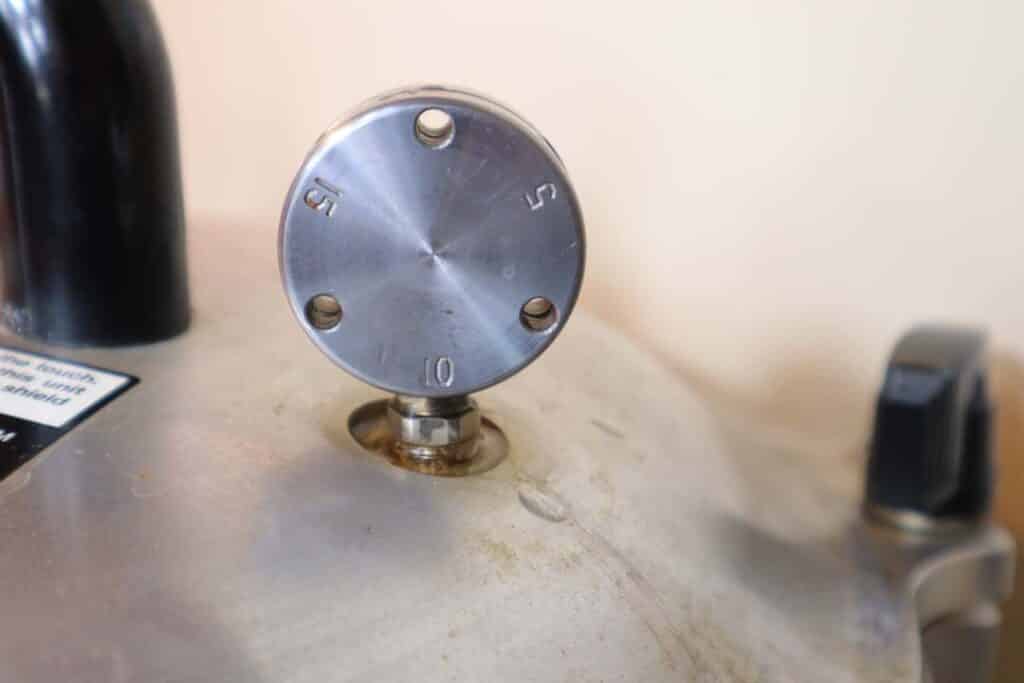
- Weighted-gauge: A heavy circle that gets placed onto the vent pipe. This weighted circle sets pressure to be at 5, 10, or 15 pounds. When it reaches correct pressure, it jiggles, making a loud sound.
While both pressure canners are great, a dial-gauge pressure canner does require a bit more “babysitting” during the canning process. With a weighted-gauge pressure canner, you can sit and listen to rattling of the weight. However, with a dial-gauge, you do have to watch the pressure and make sure it stays in the correct range.
How to Use a Pressure Canner
Since I only have a weighted gauge pressure canner and not a dial gauge canner, these steps will show how to use a weighted gauge pressure canner. However, if you do have a dial gauge canner, the steps will be fairly similar.
Prepping for Canning
There are a few things that should be done before canning. Read your instruction manual and get to know the pressure canner that you own. It’s a good idea to read the manufacturer’s directions ahead of time, so you aren’t looking for something later when you are in the middle of home food preservation.
One that I do every single time is lift the lid up and make sure there is nothing blocking the vent hole. Nothing has ever been in mine, but it is still something that I check.
If you have a gasketless canner, such as the All-American pressure canners, the place where the metal meets metal needs to be oiled every so often. This can be done with vaseline or olive oil. Just run your finger along the seal and lubricate.
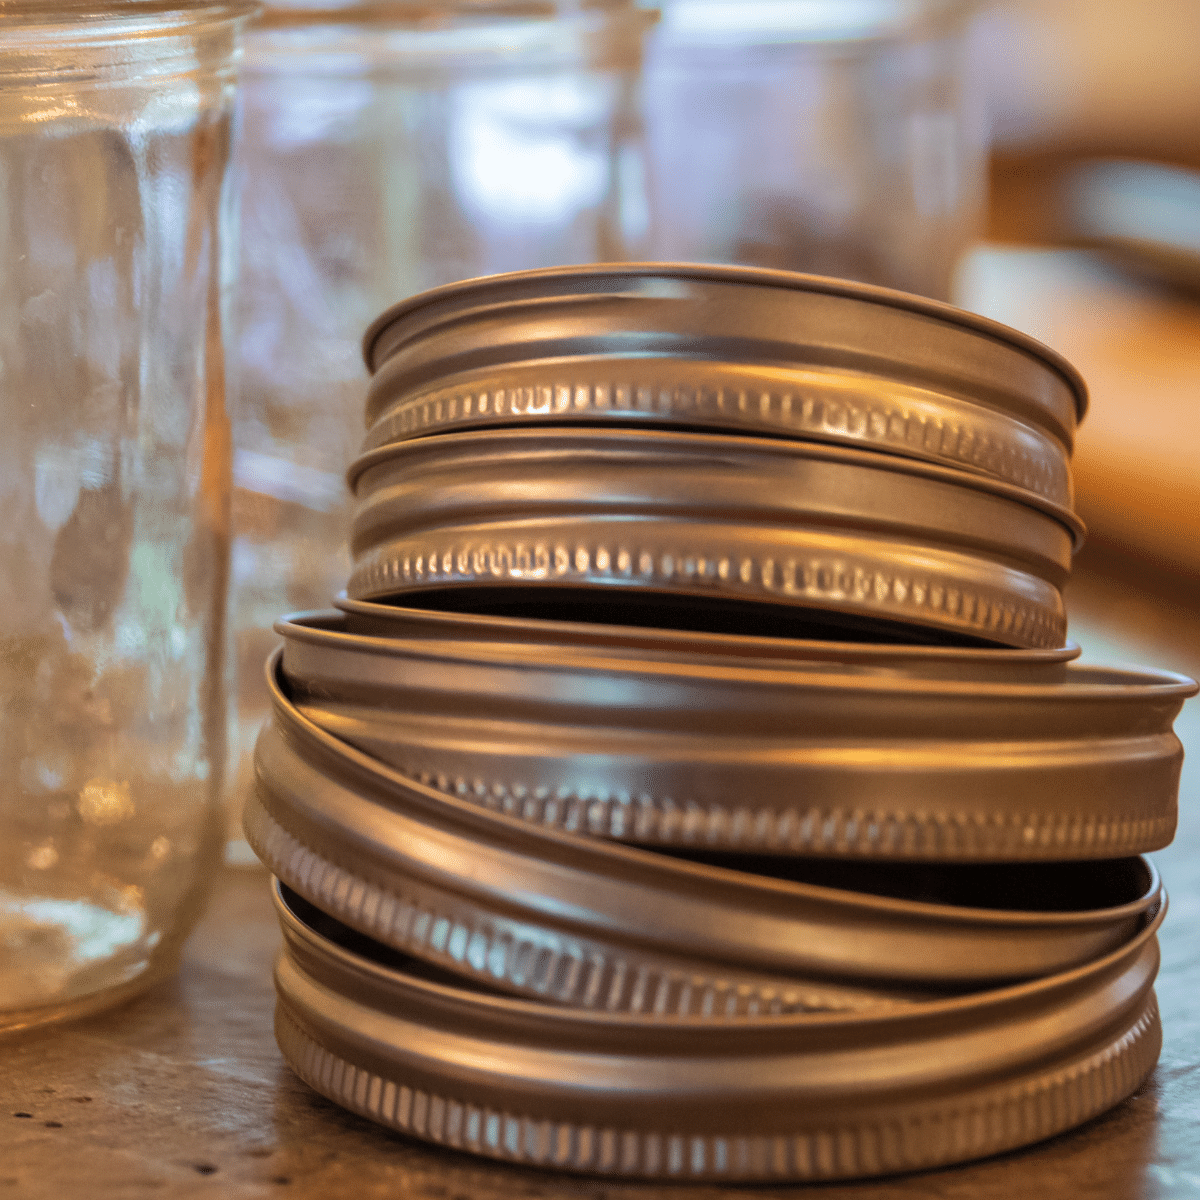
Wash all of your canning jars, lids, and rings in hot soapy water.
Know your altitude. Higher altitudes require higher pounds of pressure while canning. If you are above 1,000 feet of sea level, the required pressure will be different than the typical recommended amount on a recipe. Normally, it involves just changing it from 10 pounds pressure to 15 pounds pressure.
Prepare Food for Canning
There are two different ways to pressure can food. One way is to raw pack and the other is hot pack. Raw packing is much more simple. It’s placing the food in the jars, placing the jars in the canner, and starting the pressure canner. Remember this rule: Cold food, cold jars, cold canner. To see an example of raw packing, check out this post on how to can bacon. Since raw packing is much more simple, I will be showing the steps to hot packing.
Hot packing requires you to pre-cook the food somehow. Depending on the recipe being used, there are different reasons for this. For instance, when pressure canning sausage, you par-cook the sausage first. This ensures the sausage doesn’t end up in one big clump.
While the food is cooking, you can start warming up the pressure canner. Place 1-2 inches of water into the bottom of the pot and turn the stove onto a low-medium setting. We aren’t looking for a rolling boil, just warmth. Before doing anything else, make sure the jar rack is in the bottom of the canner here so that you don’t forget later. When the jars are in the canner, you are looking for 2-3 inches of water. We start with around 1 inch because when you add the jars, the water will rise.
At this point, the canning jars also need to be heated up. You can do this by placing them in the pressure canner when you start warming up the water or in a 250 degree F oven. Remember this rule: Hot food, hot jars, hot canner. If you time it right, you can also use the dishwasher to clean the jars and then keep them warm until filling.
Filling the Jars
When the food is prepared, you can start filling the jars to the recommended headspace. Each recipe will have it’s own specific headspace. There are tools available to show you exactly how much headspace you have filled.
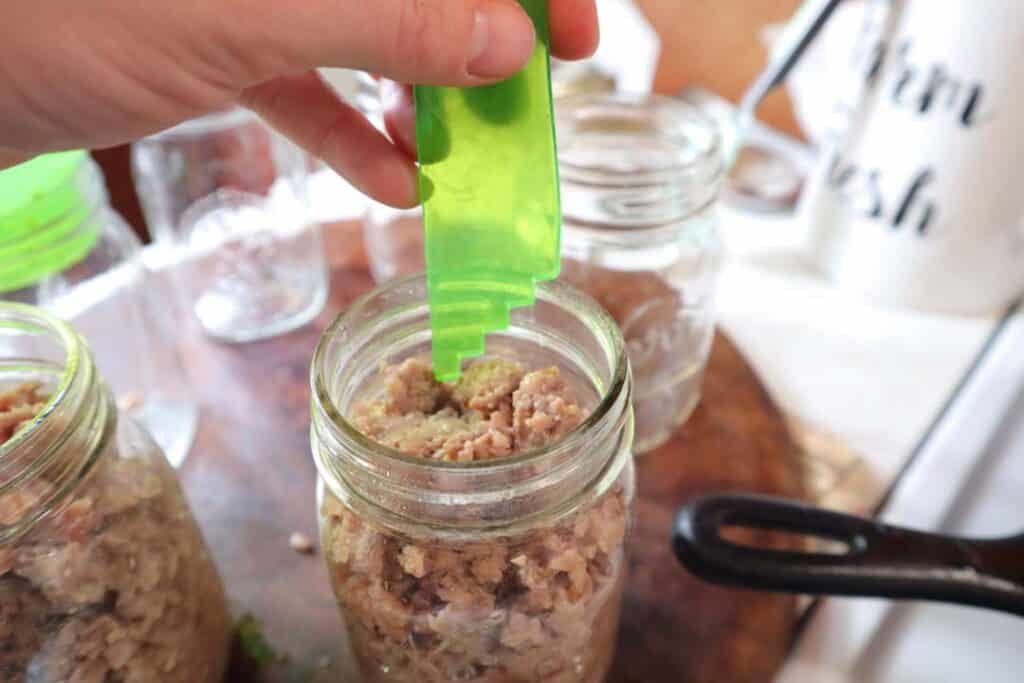
Remove air bubbles by sliding a non-metallic something down the edges of the jars. You can use a small spatula, a wooden dowel, or get this tool that doubles as a headspace checker and de-bubbler.
Wipe the rim of the jar with a clean, damp towel.
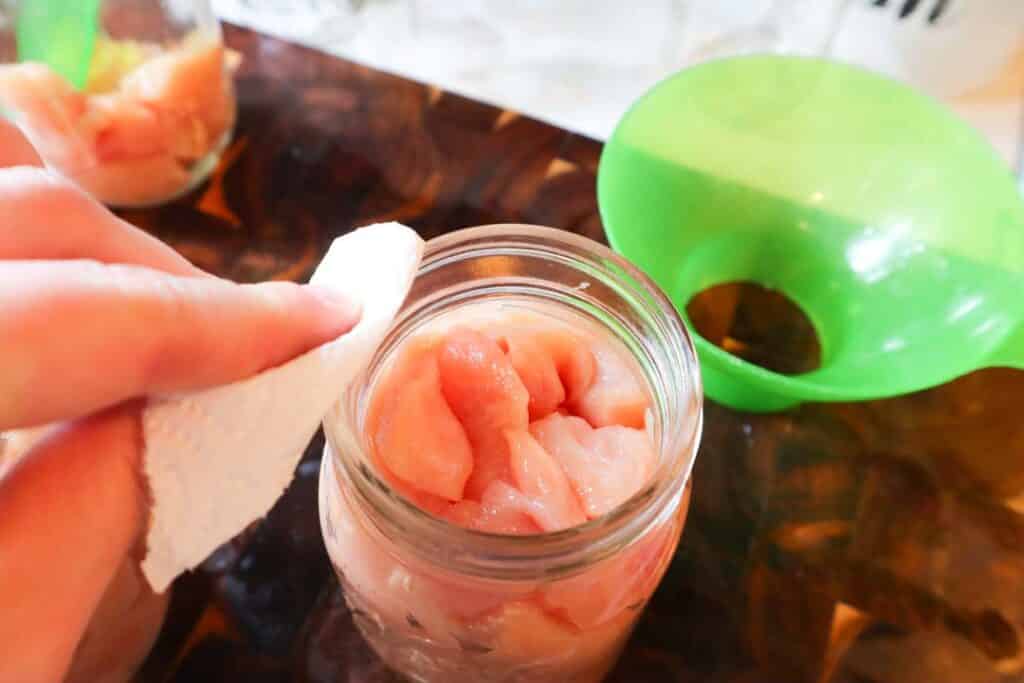
Place lids and rings on jars. When screwing the rings on, just go tight enough that your fingers are closing it without struggle. You don’t want them too tight, but too loose is bad as well.
Canning Process
Place the jars onto the the rack inside of the canner. Keep jars from touching each other. They should be close but not touching.
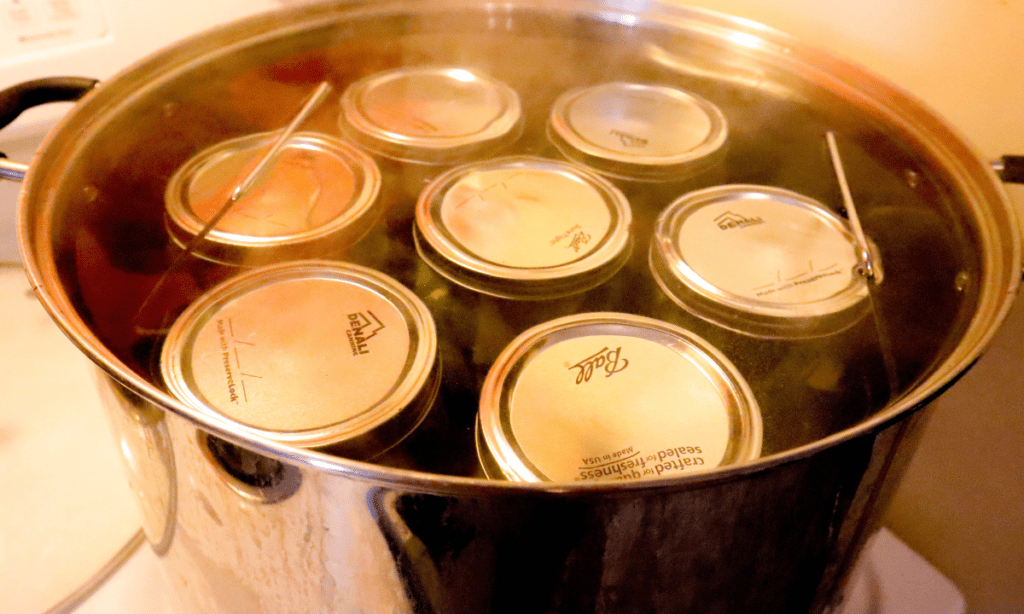
Take the canner lid and place it on top of the canner. On the all american canners there will be a line on the canner and an arrow on the lid. Line those up.
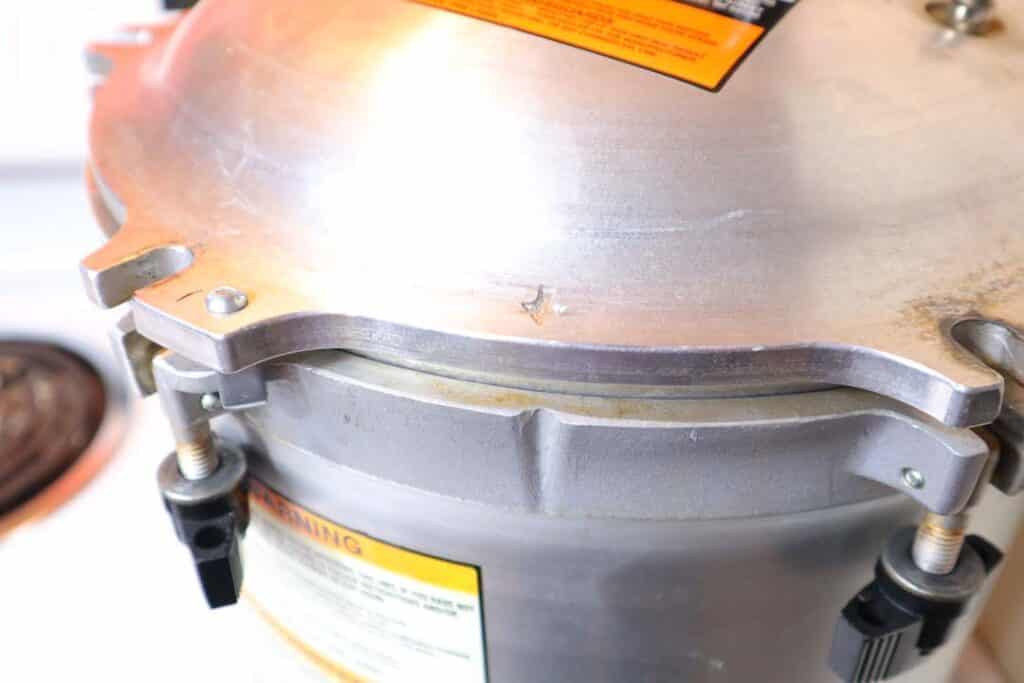
While locking lid, lock them diagonally. This helps place equal pressure on the lid while closing to prevent any steam from escaping later.
Do not place the weight on yet.
Turn the burner up and wait for a steady stream of steam to come out of the vent pipe. When this stream starts, set a timer for 10 minutes and allow that to escape.
When the 10 minutes is up, place the weight on with the desired pressure. This is where the pressure will build up.
Dial Gauge Canners:
Watch the gauge to see when it reaches the correct pressure.
Weighted Gauge Canners:
Listen for a rattling with the weight. When the correct pressure has been reached, the weight will jiggle. You want it to jiggle about 3 times a minute.
When the correct pressure has built up, turn down the heat to ensure it stays at this steady pressure for the entire time. Each stove and each burner will be different. For instance, I need to to have my front burner set about 3 here while my back burner heat needs to be about 4.5. You will learn your own stove.
Start timer for the processing time according the the recipe being used. Make sure that the pressure doesn’t drop below the recommended pressure for the entire processing time. If it does, you will need to restart processing time. This is where the weighted gauge canner is more beneficial as you can listen instead of watch the whole process.
Time’s Up!
When the processing time is over, turn off the burner and walk away. Do NOT try and take the lid or weight off here. Let the pressure release naturally on it’s own.
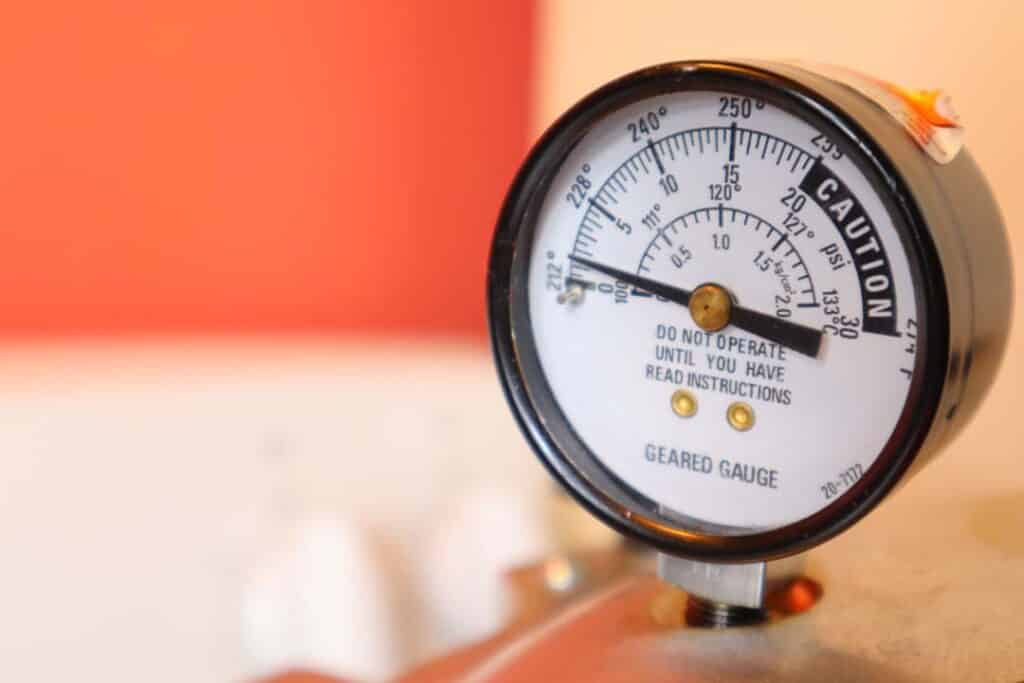
When the pressure is at zero, take the weight off. Wait at least a few more minutes before taking the lid off.
When taking lid off, open it away from your face. The steam will be hot and burning your face will not be fun. At this point, I like to let the jars cool inside the canner for a bit longer, about 5 minutes.
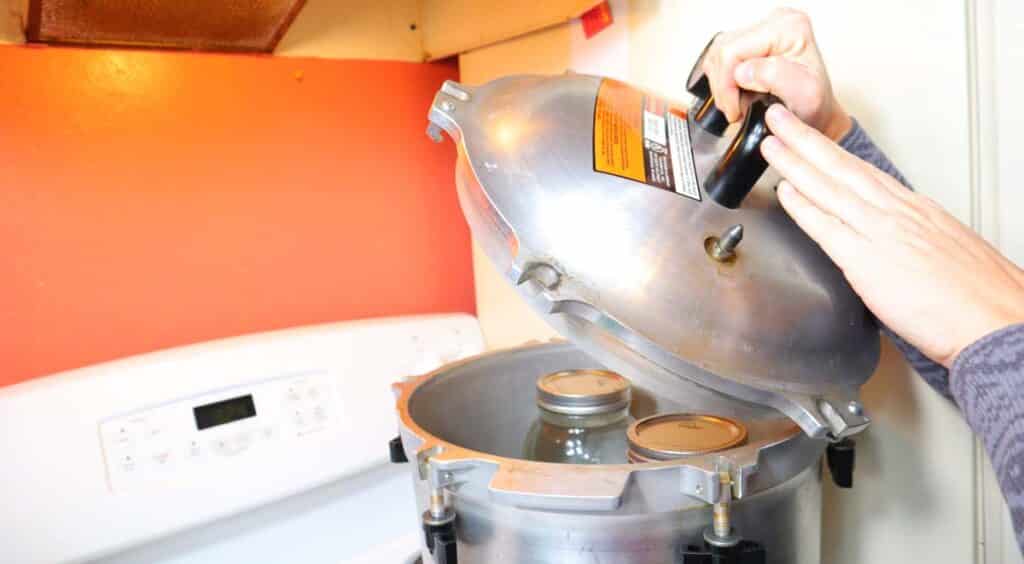
Place a towel on your counter to place the jars on. Grab your jar lifter and carefully remove the jars straight out of the canner. Do not tilt the jars. Place jars on the towel. The towel is to prevent heat shock. If you place the jars straight on the counter, they could break.
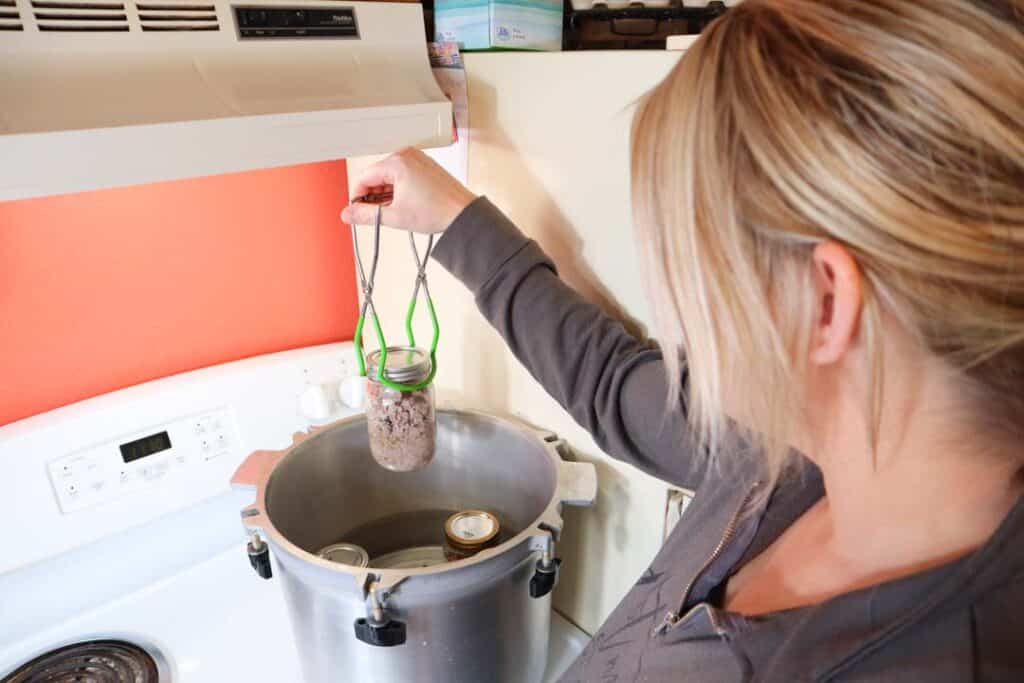
After placing jars on the towel, leave them alone for 12-24 hours. Do NOT push down on the lids yet. As the jars cool down, you may hear the infamous pinging noise. This is when they are achieving the seal.
You Did It!
Congratulations! Now it is time to check the seals! Take the rings off the jars and press down on the center of the lid. It should not pop up. As a double measurer, I also like to check by trying to take the lid off with my fingers.
If a jar did not seal, place in the fridge and eat within a few days or you can reprocess it.
Wash the jars to remove any residue.
Label your lids with contents and the date.
Store jars in a dark, cool place such as your pantry or a basement. Direct sunlight is not your friend here. I have placed jars under my bed before. Think outside the box if you need more room!
FAQ’s
What is the easiest thing to pressure can?
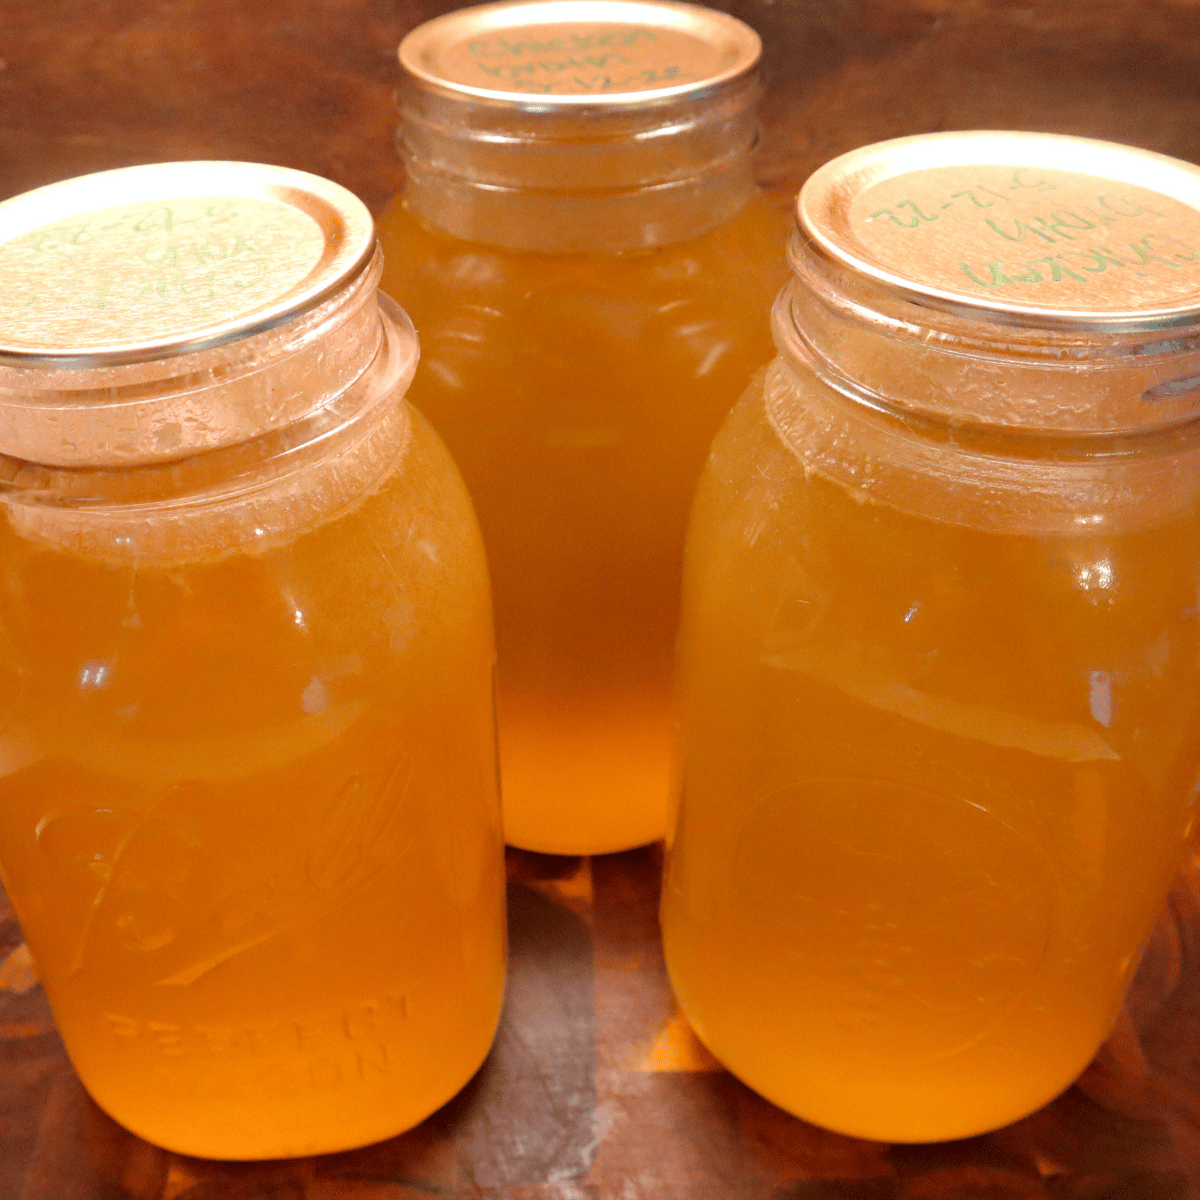
Starting with something like a chicken broth is probably the easiest.
What foods must be pressure canned?
Pressure canning is recommended for low acid foods. Things like meat, beans, and vegetables. Anything with a pH higher than 4.6. This website has a great list of things to pressure can.
Save This Post For Later
This post may contain affiliate links which I would receive a small commission at no additional cost to you. Please read disclaimer and privacy policy for full disclosure.
