Garlic Dill Pickle Recipe
This garlic dill pickle recipe is sure to turn into one of your favorite canning recipes. Made with whole mustard seeds, fresh dill heads, and whole garlic cloves, providing great flavor, these are the most delicious pickles to make with your abundance of garden produce.
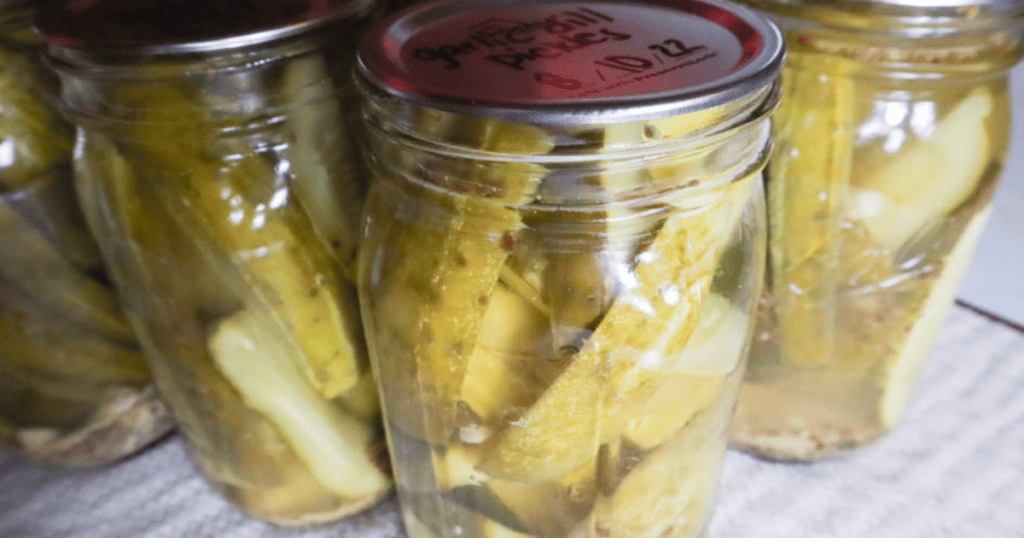
Homemade dill pickles are a great way to get shelf stable jars of pickles onto your pantry shelf that will last into the following year when you have more cucumber pickles growing in the garden, just in time to make more! This recipe does make a small batch, about 4 quarts of pickles per batch. However, I personally feel like that makes processing day less stressful.
Every year we plant numerous cucumber plants, not only for fresh eating but because store-bought pickles just don’t compare to home canned pickles. If you have never had any, try picking some up at a farmer’s market. They will quickly turn into your favorite pickles. The wonderful thing about being about to make your own though, is that your can control the ingredients. Don’t like mustard seed? Skip it. Love bay leaves? Throw a bay leaf into your jar!
Tips
- The faster you can get the cucumbers pickled after harvest, the more crisp and better tasting. Use your fresh cucumbers for the best tasting homemade garlic dill pickles.
- The best pickling cucumbers are 5 inches or less in length.
- Lots of bumps are good.
- If you want a lower sugar content, feel free to add less sugar.
- To make these as refrigerator pickles instead, skip canning them in the hot water bath and just place jars directly into the fridge. They will last about a month.
- If you have never water bath canned before, check out this post that is a complete beginners step by step.
This post contains affiliate links, which means I make a small commission at no extra cost to you. See my full disclosure here.
Products Used In This Recipe
Brine Ingredients
- 7-8 pounds of smaller cucumbers
- 5 cups of water
- 5 cups of white vinegar
- 1/4 cup sugar
- 5 tbsp. pickling salt
- 2 tbsp. of your preferred pickling spices (ex. 1 tbsp. celery seed, 1/2 tbsp. whole black peppercorns, 1/2 tbsp. allspice) For some spice, try adding red pepper flakes or hot peppers.
Garlic Dill Pickle Ingredients (Per Quart)
- 2-4 peeled garlic cloves
- 2 tsp whole mustard seed
- 2-3 chopped fresh diill or 2 tbsp. dill seed
Garlic Dill Pickle Recipe
Day One
This step is skipable, but it helps the cucumbers retain their crispiness. Plus, then you aren’t spending the WHOLE day in the kitchen, but are able to make your pickles in steps.
- Dissolve 1/2 cup pickling salt completely into 4 cups cold water, making a salt brine.
- Remove 1/16th blossom end of the cucumber. Slice into spears if wanted or leave in the form of whole pickles. Place cucumbers in ice water bowl, keeping as cold as possible. This will help produce a crisp pickle.
- Pour pickling salt water over the top of cucumbers. Let soak in fridge overnight, for up to 18 hours. Place a plate on top of cucumber to help keep them submerged. Placing a mason jar full of water can act as a weight.
Day Two
- Drain cucumbers and rinse well.
- Make brine in a large saucepan by bringing all brine ingredients together. Bring to a full boil for 15 minutes.
- While brine is simmering, wash jars in hot soapy water.
- Add pickle ingredients to the bottom of the jar.
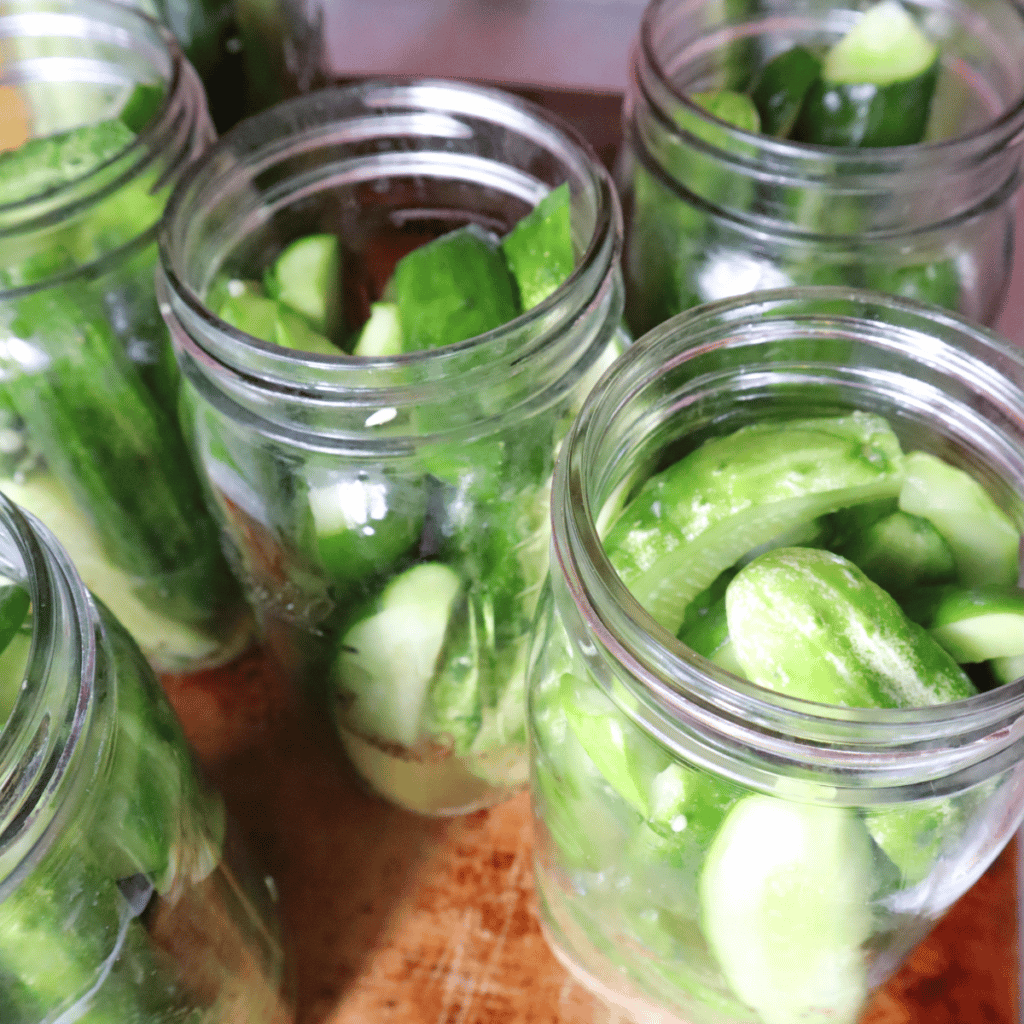
- Add cucumbers into jar up to 1/2 inch headspace.
- Add hot brine to 1/2 inch headspace.
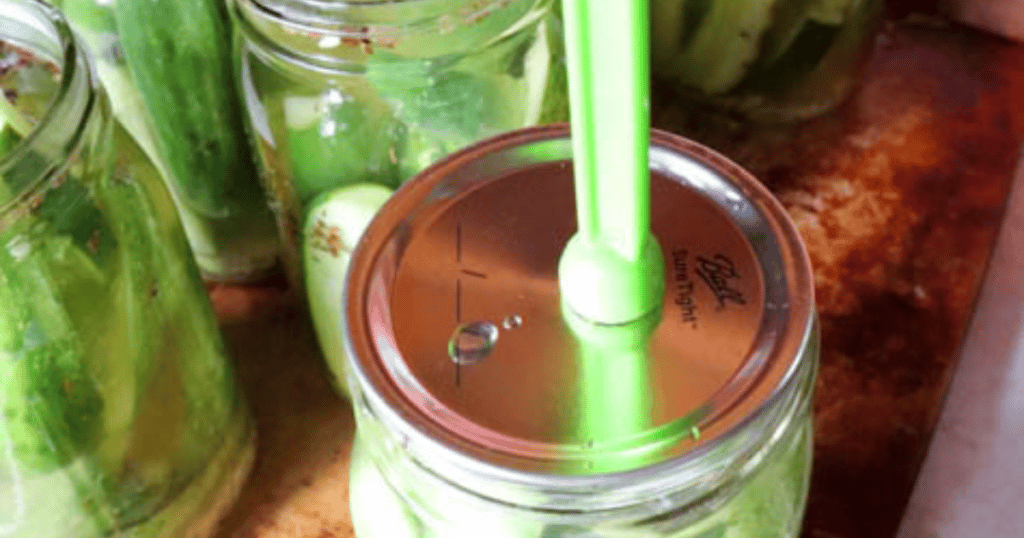
- Remove air bubbles and wipe rims.
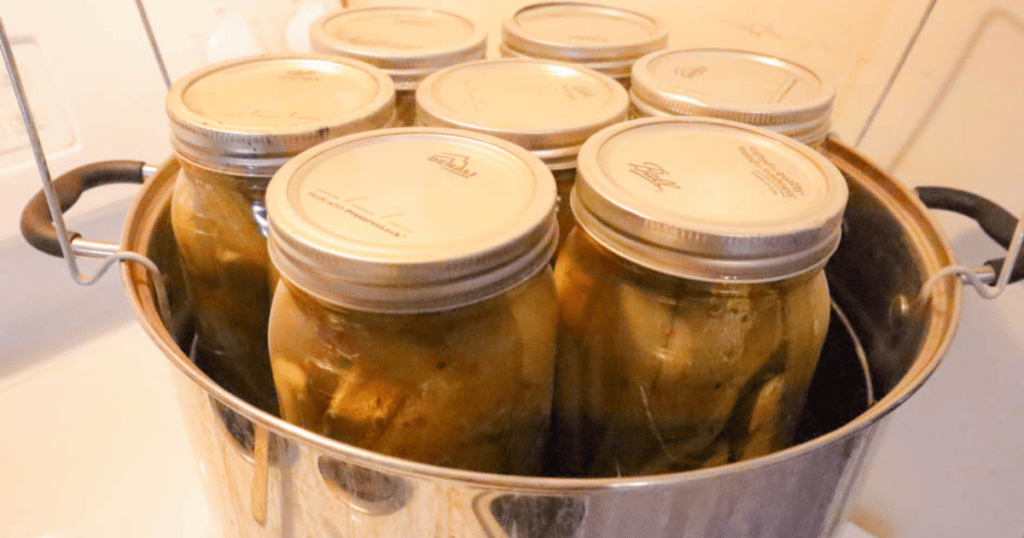
- Place lids and bands on top of jars. Place jars into canner.
9. Process in boiling water bath canner. Quarts need to be processed for 15 minutes and pint jars for 10 minutes.
The processing time listed is for altitudes of 1,000 feet or less.
For altitudes up to 3,000 feet, add 5 minutes; 6,000 feet, add 10 minutes; 8,000 feet, add 15 minutes; 10,000 feet, add 20 minutes.
10. Remove from canner.
What to Serve with Garlic Dill Pickles
How Long Are Home Canned Pickles Good For?
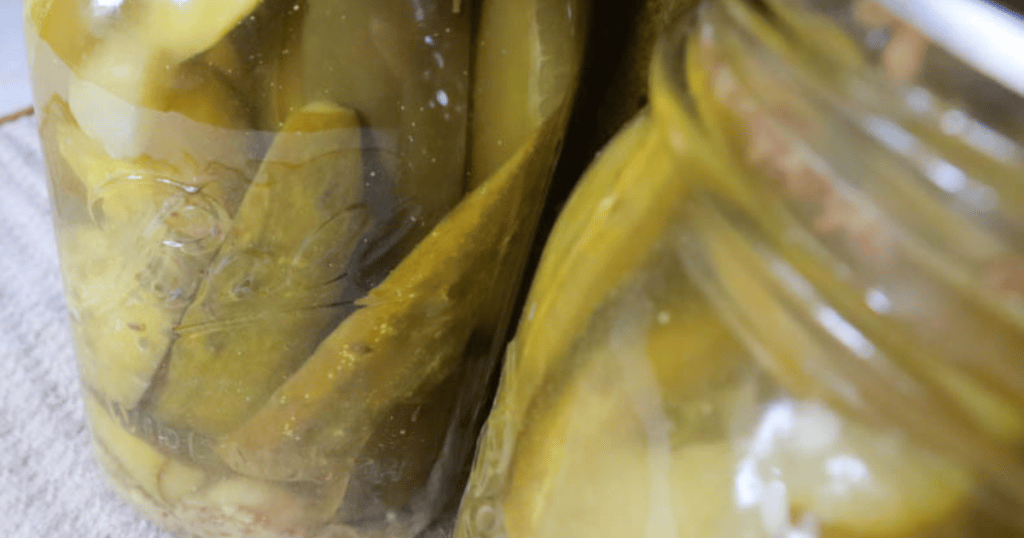
If stored in a cool, dry, dark place, they can be stored for up to one year. And they get better over time! Just make sure to put any jar you open into the fridge if you don’t eat them all right away!
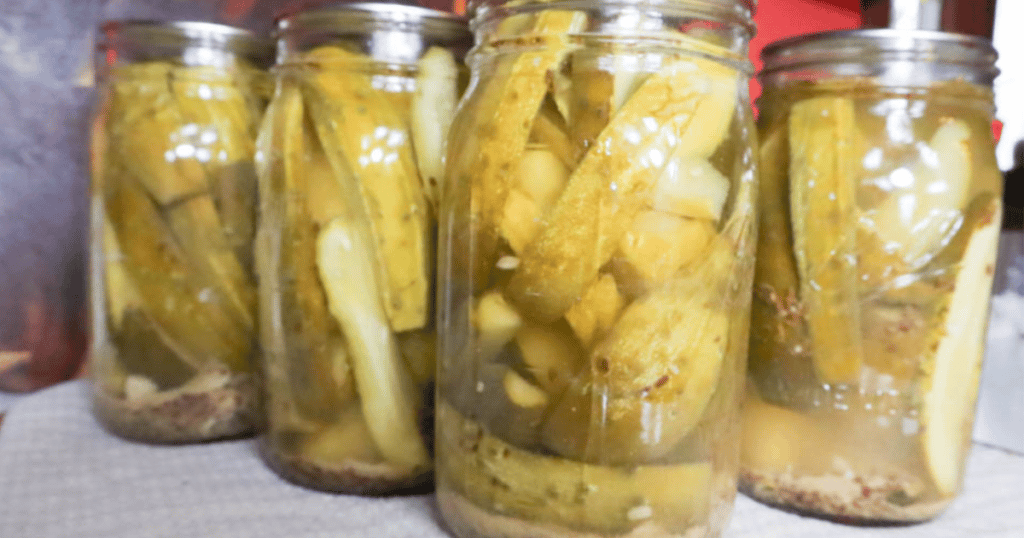
If you make this recipe, please let me know how you like it. Take a picture and tag me on instagram! @1898_mama
Print Recipe Off Here:
Garlic Dill Pickles
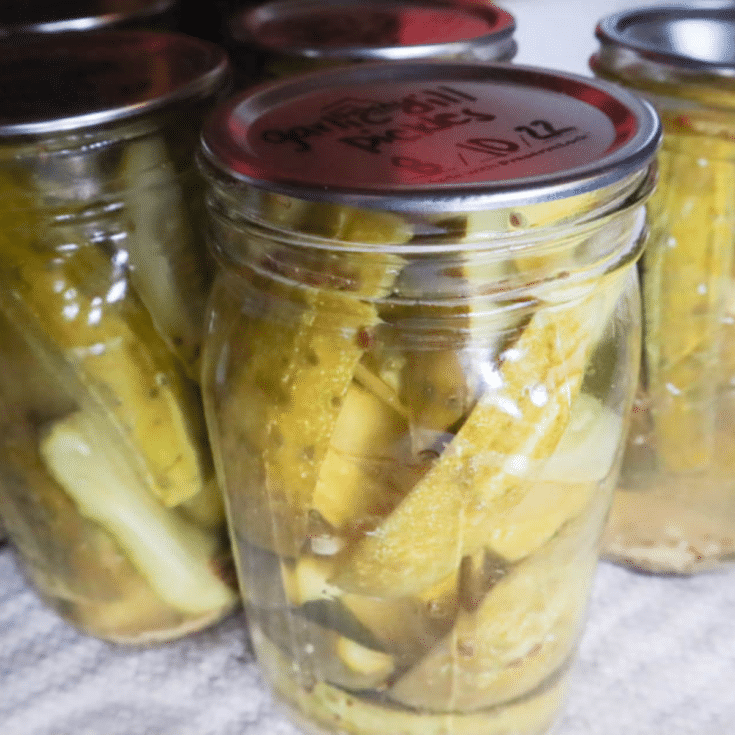
Ingredients
- 7-8 pounds of smaller cucumbers
- 5 cups of water
- 5 cups of white vinegar
- 1/4 cup sugar
- 5 tbsp. pickling salt
- 2 tbsp. of your preferred pickling spices (ex. 1 tbsp. celery seed, 1/2 tbsp. whole black peppercorns, 1/2 tbsp. allspice)
- For some spice, try adding red pepper flakes
- 2-4 peeled garlic cloves
- 2 tsp whole mustard seed
- 2-3 chopped fresh diill or 2 tbsp. dill seed
- 1-2 hot peppers (optional)
Instructions
- Dissolve 1/2 cup pickling salt completely into 4 cups cold water, making a salt brine.
- Remove 1/16th blossom end of the cucumber. Slice into spears if wanted or leave in the form of whole pickles. Place cucumbers in ice water bowl, keeping as cold as possible. This will help produce a crisp pickle.
- Pour pickling salt water over the top of cucumbers. Let soak in fridge overnight, for up to 18 hours. Place a plate on top of cucumber to help keep them submerged. Placing a mason jar full of water can act as a weight.
- Drain cucumbers and rinse well.
- Make brine in a large saucepan by bringing all brine ingredients together. Bring to a full boil for 15 minutes.
- While brine is simmering, wash jars in hot soapy water.
- Add pickle ingredients to the bottom of the jar.
- Add cucumbers into jar up to 1/2 inch headspace.
- Add hot brine to 1/2 inch headspace.
- Remove air bubbles and wipe rims.
- Place lids and bands on top of jars. Place jars into canner.
- Process in boiling water bath canner. Quarts need to be processed for 15 minutes and pint jars for 10 minutes.
Pin Garlic Dill Pickle Recipe Here:
This post may contain affiliate links which I would receive a small commission at no additional cost to you. Please read disclaimer and privacy policy for full disclosure.



Recipe does not state which ingredients are for the brine and which are for the pickles in the jar…