How to Render Lard
Once you learn how to render lard, it will become a staple in your pantry. Rendering lard is a wonderful homesteading skill that produces a natural fat that you can use for flaky biscuits, seasoning cast iron skillets, homemade pie crusts, or many other things.

Long ago, this was common knowledge. However, this skill has turned into a lost art that gets a bad rap. The next time you get a pig from the butcher shop, make sure to keep the fat to make your own lard. This is much better than any of the “fat” products you find on grocery store shelves, which will be pumped full of chemicals.
WHAT IS LARD?
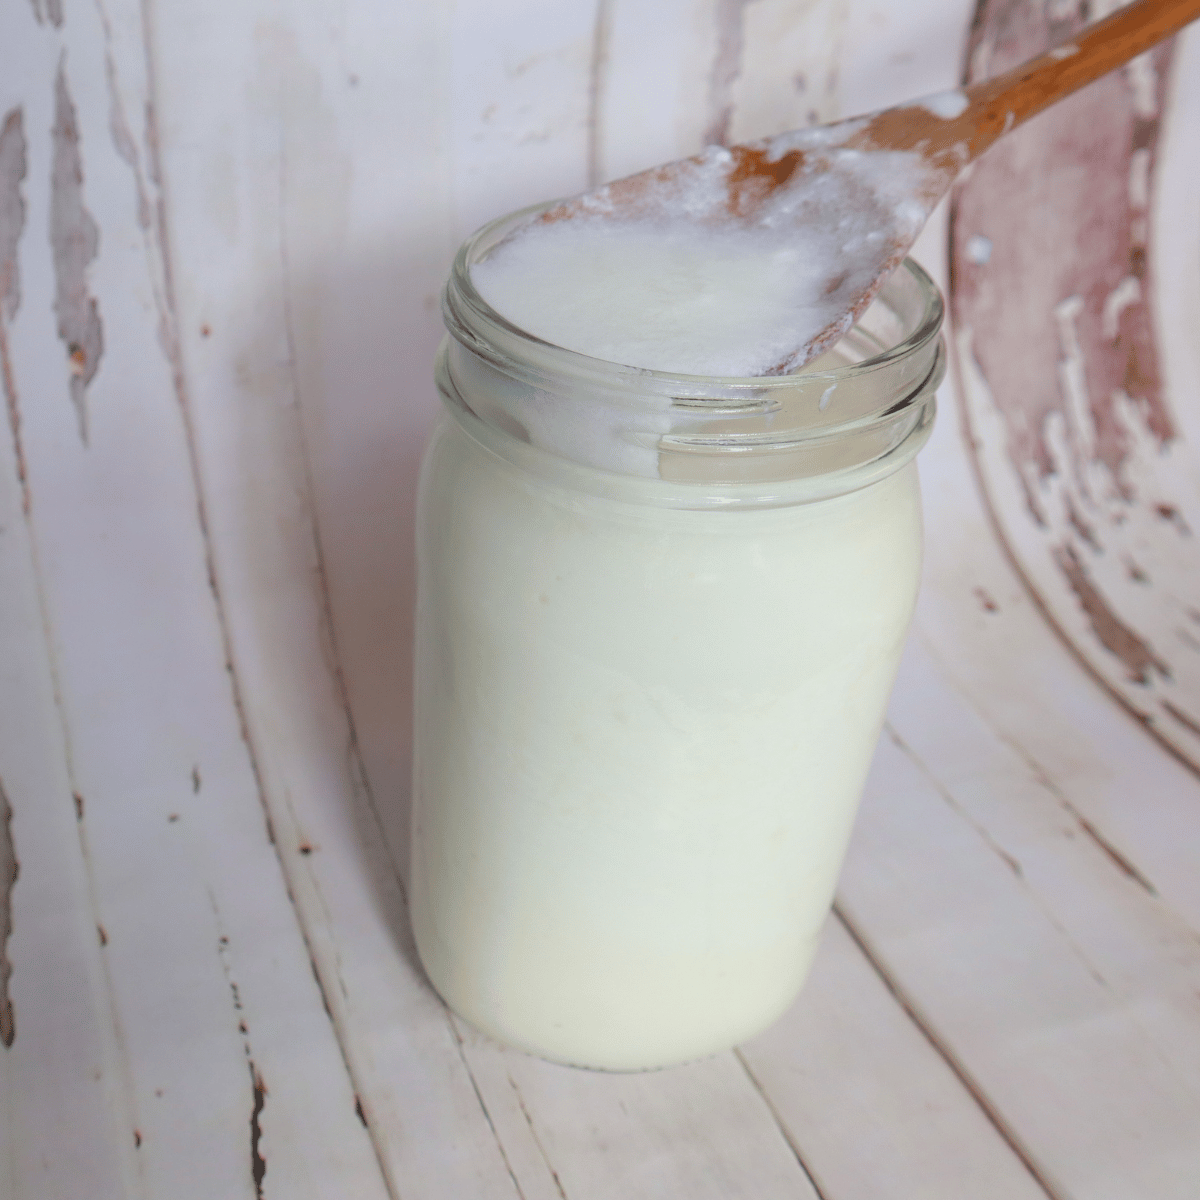
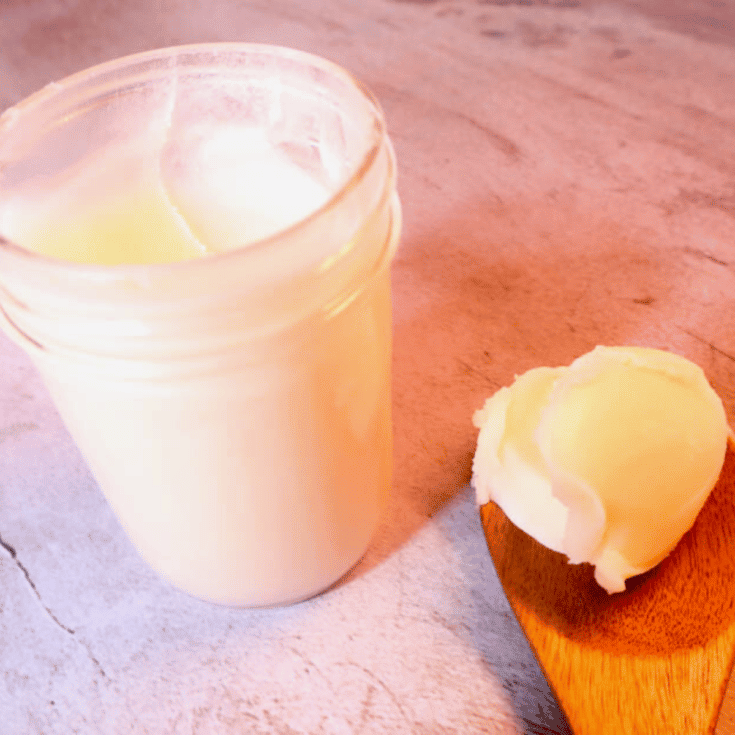
Lard is melted pig fat, strained off to remove the non-fat items. Rendering lard is the process of removing all the meat, tissues, and impurities. Once the fat has been melted and strained, you are left with a white shortening. It is liquid when warm and solid when at room temperature or cooler. Rendered fat is great for deep frying because it has a high smoke point, meaning it doesn’t smoke when cooked at high temperatures.
Lard has a bad reputation. People think that it is just heart disease in a mason jar. However, lard is a healthy fat. Much more healthy than Crisco or canola oil.
Make sure the pig that you are getting fat from a local farmer raising the pigs on pasture. Check out the post “Good Lard, Bad Lard” from Weston A. Price Foundation on why pasture-raised pork is the best. To get the the true health benefits of lard, commercially raised pigs just don’t cut it.
A fun benefit of rendering lard is eating the cracklings that are left over. The cracklings are tissues remaining from the fat that had gotten deep-fried during the rendering. Add some salt and eat it for a delicious treat!
DIFFERENT TYPES OF PIG FAT
The type of lard you use makes a big difference in how you use the lard. There are three different kinds of pig fat. Remember that one pound of lard will render down to about one pint of lard.
- leaf fat
- fat back
- pork belly
LEAF FAT
The leaf fat is the fat around the kidneys. Leaf lard is the lard to use for homemade, flaky pie crusts, as it has the most mild flavor and adds flakiness to baked goods. Render leaf fat separately from other types of fat.
FAT BACK
The fat back (or back fat) is from the back of the pig, as well as the shoulder and rump area. It is the fat directly beneath the skin and you can use this for frying or sautéing food. This will give you some great tasting french fries!
PORK BELLY
This is the fat located right along the bacon. This fat is not the greatest choice for lard as it has more meat.
SUPPLIES NEEDED
This post contains affiliate links, which means I make a small commission at no extra cost to you. See my full disclosure here.
There isn’t really any special equipment you need to render lard. However, certain things do come in handy to use. If you don’t have these things though, you can always substitute it for another item that is already in your home.
- Pig fat (or beef fat if making beef tallow)
- Glass jars with 2 piece canning lids
- Dutch oven (or another heavy bottomed pot) or CrockPot or stainless steel pot
- Metal strainer
- Cheesecloth
- Slotted spoon
- Wooden spoon
- Ladle
- Funnel
HOW TO RENDER LARD
Cut your pork fat into small pieces, the tiniest pieces you can possibly make. Alternatively, using a meat grinder can make this process go more smoothly, but just a knife works too. This allows all the impurities to render out without overcooking the lard. Alternatively, you can ask your local butcher to grind the fat. Cutting your fat is easiest when the fat is a bit frozen.

Place the chopped fat in either a heavy bottomed pot, crockpot, or stainless steel pot. Start with a little bit at first. Wait until that melts down to add more to the pot.


This is where you need to remember low and slow. Either set the slow cooker to low or set your stove low. The key to producing a nice clean and white lard with a neutral flavor is cooking it over low heat, slowly. Do not use high heat for any reason.

Rendering lard is a long process. This will take a few hours. Just remember, low and slow. Something called cracklings will go down to the bottom, but eventually, they will rise to the top. They should be a golden brown color. When the cracklings rise back up to the top, the lard is done rendering. If the lard gets over-cooked, it will have a stronger pork flavor and/or have some off-white color to it.
Scoop the cracklings out with a slotted spoon and place onto a plate with a paper towel on it to let them drain. Salt to taste and eat them.
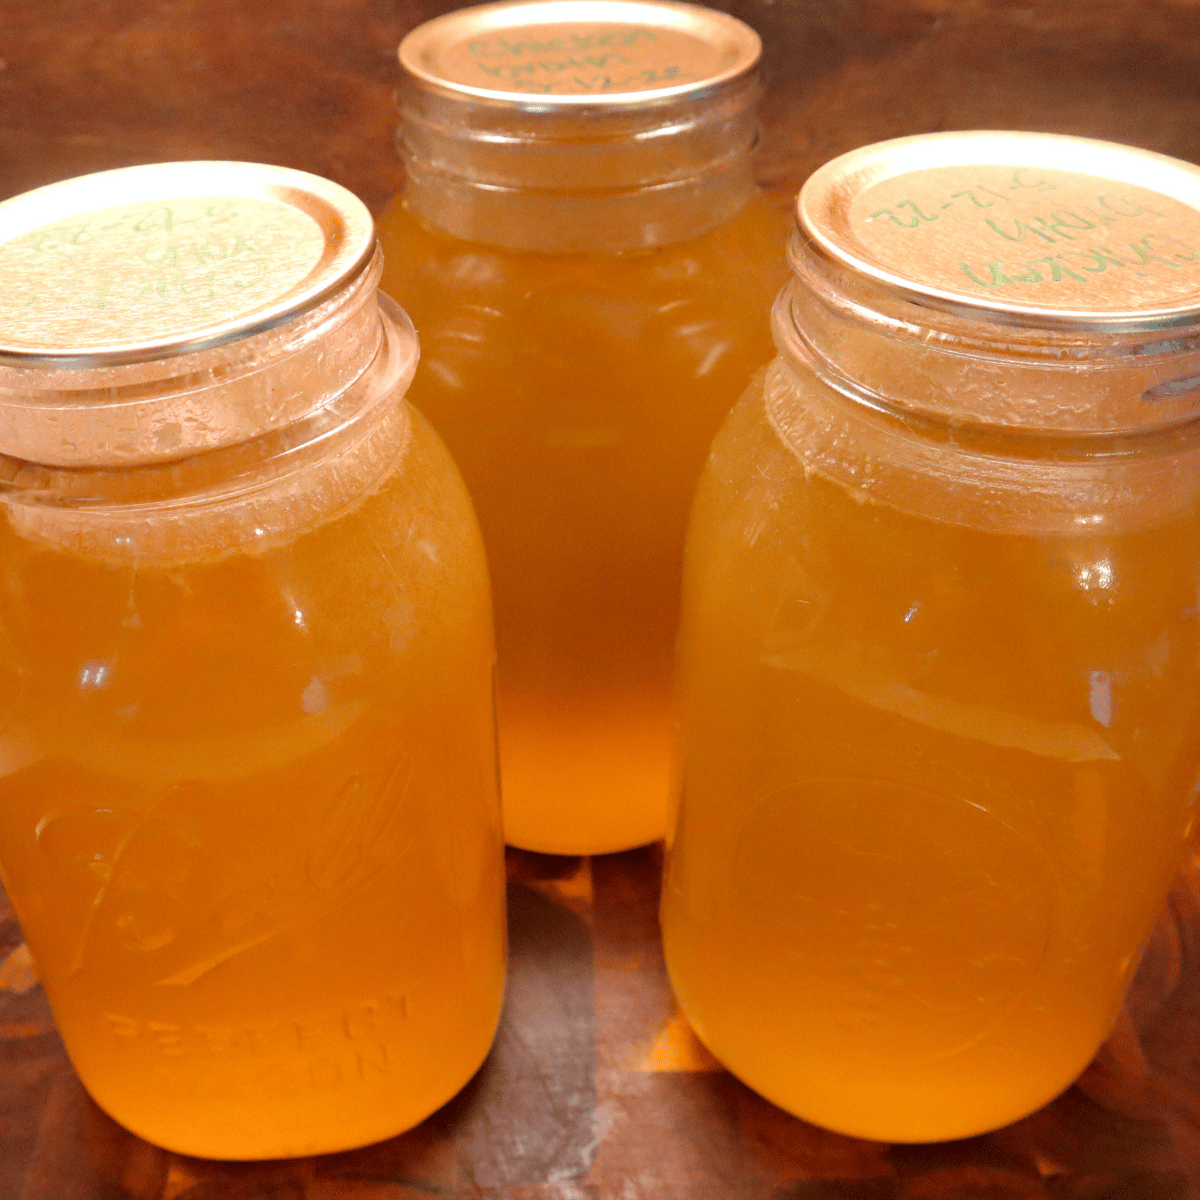
Strain the liquid through a cheesecloth and a fine mesh strainer into glass containers to store. Wipe glass container rim and place lid on top. Allow to cool 24 hours. Store in cool, dark location.
EXTRA TIPS
- Stir lard frequently.
- Do not put a lid on the pot. This adds moisture build up, which will lead to the lard spoiling.
- Never boil the lard.
- Never add water to the pan.
- Plan on making this an entire day’s project. You will receive a lot of fat when you butcher a pig, and this is a long and slow process. The entire process from start to finish will be a very long time.
- Save the crispy cracklings to eat! They are a lovely treat after a hard day’s work.
HOW TO STORE RENDERED LARD
Lard is shelf-stable, as long as it has been rendered down correctly. If you smell an unpleasant odor or see that the lard is tan or brown, it is possible that not all the impurities have gotten out. However, it could have gotten over-cooked too. If you think that you didn’t render the lard correctly, store it in the freezer or refrigerator and just keep an eye out for mold.
When the lard has finished rendering down, take it from the pan while still hot and filter it through a fine-mesh sieve and/or a double layer of cheesecloth or coffee filter. Using both will be the best, as you don’t want any small bits of cracklings in your lard, otherwise that will allow the lard to get moldy. Place into warm mason jars and place a lid and ring on the jar while the lard is still hot.
Store the sealed jars of lard in a cool, dark place for future use. The shelf life of the lard should be about one year. When you do open the jars, store in the refrigerator or use up within a week or two.
Watch The Corresponding Video on How to Render Lard Here:

FREQUENTLY ASKED QUESTIONS
Here are some answers to some frequently asked questions when it comes to rendering lard.
WHY DOES MY LARD SMELL GROSS?
If the lard has an odor that doesn’t smell right, it either has not been rendered correctly or it has been overcooked.
WHY ISN’T MY LARD WHITE?
When lard is first strained and placed into jars, it will be a tannish color. However, once cooled, it should be pure white. The lard has been overcooked or not rendered enough if it is not white.
WHY DID MY LARD GET MOLDY?
Either the lard was not rendered long enough to remove all the moisture or there was something in it that didn’t get strained out, such as bits of meat. This is why I like to do a double straining process. First with a fine mesh strainer, then with a few layers of cheesecloth.
PIN THIS POST HERE:
Print the Recipe Here:
Lard
Once you learn how to render lard, it will become a staple in your pantry. Rendering lard is a wonderful homesteading skill that produces a natural fat that you can use for flaky biscuits, seasoning cast iron skillets, homemade pie crusts, or many other things.
Ingredients
- Pig fat (or beef fat if making beef tallow)
- Glass jars with 2 piece canning lids
- Dutch oven (or another heavy bottomed pot) or CrockPot or stainless steel pot
- Metal strainer
- Cheesecloth
- Slotted spoon
- Wooden spoon
- Ladle
- Funnel
Instructions
- Cut pork fat into small pieces, Alternatively, using a meat grinder can make this process go more smoothly, but just a knife works too.
- Place the chopped fat in either a heavy bottomed pot, crockpot, or stainless steel pot. Start with a little bit at first. Wait until that melts down to add more to the pot.
- Set the slow cooker to low or set your stove low.
- Stir frequently, rendering down the lard for a few hours. When the cracklings become a golden brown color, the lard is done rendering.
- Scoop the cracklings out with a slotted spoon and place onto a plate with a paper towel on it to let them drain. Salt to taste and eat them, if desired.
- Strain the liquid through a cheesecloth and a fine mesh strainer into glass containers to store. Wipe glass container rim and place lid on top. Allow to cool 24 hours. Store in cool, dark location.
Notes
- Plan on staying home all day while rendering lard.
- Stir lard frequently.
- Do not put a lid on the pot. This adds moisture build up, which will lead to the lard spoiling.
- Never boil the lard.
- Never add water to the pan.
- Save the crispy cracklings to eat! They are a lovely treat after a hard day's work.
This post may contain affiliate links which I would receive a small commission at no additional cost to you. Please read disclaimer and privacy policy for full disclosure.
