How to Can Chicken Broth
One of my favorite must have pantry staples is chicken broth. Use it in soups, stews, drink it plain, or use it to flavor any meal. Skip the cartons bought at grocery stores that are filled with unnecessary preservatives and learn how to can chicken broth at home. Here is your complete guide on canning chicken stock for long-term storage.
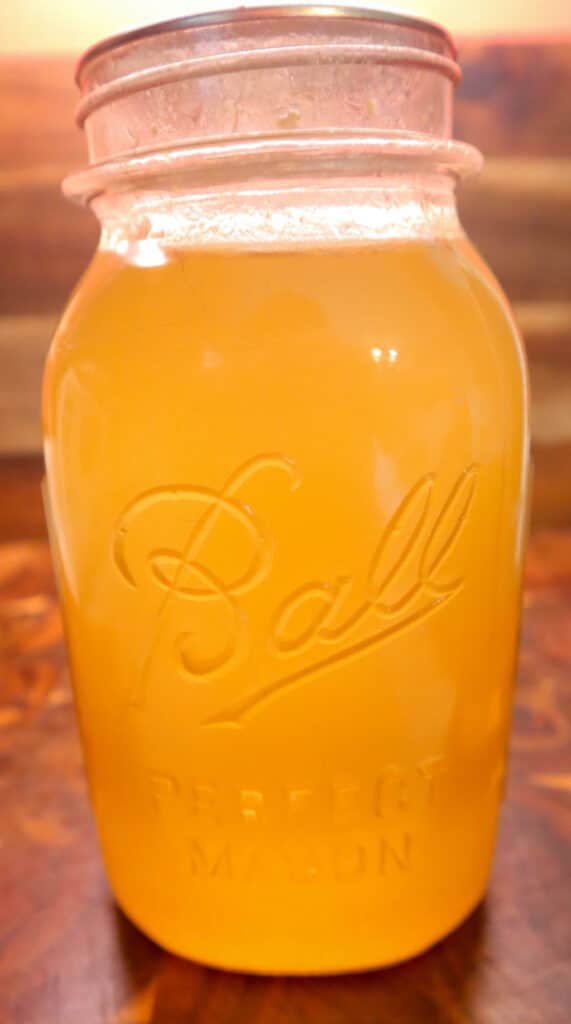
Don’t be nervous about using a pressure canner. Now-a-days, there are safety features, so blowing up your kitchen isn’t really a thing that happens. So grab some bones and veggies and let’s make some homemade broth together! Whether you are canning chicken, beef, or turkey, all will be the same as this. Here’s a bonus tip: Always keep a freezer bag around to throw your veggie scraps into. That way, when it is time to make your own broth, you won’t have to cut up whole veggies. Keeping your chicken carcasses in the freezer is a good idea, if you don’t have time to deal with it when you’re done making your whole chicken.
This post contains affiliate links, which means I make a small commission at no extra cost to you. See my full disclosure here.
Benefits of Home Canned Chicken Broth
Canning up homemade chicken stock is a great way to use up a chicken carcass and vegetable scraps that would otherwise go to waste. Not only will you get better flavor but this will be healthier for you than the store-bought counterpart. Most of the store-bought versions contain chemicals that make your dishes unhealthy. Whether you make chicken broth in an instant pot or a slow cooker, the way you can it will be the same.
If you have not dove deep into learning about gut health, I suggest Gut and Physiology Syndrome. This book explains in scientific detail all about how ruined our guts are and why real broth is important for you.
Chicken Stock vs Chicken Broth
For the most part, there isn’t too much difference in the way that you will use them. Chicken stock is made by simmering bones and vegetables for at least 4 hours.
Chicken broth is made by simmering meat along with herbs for usually 2 hours or less. Broth is thinner than stock and usually needs salt to improve the flavor.
Broth and stock can both be pressure canned the same way.
Supplies:
Pressure canner (not an instant pot, an actual pressure canner)
Mason jars
Rings and lids
Canning tools: jar lifter, funnel, ladle
I have already made a post on how to make homemade chicken broth, so if you need to know how to do that, go check it out for full instructions. Homemade chicken broth is almost like a free food since it is made with things that would otherwise go in the trash. Bonus points that it is extremely healthy for you.
How to Can Chicken Broth
Start by washing your canning jars, lids, bands, and canning tools in hot soapy water or your dishwasher.
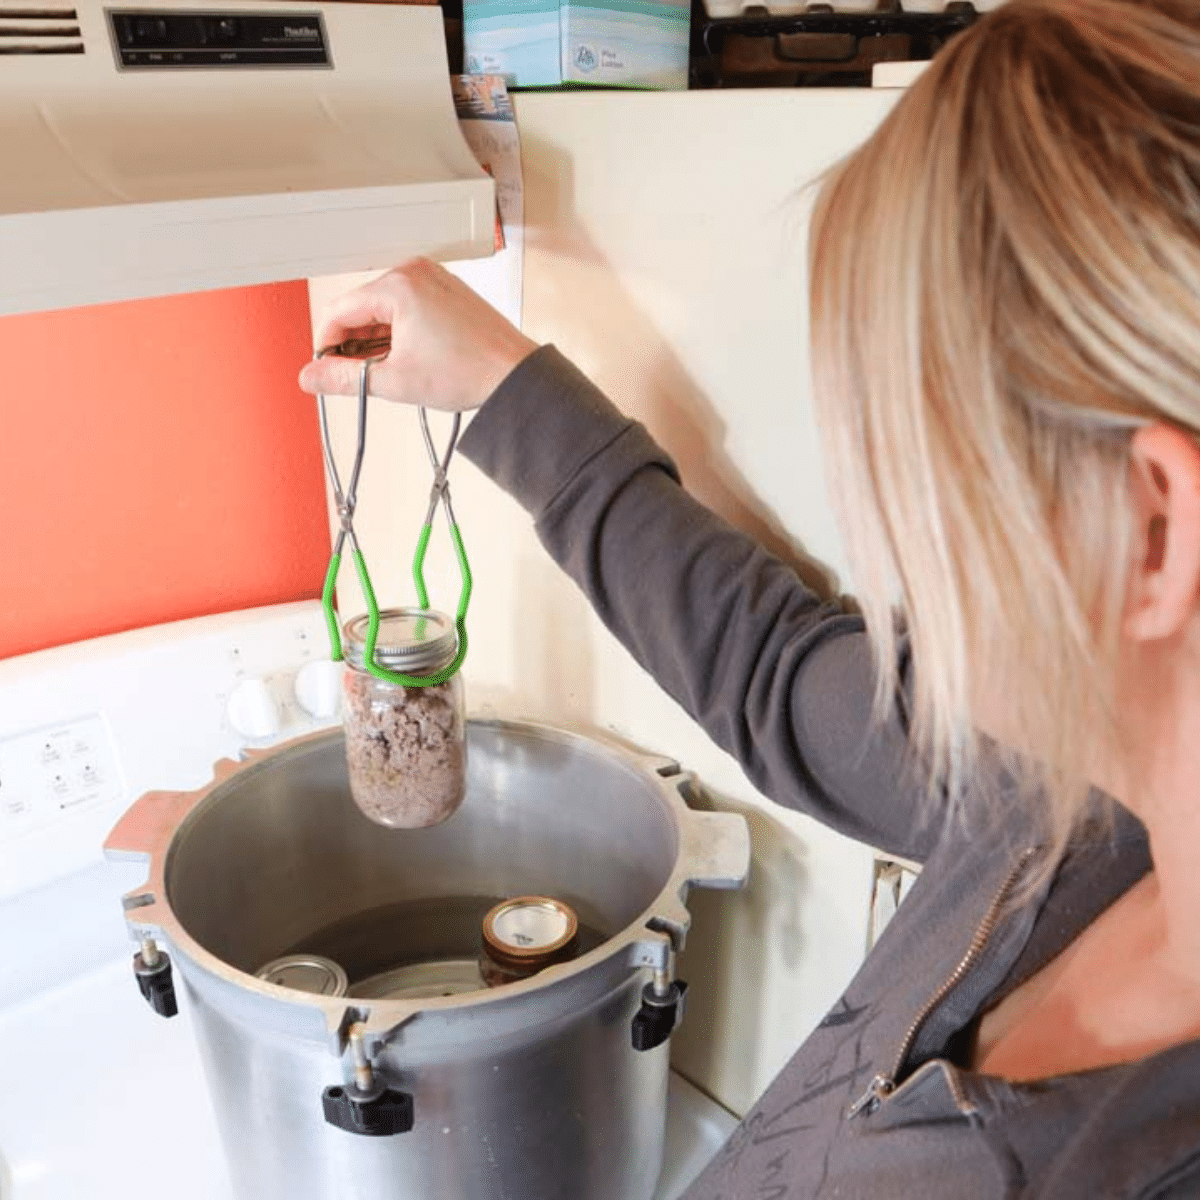
Insert the canning rack into the pressure canner and put the pressure canner on the stove. Add water. I use the All-American canner and add 2-3 inches of water. Bring the water to a simmer for at least 10 minutes.
If your mason jars are not hot from the dishwasher, fill your jars about half way with water and place in the canner to get the jars nice and hot.
Personally, I just can my chicken broth as soon as it comes out of the instant pot. However, most people will let the broth cool so they can skim off the excess fat, usually just using a slotted spoon. If you let your broth cool, you will need to bring it back to a boil so it’s hot.
Once your broth is warm, you can start filling your jars. Dump the water out of the hot jars and fill it almost to the top with hot broth, leaving 1” headspace.
Run the bubble popper tool down the sides to remove any air bubbles. Wipe the rim of the jar with a clean towel and then place a lid and ring on the jar. Place the jar back into the pressure canner. Repeat with the rest of the jars.
Placing into the Pressure Canner
Before placing the lid onto the pressure canner, check the vent pipe by lifting it up and making sure there is a clear view. Nothing should be obstructing that hole.
Bring the canner to a boil over medium-high heat. Once steam starts coming out, set a timer for 10 minutes. After 10 minutes, place the weight on the steam release valve. Depending on where you live, you will use a different amount of pressure. In Eastern South Dakota, 10 pounds of pressure is what I use. If you are unsure of your elevation, you can find out here. The higher up you are, the more pressure you will use.
Process pints for 20 minutes. Process quart jars for 25 minutes.
When the processing time is complete, let the pressure release naturally. Remove jars from the pressure canner and place on a towel on the counter for 24 hours. Leave these jars undisturbed. Make sure the jars have a proper seal. Date and label your jars. Believe me, you think you will remember, but you won’t. Plus, it’s good to have every jar from the batch labeled the same, in case for some reason they didn’t seal or something, you can check them all easily.
Use homemade chicken broth just like you would store-bought chicken broth.
FAQ’s
How long will pressure canned chicken broth last?
Ball canning says that it should last 18 months.
Can I water bath can chicken broth?
There are foods that are known as low acid foods, chicken broth being one of those. Low-acid foods cannot be preserved with a water bath canner, but must be preserved using pressure canning.
What type of pressure canner is best?
There are many different canners available on the market. When it was time for me to get one, I knew I wanted the best of the best. This is something that will preserve thousands of dollars worth of food, so I wasn’t willing to sacrifice with this. The all american pressure canner is one that I have been using for 7 years and have had zero problems with.
Why do my jars look cloudy after canning?
Do you have hard water? Try throwing a few tablespoons of white vinegar right in the water of your canner. That should help the jars sparkle!
How do you can beef broth?
Beef broth is canned the exact same way as chicken broth. There is one thing extra that I do when making beef broth though. When butchering steers, you get provided with something called soup bones. I will bake up those beef bones for about 40 minutes to really get the great flavor going on them before making the actual beef broth.
How do you can turkey broth?
Literally, the exact same as above. Turkey broth is actually my favorite! It is a delicious broth that I love to use in my chilis!
Pin this article here:
If you made this, please leave a comment down below and let me know how it went!
This post may contain affiliate links which I would receive a small commission at no additional cost to you. Please read disclaimer and privacy policy for full disclosure.


