How To Pasteurize Raw Milk
It seems silly to learn how to pasteurize raw milk when that will remove all the beneficial bacteria and raw milk benefits we drink it for. However, when making cultured milk products, the process of pasteurization allows specific cultures to be dominant. Keep reading to learn all about home pasteurization and what products benefit from the milk pasteurization process.

Pasteurization is the process of heating milk to a specific temperature to sterilize it and kill any bacteria enzymes and other living organisms in the milk. There are actually different ways to pasteurize milk. Some use low heat for longer periods, others use high heat for shorter periods.
- Ultra-pasteurized: Heated to or above 280° F for a minimum of 2 seconds. This is typically used by large-scale producers for a long shelf life.
- High Temperature Short Time: Heated to 161° for 15 seconds. This is used by local producers.
- Vat Pasteurization: Heated to 145° F for 30 minutes. This is used most often by cheesemakers as it is the least agitating.
- Thermalization: Heated between 140 and 150° F for a minimum of 15 seconds and then chilled. This is possibly what you see at stores when you see “raw milk” on the label, specifically with cheeses.
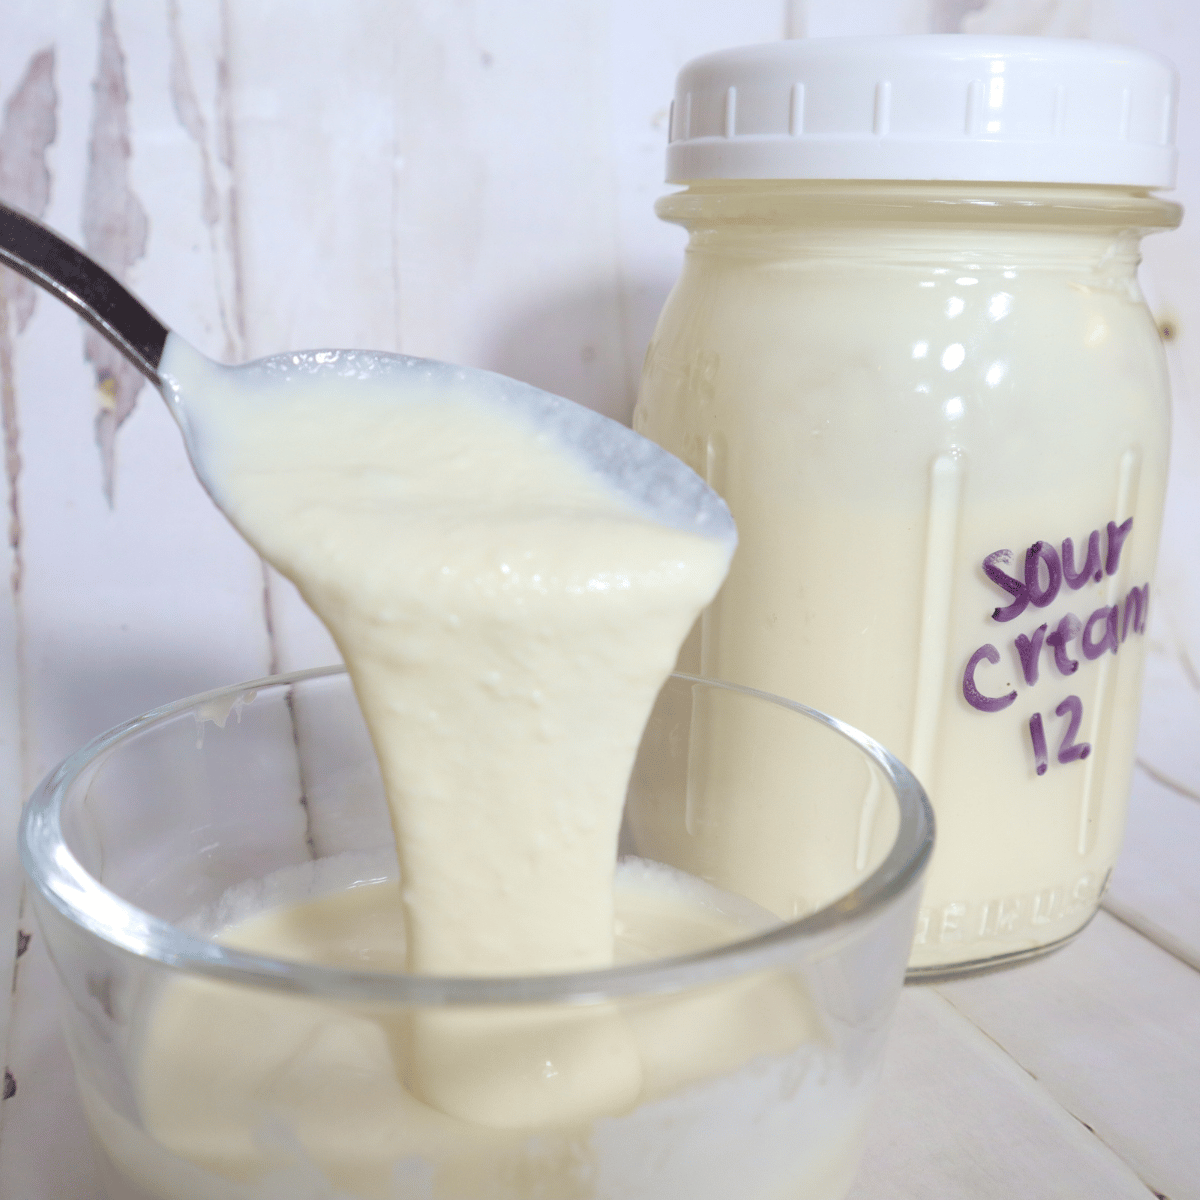
Pasteurizing milk is not good for making cheese. However, it is beneficial for culturing dairy products. Most pasteurized milks, especially the ultra pasteurized, won’t work with cheese as it ruins the milk so it physically cannot even turn into cheese. If you do choose to pasteurize your raw milk, you can use it to make dairy products still but you may need to add a product called calcium chloride, AKA CaCl₂, in order for the recipe to turn out correctly. However, if pasteurizing, the milk will only work on cultured products where you add a culture in. Things such as buttermilk, yogurt, ricotta, kefir, and paneer.
Where Did Pasteurization Come From?
Louis Pasteur, a french chemist, is the man who first came up with this idea in the mid-1800s. A lot of milk was not safe for human consumption a long time ago and his research led to saving people from serious health risks from dangerous pathogens. Fortunately, we now have sanitary conditions that we can milk in, we know how to properly handle and sanitize our equipment, and we can send milk samples into get tested, making unpasteurized milk not only safe to drink, but full of vitamins and bacteria that we want.
This post contains affiliate links, which means I make a small commission at no extra cost to you. See my full disclosure here.
Supplies Needed To Pasteurize Raw Milk
- Large Stockpot
- Thermometer
- Glass Jar (optional)
Different Ways To Pasteurize Raw Milk
There are a few different ways that home pasteurizers can do this.
- Putting a jar in a stockpot, a “double boiler” method.
- An old school method, just pouring the milk straight in the stockpot.
- Utilizing an instant pot
How To Pasteurize Raw Milk
The following directions will work to heat milk up with raw cow’s milk, raw goat milk, or raw sheep milk.
Remember, once milk has been heated to higher temperatures during the pasteurization of milk, all the good bacteria and health benefits that raw milk advocates love will be killed. Only pasteurize your milk if you are making raw milk products that will have other cultures put into it. Otherwise, the benefits of raw milk are destroyed for nothing.
If you are unsure if the milk you have is sanitary and feel unsafe with the consumption of raw milk, I suggest looking at different dairy farms to find one that you feel safe with.
Double Boiler Method
- Set a mason jar full of milk in your heavy bottomed stockpot. Fill the pot with lukewarm water up to the level of the milk in the jar.
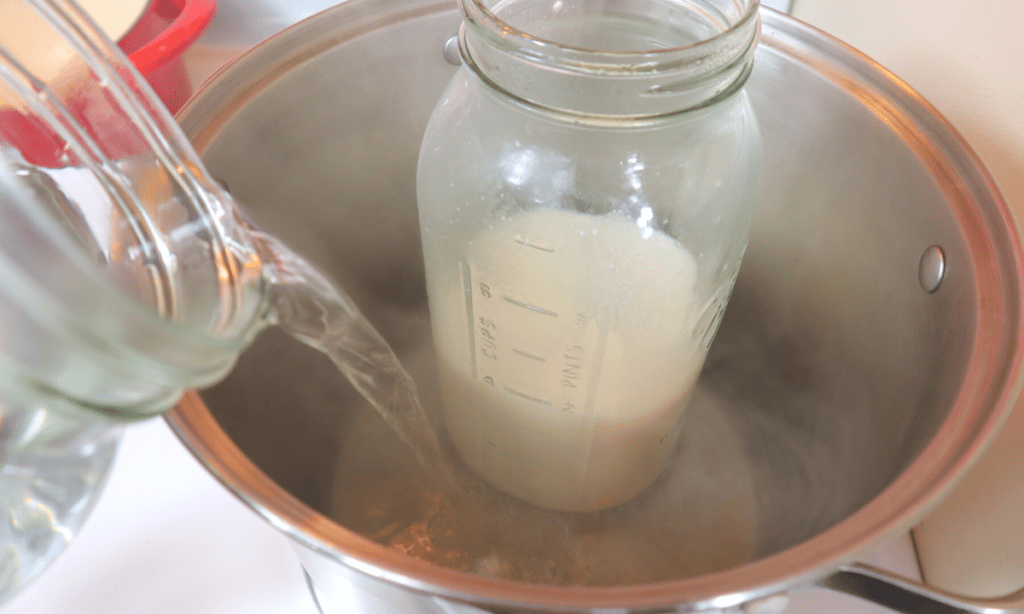
- Turn the stove on low and let the milk slowly come up to 161° F, being sure to stir it occasionally.

- Once the temperature of the milk has reached 161° F, take the jar out of the stockpot and set it on the counter to cool.
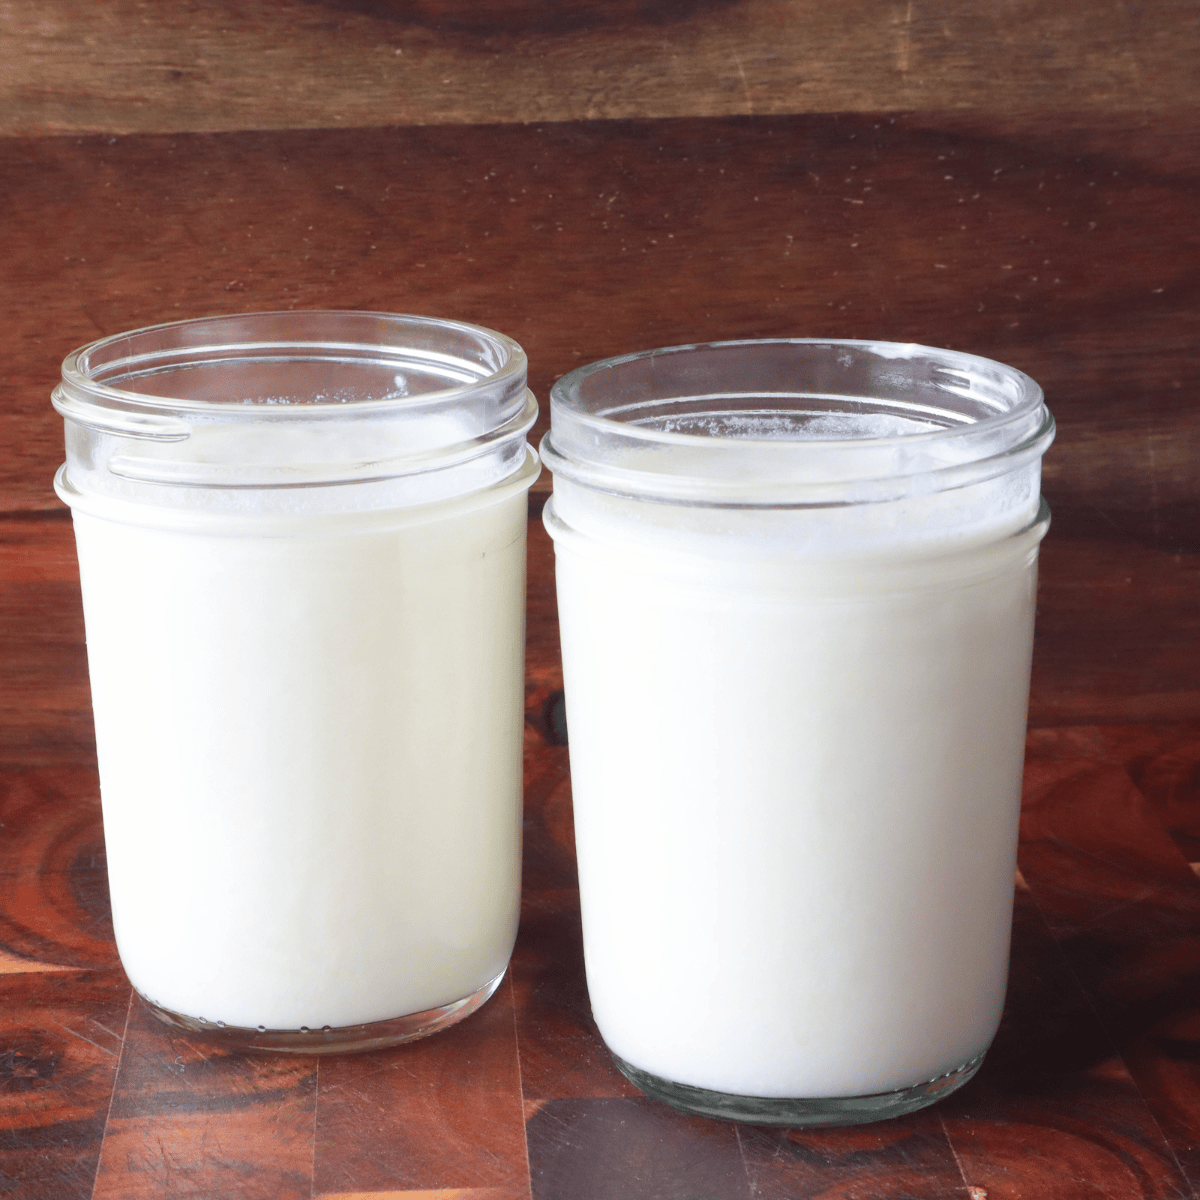
- Once milk is cooled, place in the fridge or use immediately.
Old-Fashioned Method
- Pour milk into the heavy bottomed stockpot.

- Turn the stove on low and let the milk slowly come up to 161° F, stirring often making sure to not scorch the bottom. If at anytime you feel roughness on the bottom of the pot, turn the heat down.

- Once the temperature of the milk has reached 161° F, turn heat off and move stockpot to a different burner to cool.
- Move milk to glass jar and place in fridge or use immediately.
Instant Pot Method
- Pour milk into instant pot. Lock lid in place. Make sure vent is on venting and not sealing.
- Press the yogurt function.
- Hit adjust until it says boil.
- When instant pot beeps, and turns from boil to yogurt, open up instant pot.
- Check temperature and ensure it has reached at least 161° F. With the instant pot, it will usually go higher than that.
- Take stainless steel pot insert out of instant pot and place into a sink full of cold water or an ice bath to drop the temperature of the milk quickly.
- Move milk to glass jar and place in fridge or use immediately.
After the milk has been pasteurized, a skin will form at the top of the milk. Use some sort of utensil to just scrape the skin off. There have been many times that I forget about the skin and just use the milk with it. It won’t hurt anything if you forget this step.
Watch Me Teach You How To Pasteurize Raw Milk on YouTube

Save For Later
This post may contain affiliate links which I would receive a small commission at no additional cost to you. Please read disclaimer and privacy policy for full disclosure.
