Pressure Canning Butternut Squash
Pressure canning butternut squash allows you to enjoy this autumn staple year round without having to do all the work to enjoy it in the moment.

Autumn is a season of rich colors, crisp air, and a bountiful harvest. As the leaves turn and the temperatures drop, many home gardeners or local farmers find themselves with an abundance of butternut squash. While enjoying this versatile vegetable is delightful, preserving its goodness through pressure canning allows you to savor its flavor year-round, in the moment. This blog post is a complete guide you through the process of pressure canning butternut squash, so you can enjoy this autumn staple anytime you like at a moment’s notice. That is my favorite thing about home food preservation, not having to wait too long to cook food.
Whether you grow your butternut squash on an arch trellis or just plant them straight on the ground, the amount of squash that one plant makes is A LOT! While you can just store the butternut squash as is in a cool dark place, pressure canning allows you to eat it right away. This is always great if the power goes out or you just don’t have time to make dinner.
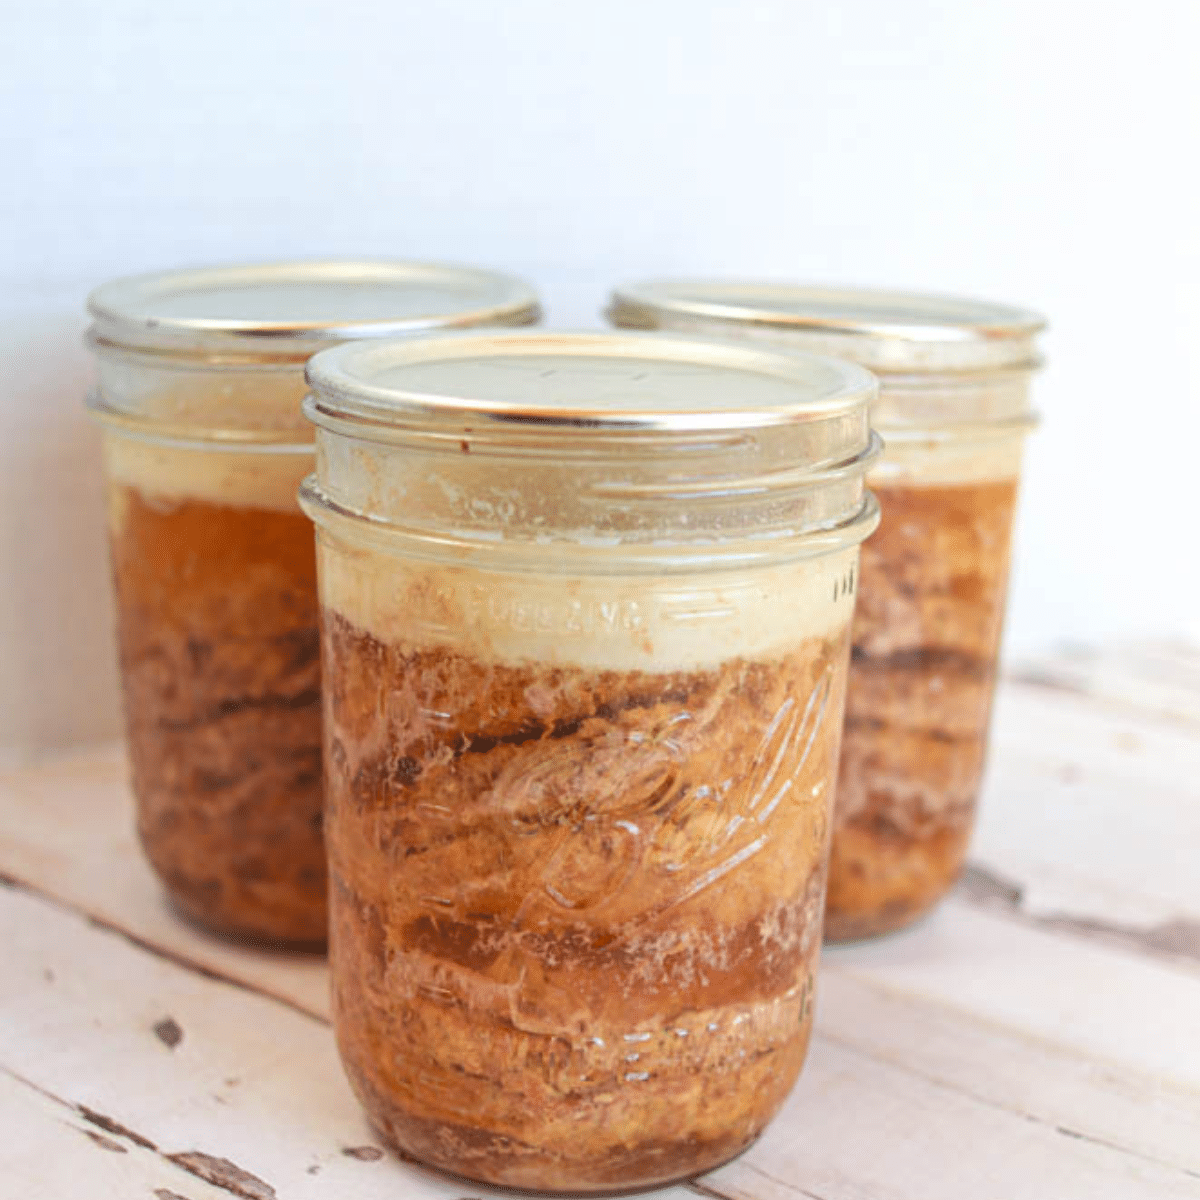
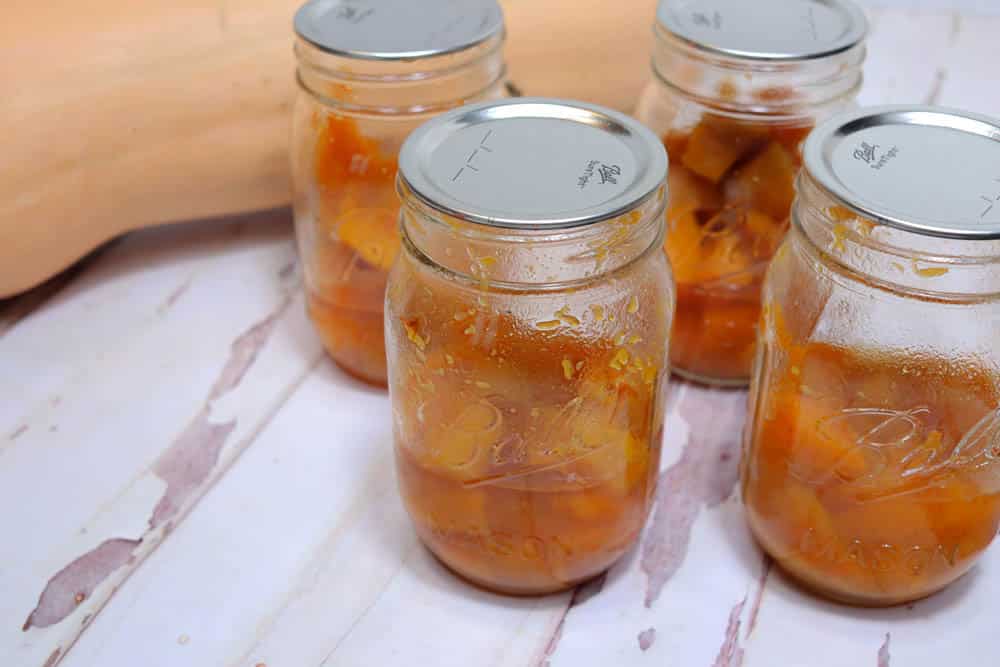
This method of pressure canning butternut squash is a dry canned method. If you would like to use the hot pack method, you will need to cook the fresh squash first, then add into hot sterilized jars and a place the hot jars into a hot water level of 1-2 inches. Since there is more work in the hot pack method, I prefer doing a canner load using this great alternative, as it is an easy way. Butternut squash has a ton of water in it, so the final product will come out with about 1/3 of the jar having liquid on the bottom.
This post contains affiliate links, which means I make a small commission at no extra cost to you. See my full disclosure here.
Things You Will Need:
Before beginning the canning process, gather your supplies:
- Fresh Butternut Squash: Choose ripe, firm squash with no signs of mold or damage. You’ll need several pounds to fill your canning jars.
- Pressure Canner: Ensure your pressure canner is in good working order and follow the manufacturer’s instructions.
- Canning Jars: Opt for clean and sterilized quart-sized or pint-sized mason jars.
- Lids and Bands: Use clean, freshly washed canning lids and bands.
- Canning Tools: Grab your jar lifter, canning funnel, and bubble remover/headspace tool
- Cutting Board, Vegetable Peeler, and Knife: For peeling, chopping, and preparing the squash.
- Seasonings: Salt- canning salt or Redmond’s Real Salt
Pressure Canning Butternut Squash
Preparation
- Wash the butternut squash thoroughly to remove any dirt.
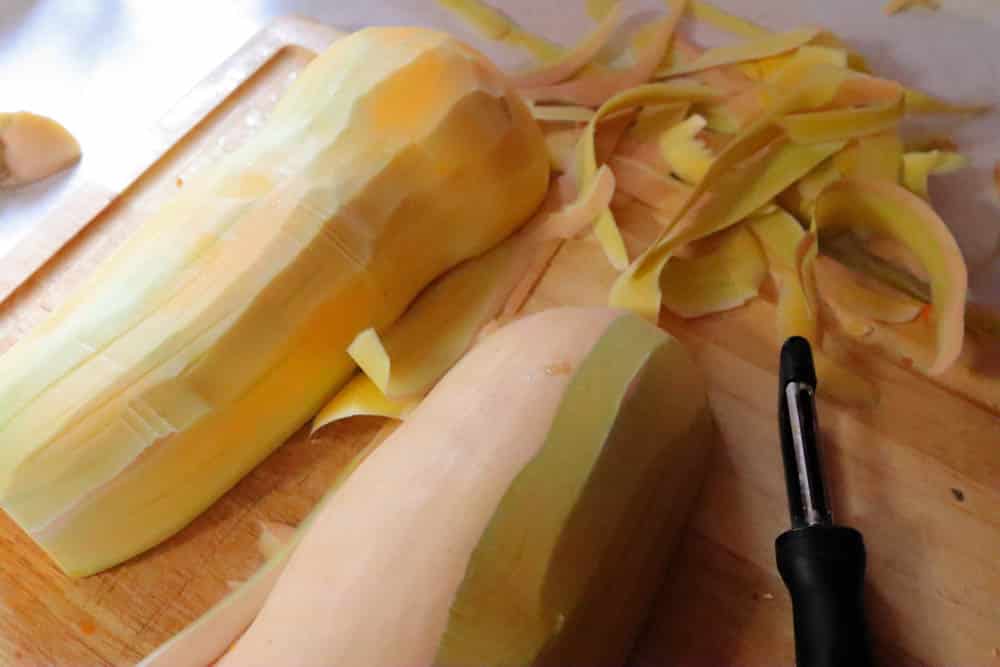
- Peel the squash to remove the hard rind, remove seeds and fibrous strings, and cut it into 1-inch cubes.
Filling Jars
- Pack the squash cubes into sterilized quart-sized jars, leaving one inch of headspace.

- Add 1/2 teaspoon of salt to pint jars or any other seasonings or spices you enjoy.

- Use a bubble remover or headspace tool to push squash down into the jars. The squash will cook down alot in the pressure canner so get as much as you can in the jars. Adjust the headspace if needed.
Sealing Jars:
- Wipe the jar rims with a paper towel to ensure they are clean and free from any food residue.
- Apply the lids and screw on the bands on the mason jar until they are fingertip tight.

Pressure Cannning
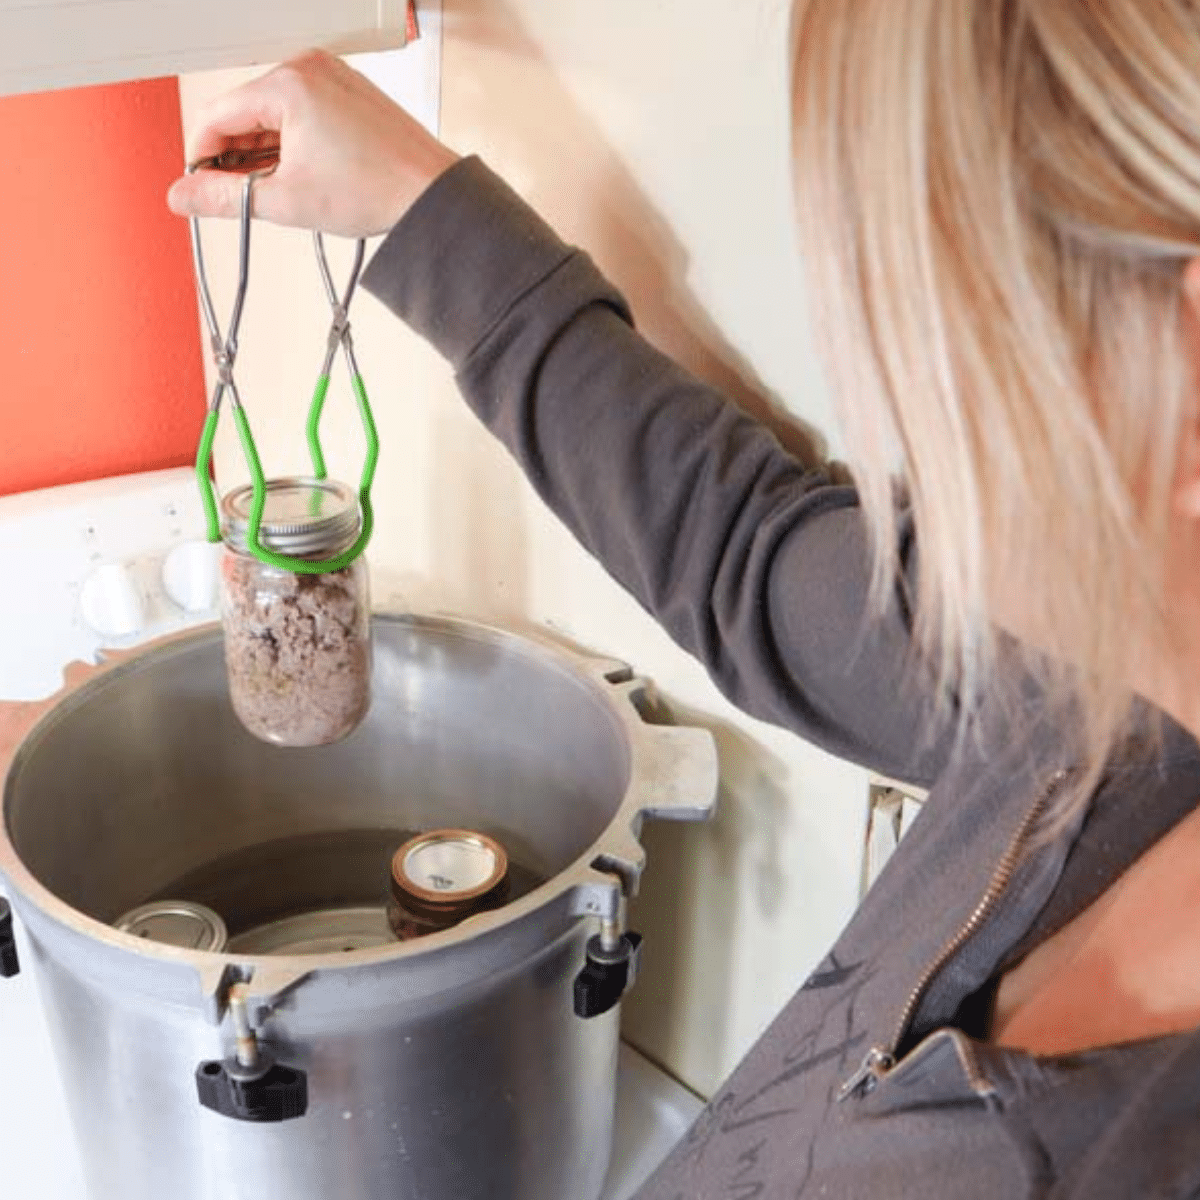
- Follow your pressure canner’s instructions to process the jars. Usually, this involves adding 1-2 inches of water in the bottom of the pressure canner and placing the jars in.
- Process quart jars at 10 pounds of pressure for 55 minutes for weighted gauge canners or 11 pounds pressure for dial gauge canners and process pint jars for 35 minutes.
- Remember to adjust the pressure for your altitude if necessary.

Cooling and Storage:
- Once the canning is complete, turn off the heat, and allow the pressure to return to zero.
- Carefully remove the jars from the canner and place them on a clean towel or cooling rack to cool.
- Listen for the satisfying “pop” as the lids seal, indicating a successful preservation.
Storage:
- Check all seals to ensure they sealed.
- Store the sealed jars in a cool, dark, and dry place or a root cellar. This gives the best results to ensure your home canning recipes last a long time.

Other Options
- Another way to can butternut squash and make it taste amazing is to add one tablespoon of brown sugar to the jar.
- Add cinnamon for a great way to really “fall up” your butternut squash.
- Add your favorite fall seasonings for delicious recipes. I love thyme with butternut squash or any yellow squash.
- While not an approved canning method, you can add one tablespoon of butter to the winter squash.

In this picture, you can see the difference between these two. The one on the left has no butter, the one on the right has one tablespoon of butter added.
Happy Canning!
Pressure canning butternut squash is a fantastic way to enjoy the flavors of fall throughout the year. With the right tools and a bit of patience, you can preserve this delicious and nutritious vegetable, creating a pantry full of autumn goodness that will make your recipes shine, no matter the season.
Use pressure canned butternut squash for recipes like butternut squash soup, “pumpkin pie'” make a butternut squash puree, or throw into a spaghetti sauce for an extra dose of veggies.
Print Pressure Canning Butternut Squash Recipe Here
Pressure Canning Butternut Squash

Ingredients
- Butternut Squash
- Salt
- Spices/Seasonings (optional)
Instructions
- Wash the butternut squash thoroughly to remove any dirt.
- Peel the squash to remove the hard rind, remove seeds and fibrous strings, and cut it into 1-inch cubes.
- Pack the squash cubes into sterilized quart-sized jars, leaving one inch of headspace.
- Add 1/2 teaspoon of salt to pint jars or any other seasonings or spices you enjoy.
- Use a bubble remover or headspace tool to push squash down into the jars. The squash will cook down alot in the pressure canner so get as much as you can in the jars. Adjust the headspace if needed.
- Wipe the jar rims with a paper towel to ensure they are clean and free from any food residue.
- Apply the lids and screw on the bands on the mason jar until they are fingertip tight.
- Follow your pressure canner's instructions to process the jars. Usually, this involves adding 1-2 inches of water in the bottom of the pressure canner and placing the jars in.
- Process quart jars at 10 pounds of pressure for 55 minutes for weighted gauge canners or 11 pounds pressure for dial gauge canners and process pint jars for 35 minutes.
- Remember to adjust the pressure for your altitude if necessary.
- Once the canning is complete, turn off the heat, and allow the pressure to return to zero.
- Carefully remove the jars from the canner and place them on a clean towel or cooling rack to cool.
- Listen for the satisfying "pop" as the lids seal, indicating a successful preservation.
- Check all seals to ensure they sealed.
- Store the sealed jars in a cool, dark, and dry place or a root cellar. This gives the best results to ensure your home canning recipes last a long time.
If you try this recipe, would you please come back and give it a review! Tag me on instagram @1898_mama and show me your picture of it because I’d love to see it!
Save Pressure Canning Butternut Squash for Later

This post may contain affiliate links which I would receive a small commission at no additional cost to you. Please read disclaimer and privacy policy for full disclosure.
